At one point during our studio photography journey, we encounter the need to achieve that evenly-lit background to create portraits with a more commercial approach. Sometimes we seek to create shadows depending on the planned concept, but it’s always useful to learn how to shoot images with a shadowless background and one light, just in case we find ourselves with the need to apply this technique later on.
This has been a constant question that keeps popping up in my Instagram comments and messages lately. Followers specifically want to know how many lights I use to accomplish this. For everyone’s benefit, I decided to create a simple video tutorial showing the exact way I usually do this for at least 85% of my shoots. I prefer simplicity when it comes to light setups, and this is why I only use one light to achieve this technique. This light serves both as a key light and background light.
[RELATED: 3 Lighting Modifiers Every Fashion Photographer Should Use]
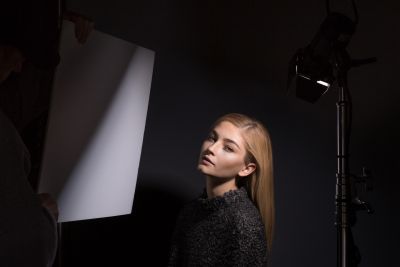
The key element is in the size and type of modifier you’re using. To achieve this, I prefer to use medium to large octaboxes or parabolic umbrellas. This is why I decided to use the Savage Universal 78’’ ModMaster™ Multi-Fabric Octobox for the tutorial. The octobox’s circular shape and large size allows me to spill the light into the background evenly around the model, and to light up the body and face at the same time. Always remember to avoid using a grid, since we need to intentionally allow the light to spill.
Equipment used in this video:
- Savage Universal 78″ ModMaster™ Multi-Fabric Octobox
- Savage Universal Pure White Seamless
- Savage Universal Cocoa Seamless
- Savage Universal ModMaster™ Adapter for Alienbees/Digibees
- Paul C Buff Digibee 800 (Key light)
- Paul C Buff Alienbee 800 (Gel light)
- Paul C Buff Yellow Color Gel
- Canon 5D Mark III
- Canon 24-70 mm f/2.8 L II USM Lens


For more specific tips on how to achieve an evenly lit background with one light, watch the video below. If you want to see the complete set of images shot in the video, don’t forget to visit my website www.elainetorres.la and follow me on Instagram for more inspiration.