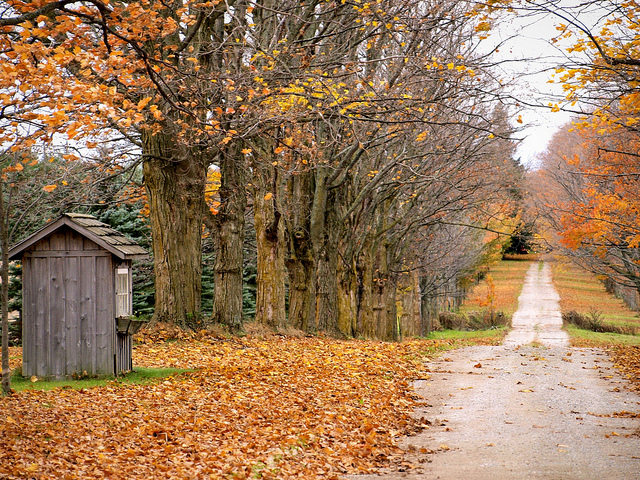
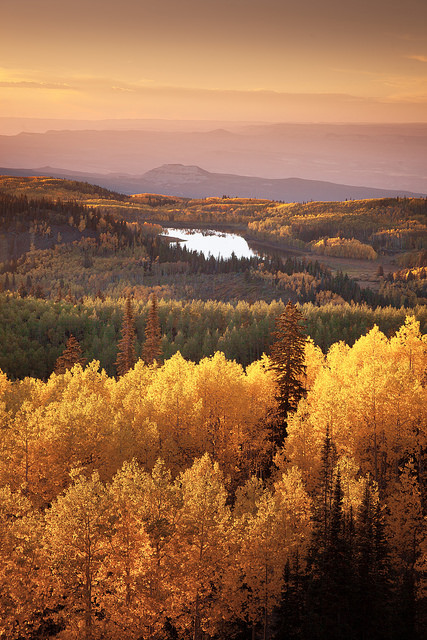
That cozy time of the year is right around the corner, with hot drinks, trees reaching a peak of bright colors, baked goods, fireplaces keeping you warm, and everyone bundled up in their favorite sweater. Honestly, I can keep going about fall. It’s definitely my favorite season. Not just mine, but many photographers travel across the states to photograph the best fall foliage, places where the reds, orange and yellows are in full force. As the season turns and the leaves begin their majestic transformation, photographers, both amateur and professional, find themselves drawn to the stunning display of autumn’s colors. In this article, we’ll give you fall leaves photography tips and ideas to help you make the most of this fleeting, yet incredibly photogenic season.
Timing for Fall Leaves Photography
Be aware of when leaves are turning to their brightest, either in your area, or wherever you plan on traveling to. The peak of turning foliage will be different across the states. Check the forecast for foliage in your town. Every year, it’s slightly different depending on the temperature and moisture in the air. For example, there are sections of New England where the leaves start turning colors as early as early September while the West coast is still feeling the end of summer.

It’s Not All About The Leaves
You do want to photograph the color of fall foliage, but think of all the millions of pictures of leaves out there or single tree shots with bright colors. Think outside the box, think about the essence of fall and adding something extra to your shot. For example, go into the woods and photograph fog, mushrooms, moss, rivers, winding roads, also the town where you live as it prepares for the season, people sipping on hot drinks, kids playing in piles of leaves, etc.

Lighting for Fall Leaves Photography
Catch the golden hour light on early mornings or late afternoons, while making sure the sun is always at your back. The time of day will make an immense difference on the colors, as the golden light will enhance the overall warmth of the shot. Fall colors are already bright, so shooting in mid-day sun will increase the brightness and contrast, and prove to be too heavy.

Embrace Color Contrast
Showcase the wide-range of fall colors by finding a nice contrast, whether it be bright yellow leaves and blue skies, deep reds and dark browns, piles of leaves with a variety of colors, etc.

Composition and Perspective
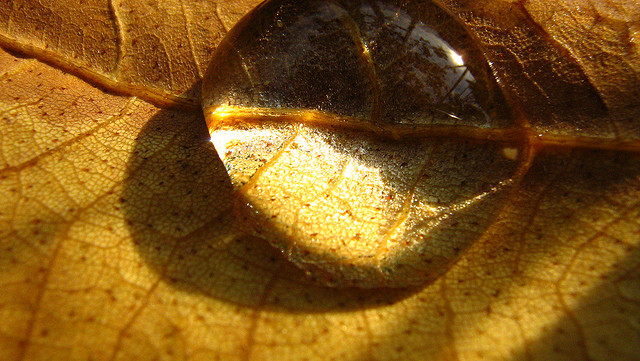
When composing your shots, experiment with different perspectives – try shooting from ground level to capture the depth of a leaf-strewn path, or climb higher for a sweeping view of a forest canopy. Play with depth of field to focus sharply on a single leaf against a blurred background, highlighting the intricate details and textures.
 Photo by SMJ Photography
Adjust Camera Settings

Don’t be afraid to change a few settings around to achieve the ultimate shot, that is if you’re not shooting RAW. For example, switching your white balance from “auto” to “cloudy” will give your shots more warmth. Increase the saturation to make fall colors pop a bit more. Underexpose just slightly to deepen the overall tones.
Capture Portraits with Fall Leaves
Fall is a beautiful time to photograph portraits, whether it be family, engagement, wedding or other genres. Take advantage of the colors and the mood that fall provides.
We will be walking through this image using the C.A.M.P Framework that we’ve mentioned in the past that comes from our Lighting Training System. Here is a brief overview:
- Composition: What do we want our scene to look like? Where do we want the camera to be? What’s the angle? What do we want our subjects to be doing?
- Ambient Light Exposure: Choose the intention of the scene. Do we want a dramatic image (darkening the ambient light and using more flash) or do we want a softer image (brightening the ambient light and using a more natural power of flash)?
- Modify/Add Light: Are your subjects visible in the frame or do they need to be chiseled out? Do you need to add an additional light source?
- Pose & Photograph: Take your shot!
Composition

I already know that I want the flash to act as a backlight in the scene so we are going to compose our shot based on that fact. For this shot, having a tripod is actually going to be useful because we are going to composite a few images together. My goal is to have the leaves surround the subject but in case we don’t get the right throw of leaves off the bat, I can composite several images together to make it look more full. I have Kalyn stand in the center of the frame so that she is surrounded by trees. Her back is to the sun because we are going to use that natural highlight as a way to edge her out of the frame and pair it later with the B10 Plus. Now let’s move on to our camera settings.
Ambient Light Exposure
I don’t want to see too much of the background because of how busy the ground and trees are so we are dialing in an aperture of f/1.4. I then set my ISO to 100 and my shutter speed to 1/100th of a second to compensate for my aperture choice. Using these settings, we still have enough light on her face from the sky, directly behind me, lighting her.
Modify Light
Profoto’s OCF tools make it super simple to modify light quickly and effortlessly. We’re going to go ahead and add that flash power that is set a couple of feet behind Kaylin and is angled upwards. We’ve placed a 1/2 Gel CTO on it to warm it up a little bit without it looking too fake. I’m at full power on a 500 w/s strobe and I’m getting just enough light to add an edge highlight around Kaylin’s head. Remember, high-speed sync is going to cut down the amount of light that you’re able to get into the camera.
Pose & Photograph
I am going to have Kaylin’s mom help out to toss the leaves into the frame. You’ll want to make sure you are firing at a faster rate to get the leaves in the right spots. We’re tossed the leaves up over Kaylin’s head so we can capture the images as they fall around her. Here is the final image:

Gear Used in This Tutorial:
- Canon EOS 5D Mark IV
- Canon 50mm f/1.2L USM Lens
- Profoto B10 Plus
- 1/2 CTO Gel
- Peak Design Travel Tripod
- Air Remote TTL
- Manfrotto Nano Stand
Conclusion
The world of fall leaves photography is one of endless creativity and exploration. Remember, while capturing the beauty of nature, it’s also important to respect it – leave no trace and preserve the natural environment for others to enjoy. Whether you’re a seasoned photographer or just starting out, autumn offers a spectacular canvas for you to create and capture memories.


