
These days, it’s not uncommon for photographers to offer videography services. The problem, or challenge rather, is that most photographers haven’t invested the same time learning the tools of the video trade that they’ve put into practicing the art of photography. The two mediums share a number of similarities, such as dialing in exposure, framing shots, and so on, but they also have some notable differences. The biggest difference, aside from capturing motion vs. still frames, becomes obvious when it comes time to edit. To help flatten the learning curve for photographers just getting into video, we’ve put together a short list of time-saving video editing tips that can be put to use right away.
Let’s get started!
Video Editing Tips, #1: Choose the “Right” Editing Software

As a photographer, you’re likely familiar with Lightroom and Photoshop, but now you’ve got to figure out which video editing software (also known as an NLE, or non-linear editor) to use. You can find plenty of options that fit a range of budgets, from free to pricey, but it’s important to remember that you can always upgrade at a later date if your video projects become more involved.
To start, I recommend keeping it basic and not burdening yourself with trying to learn the most advanced, in-depth software on the market. You can find some free, basic editors for both Mac and Windows users, but they tend to offer minimal control. If you plan to give video making an earnest effort, I’d suggest investing in something like Final Cut Pro X or Adobe Premiere Pro. Overall, they’re user-friendly and will allow you to create professional quality videos. There are more complex options, such as Blackmagic’s DaVinci Resolve, but it’s probably more than you will need to get the job done, especially if you’re just starting out.
At the end of the day, it’s important to invest some time in learning to use the video editing software you choose, but don’t select an unnecessarily complex option that will stunt your progress right out of the gate.
Tip 2: Learn Keyboard Shortcuts
You already know shortcuts for Lightroom and Photoshop, right? Well, even if you don’t, you should know that most editing software includes shortcuts you can use to streamline your workflow. Take advantage of these shortcuts and put them to use as soon as possible.
Once you’ve decided on the software you want, be sure to include learning shortcuts in the overall learning process for using said software. You can typically find helpful shortcuts in the dropdown menus of most programs, or you can find lists and tutorials online with a quick search.
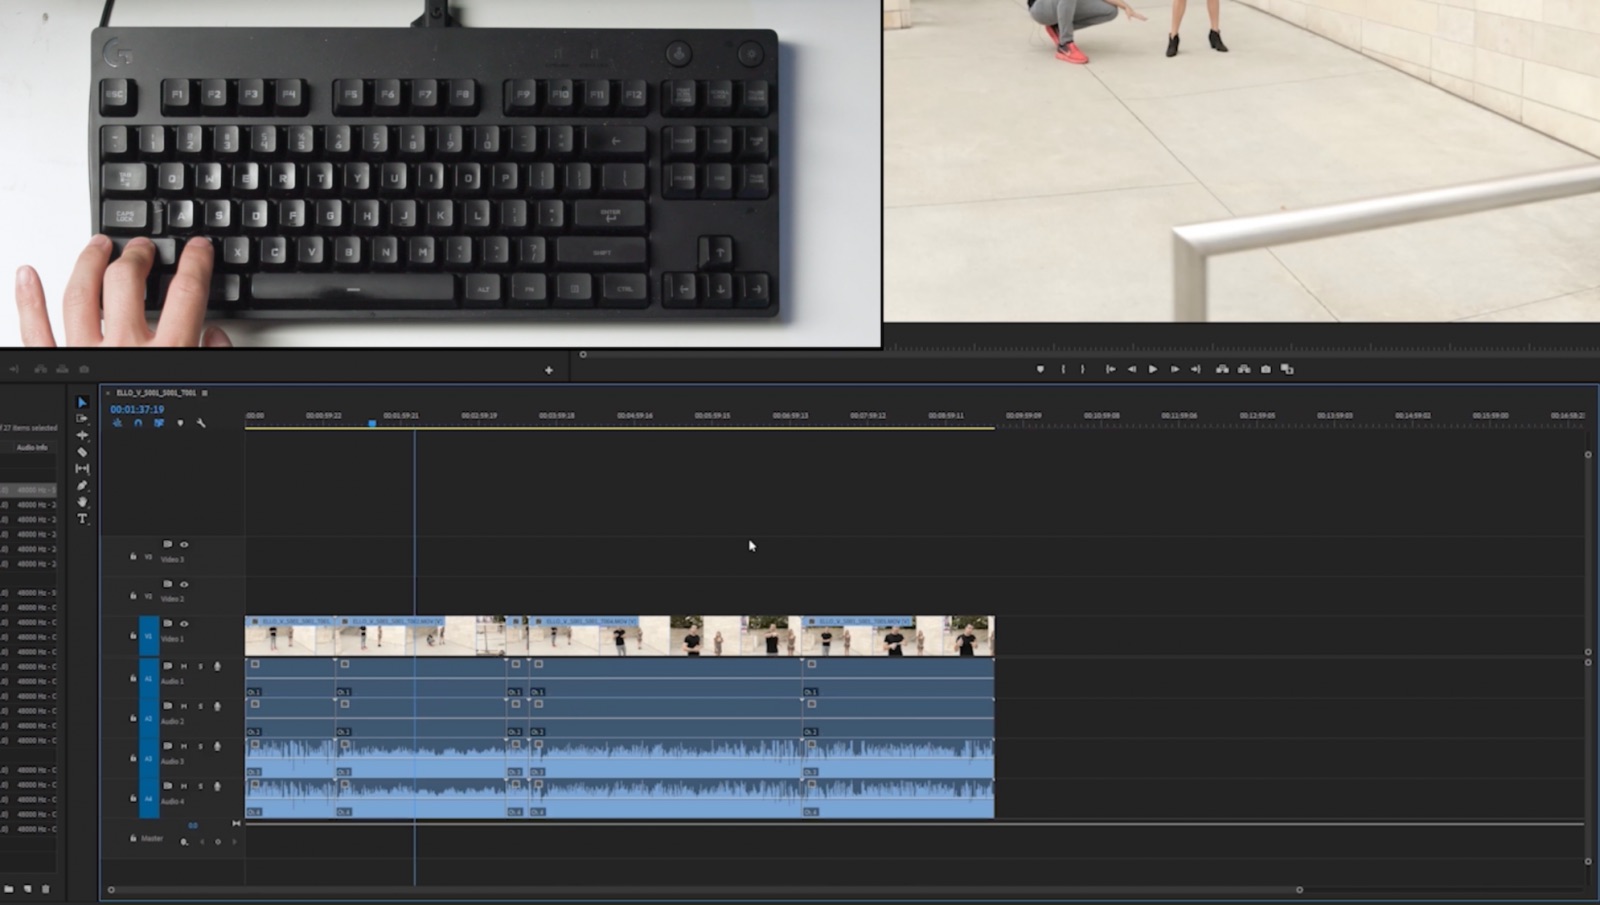
As an example, one video editing tip for shortcuts is to map your most used shortcuts on the left side of your keyboard when editing videos. Doing this will allow you to keep your right hand on the mouse, and you won’t need to relocate your left hand to another section of the keyboard. I also recommend checking out an editing console like Loupedeck Plus or something similar to take advantage of its navigation and editing tools, as well as its customizable shortcut keys.
Video Editing Tips, #3: Think of the Big Picture – Shoot for the Edit

Yes, these are time-saving video editing tips, but really, you can save a ton of time editing if you shoot for the edit in the first place. I’m not talking about shooting in RAW or taking advantage of Log encoding in terms of opening up dynamic range, using less memory, and so on. I suggest you research those options in more detail to draw your own conclusions as the topic goes beyond the scope of this article. Instead, I’m referring to capturing a variety of angles and viewpoints to tell your story. Having options with wide, medium, and tight angles, as well as low and/or overhead shots will make it easier to plug in the right pieces when pulling from your footage for the final edit.
Tip 4: Use Stock Footage Video
While photographers can take advantage of stock photos in some instances, depending on the shoot, they don’t often do it. For videographers, however, the practice of using stock footage video is common for getting b-roll for a wide range of projects. Fortunately, thanks to stock footage video sites like Videvo, it’s also very affordable and easy to do.
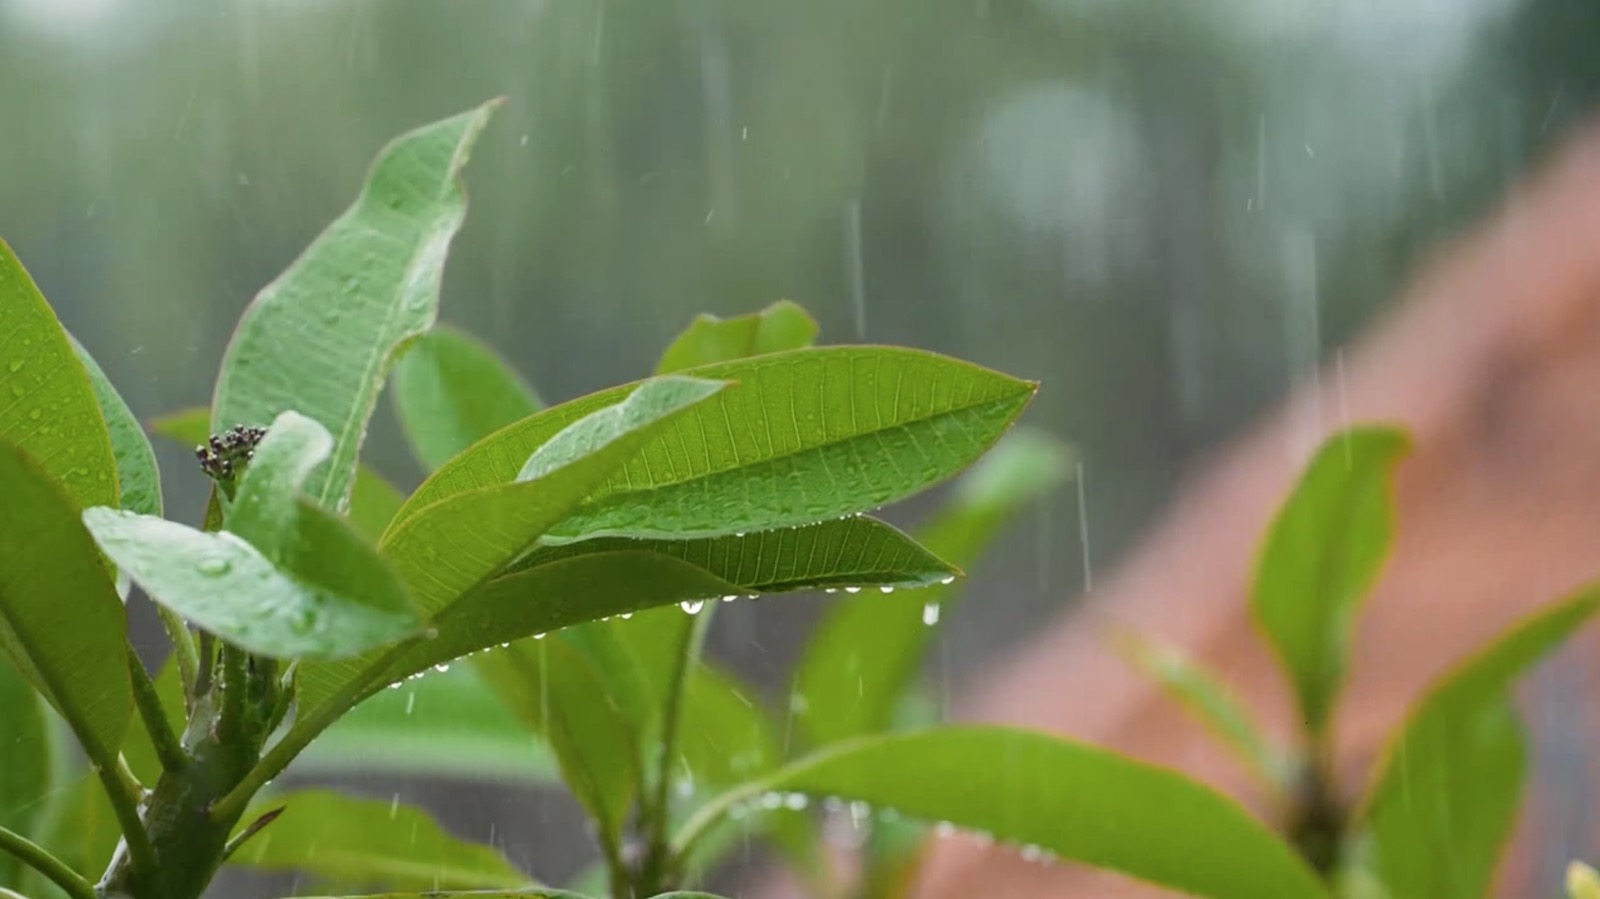
To give you an example, Videvo offers helpful tools for quickly finding the exact footage you’re looking for to insert seamlessly into your video. If you need a shot of falling rain for an exterior establishing shot, for instance, you can find rain videos in Videvo’s catalog by filtering the clips by category, license type, clip type (free clips vs premium clips), resolution, and duration. The search bar usually does a fantastic job on its own for turning up quality results. All of the stock footage video found on Videvo’s site can be used royalty free, and affordable monthly or annual payment options are available. Many clips are available to download for free.
Additionally, stock footage video sites like Videvo also feature unique loop videos and free overlays that can be used for special effects purposes or in intro and outro bumpers for branding your content online. Those are just a couple of ways to use this footage. Overall, they lend a higher production value to your edits and working them into your video couldn’t be easier.
For the time it’ll save you from having to go out and get the shots yourself, it’s more than worth the investment.
Video Editing Tips, #5: Pace Your Cuts
A peculiar entry on our list of time-saving video editing tips, this tip focuses more on “timing” cuts within your edits. In most instances, you don’t want the shots you’ve captured to change from one to another in too short of intervals. Cutting too quickly from one shot to the next might leave your viewer confused and will make it harder to understand what they’re watching. A good rule of thumb is to let a clip run for at least 4-6 seconds. Knowing this can save you time in the event that you’d otherwise feel the need to make a million cuts for the purpose of making your video more entertaining. Making frequent cuts makes sense to a point (you don’t want to bore the viewer), but you might just make them nauseous if you don’t give each shot time to breathe.
As a general rule, keep closeups or shots that feature little movement on the shorter end, and give wider shots with more action a little more time to unfold before switching to the next one. Try to mix these up when you can to even out the overall pace of your edit. And, as for pinning down exact moments to cut a shot, consider the soundtrack when applicable, such as cutting on a beat in a song.
Conclusions
I hope you found these time-saving video editing tips for photographers useful. There’s no reason to leave money on the table when it comes to offering a “new” service that so closely resembles what you’re already doing. Videography has grown by leaps and bounds over the last decade and including it in your services will help you compete in this ever growing industry. The nuances will feel more substantial up front, of course, but once you put in a bit of time and effort mastering your videography skills and putting tips like these to use, you’ll find it more than worth your time and investment.


