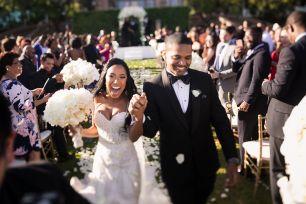
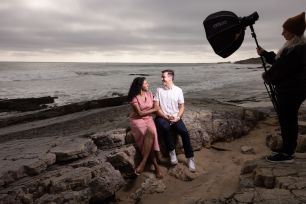
The over the shoulder shot is my favorite signature portrait when photographing couples. In this video, I’ll be walking through how you can recreate this look to try on your next photoshoot.
Video: Step-by-Step Guide to Capturing Our Favorite Signature Portrait
Before we jump in, be sure to give Olivia and Tyson a follow on Instagram! I’ll be shooting with the Canon R5 with the RF 28-70mm f/2L lens.
If you like this tutorial, be sure to check out one of our other top signature shots, The Shutter Drag Portrait!
Find Your Composition

For this signature portrait, you’ll need a large directional light. It could be a window, a large door, or in our case, the opening of a cave. We can begin by posing our couple in front of the light. I had Olivia and Tyson standing in front of each other looking slightly down and to their sides.

Once we lock down the basic composition and our ambient light setting, we can move on to modifying our light.
Modify the Light

We can modify the light by turning altogether so that the light is coming in from camera-left. The light will focus on the subject, usually the female in this style of portrait. The male will be in the foreground, helping guide the focus to his partner.

If the background is too dark, the male subject may be hard to see. To emphasize him in the foreground, we pull the angle slightly back toward the cave (or window) opening. The walls will be brighter in the background and help him stand out. Notice the difference.
Photograph!

The key to modifying the light is to vary the angles until the background and your subjects are properly lit. Focus on your couple’s eye-lines to help guide the viewer through the image and have fun with this incredibly simple but beautiful signature portrait.
Conclusion
I hope you enjoyed this article/video. If you’d like to learn all about photographing extravagant engagements and weddings, be sure to head to SLR Lounge Premium. There, you’ll find entire courses on photography designed to help you build the studio and career of your dreams. You can also visit Visual Flow for an entire library of Lightroom presets and retouching tools for your ideal editing workflow.
Don’t miss our next episode of Mastering Your Craft on Adorama’s YouTube channel next week! If you want to catch up on all the episodes, make sure you check out our playlist!