
Whether you have a dedicated studio space or a corner in the room of your home, keeping your photography gear organized and accessible is important. One of the tools we can use to do this comes in the form of production carts, aka studio carts. As the name suggests, studio carts are intended for use in a studio, and they can serve a number of purposes. For example, one popular application involves using the cart as a portable tethering station for both photographers and videographers. A big drawback, however, is that production carts can cost north of $1,000. Fortunately, the DIY Photography team has put together a cost-friendly solution that should put production carts within your financial reach. With their help, we can now build studio carts for less than $300.
Video: DIY Studio Carts for Under $300
Picking Out the Parts
As mentioned in the video above, the exact components you’ll need for building production carts may vary. Regardless of the specifics, you can expect to pay less following this method. That said, here’s a list of the parts the DIY team chose to include when creating their cart:
- Cart – IKEA Bror
- Pegboard – IKEA Skadis Pegboard
- Laptop Table – Tether Tools Aero Table
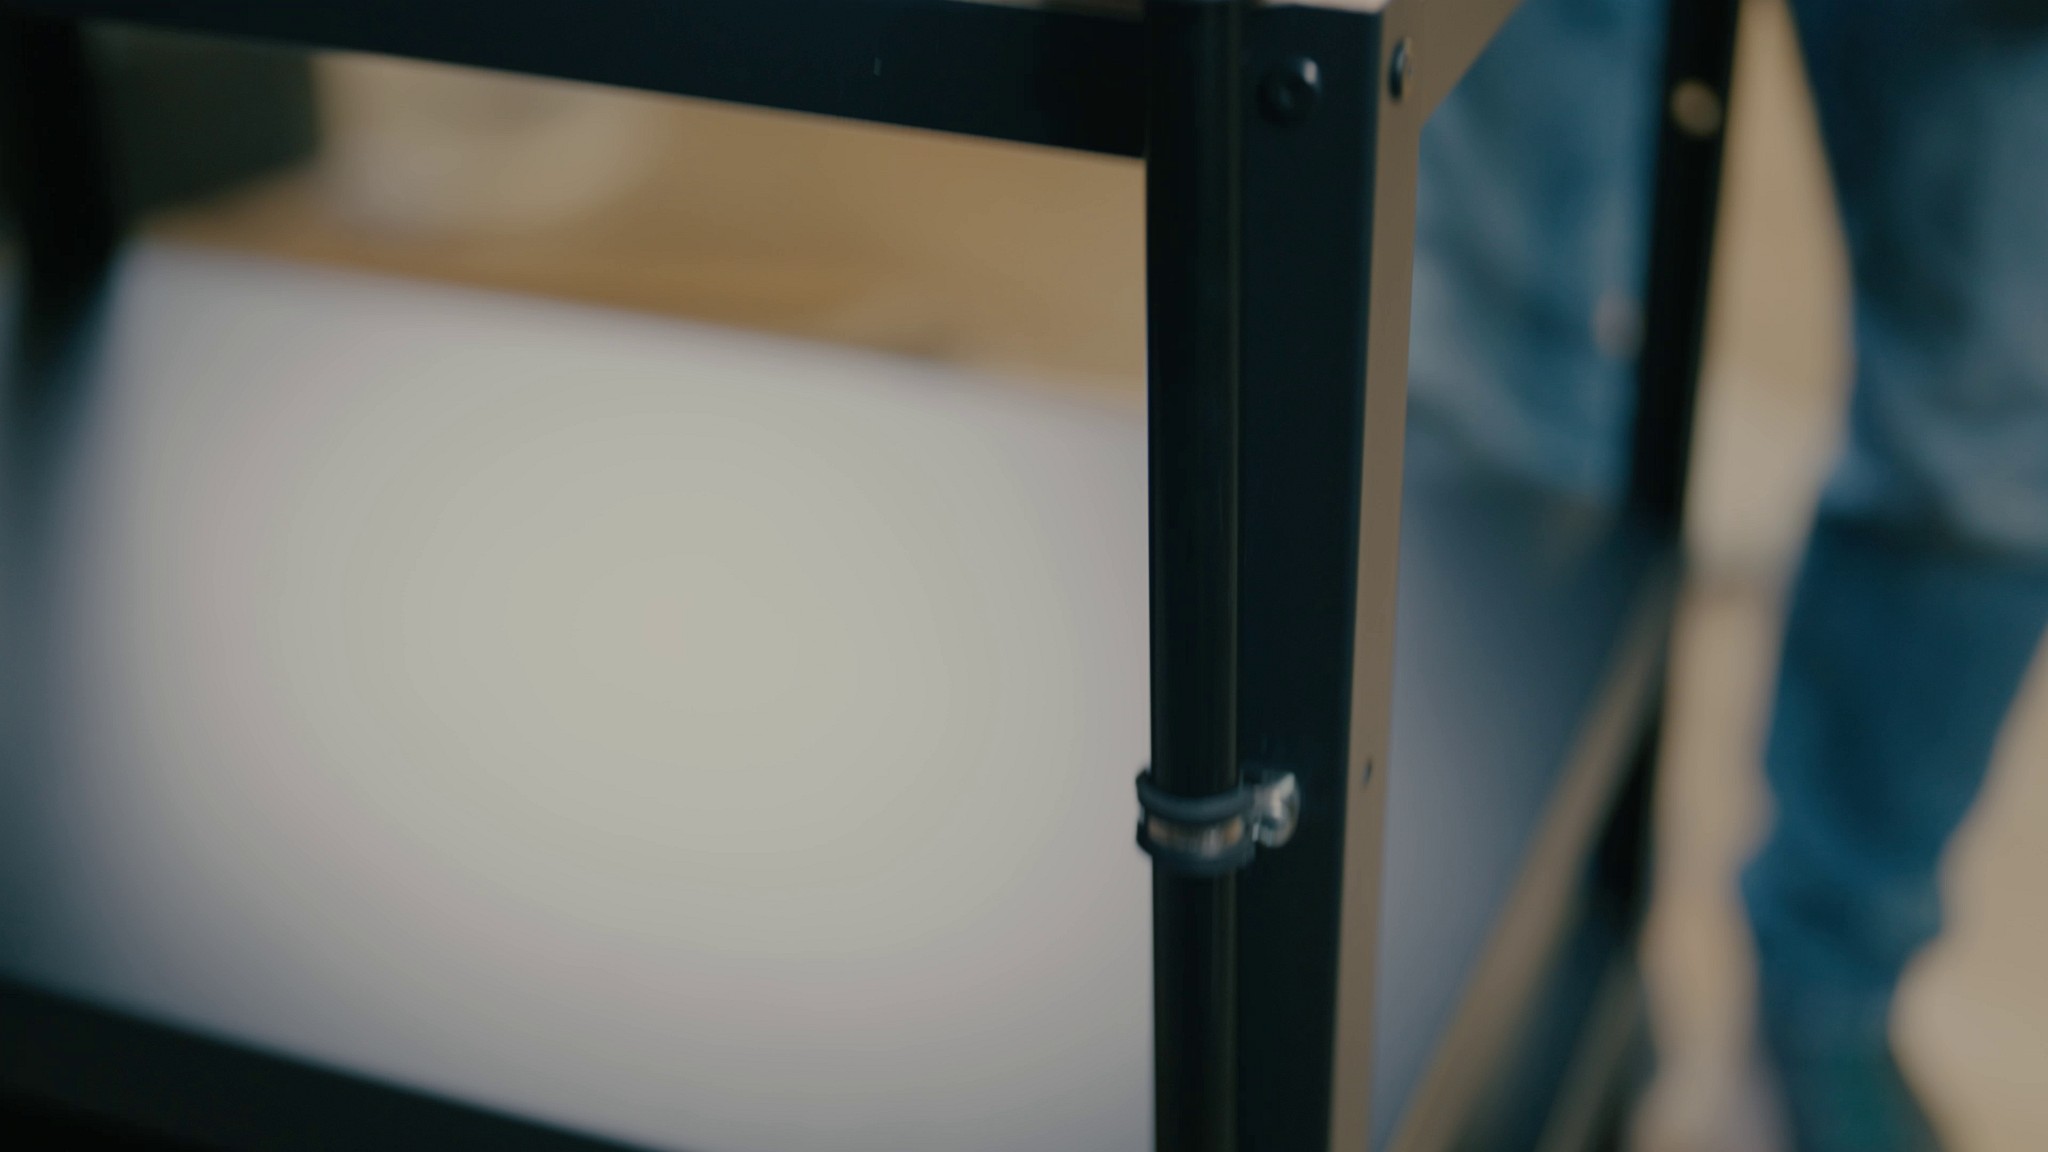
- Cable Clamps
- Portable Power (Heavy Use) – EcoFlow Delta 2
- Portable Power (Laptop) – Tether Tools PD Battery Bank
- Power Strip
- Light Stand
- Cup Holder
Key Features to Consider for Production Carts
Here are some key features to consider when putting together production carts.
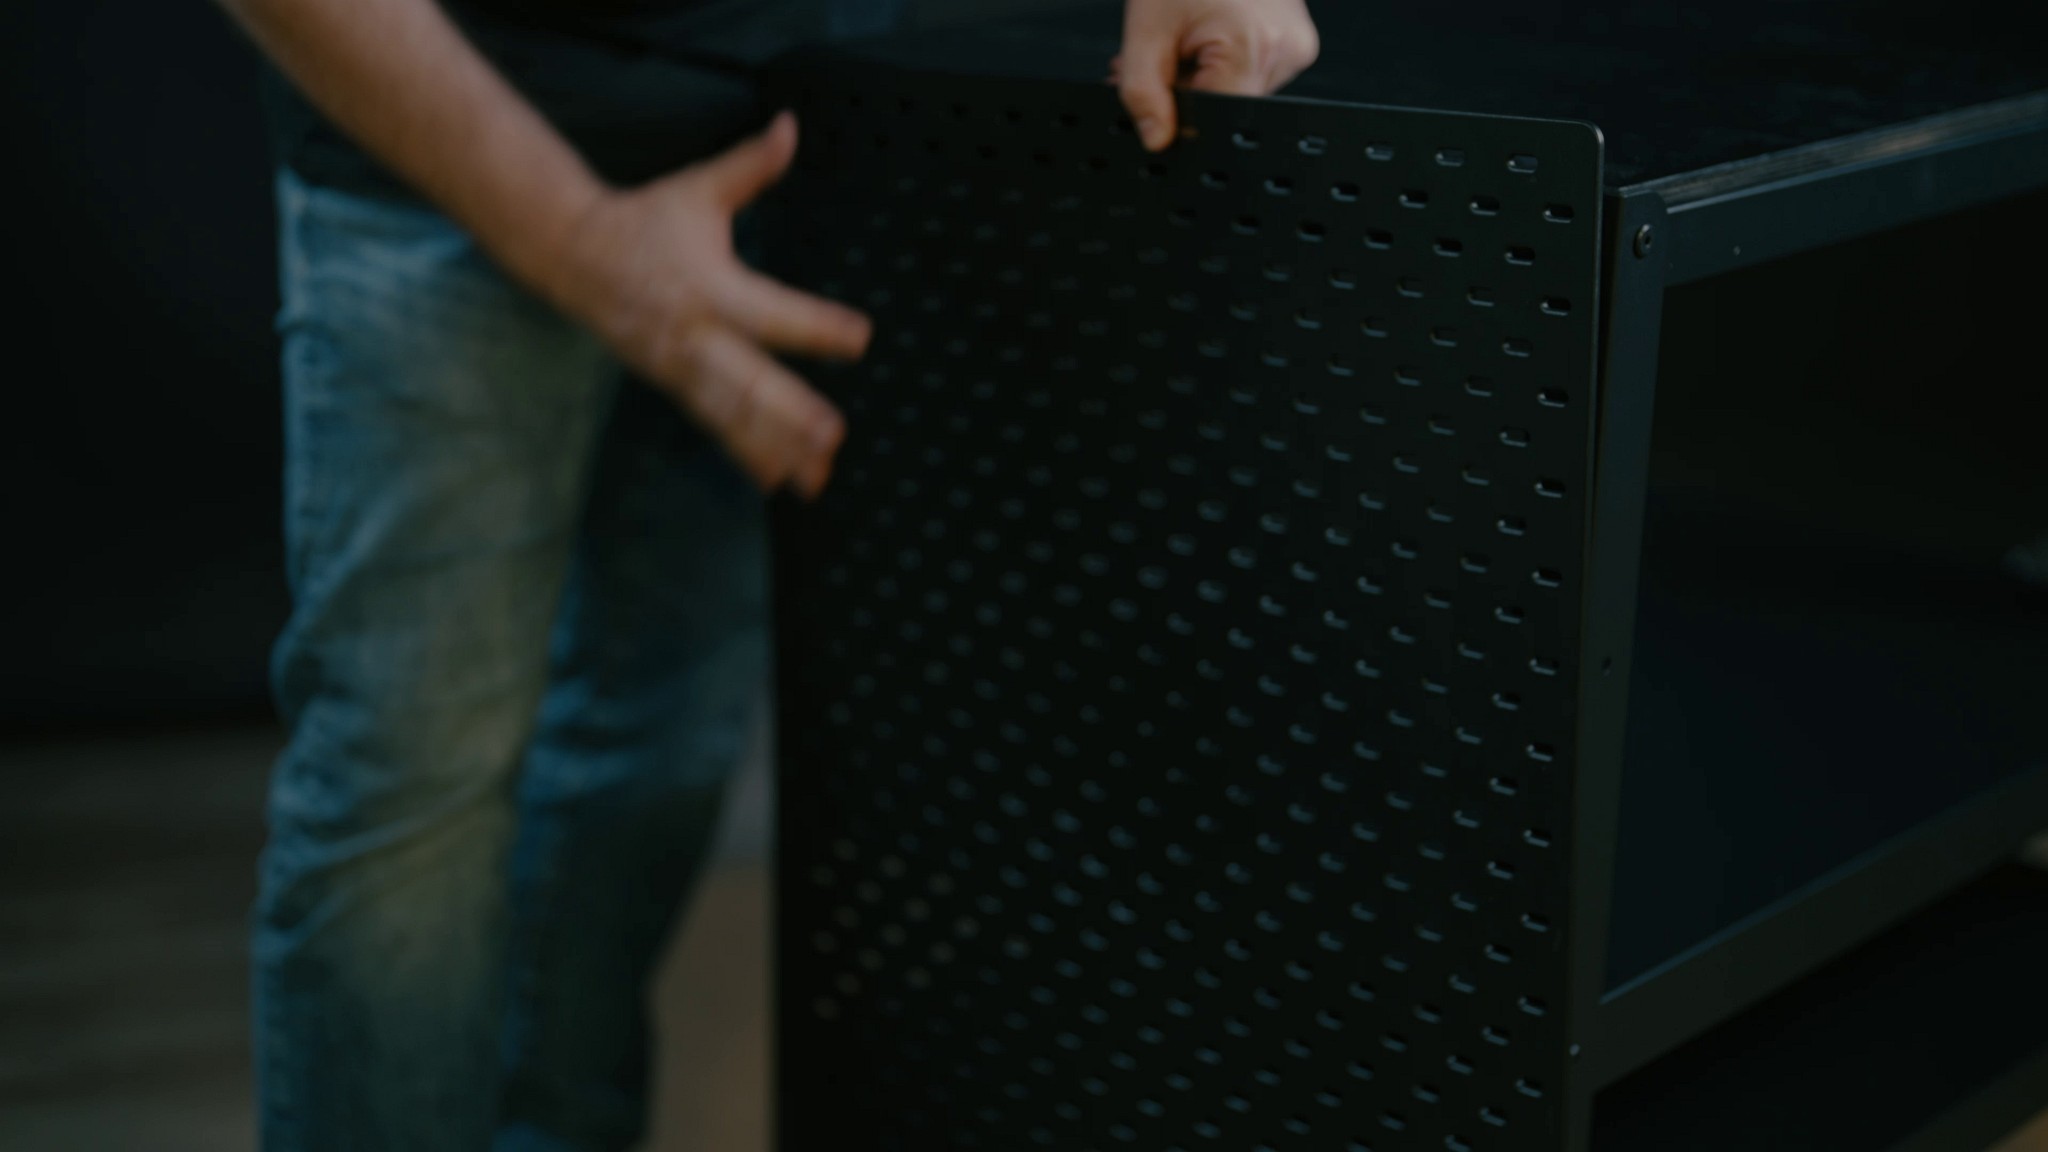
The Cart
When choosing the cart for your production carts, it’s important to make sure you select an option that allows the cart to function effectively. If you intend to take the cart on the road, for example, then this particular recipe won’t lend itself well to your needs. While it’s great for wheeling around the studio, the IKEA Bror cart is not collapsible and could prove difficult to transport. If you need to place a lot of weight on the shelves (more than 150 lbs), then you’ll need to look for an even heavier duty option. In most indoor use scenarios, however, this setup should have you covered.
Mounting and Accessibility
Given the purpose of these studio carts, it makes sense to be able to mount your tools/accessories and make your gear more accessible. The DIY Photography team made a point of adding such features in their design.
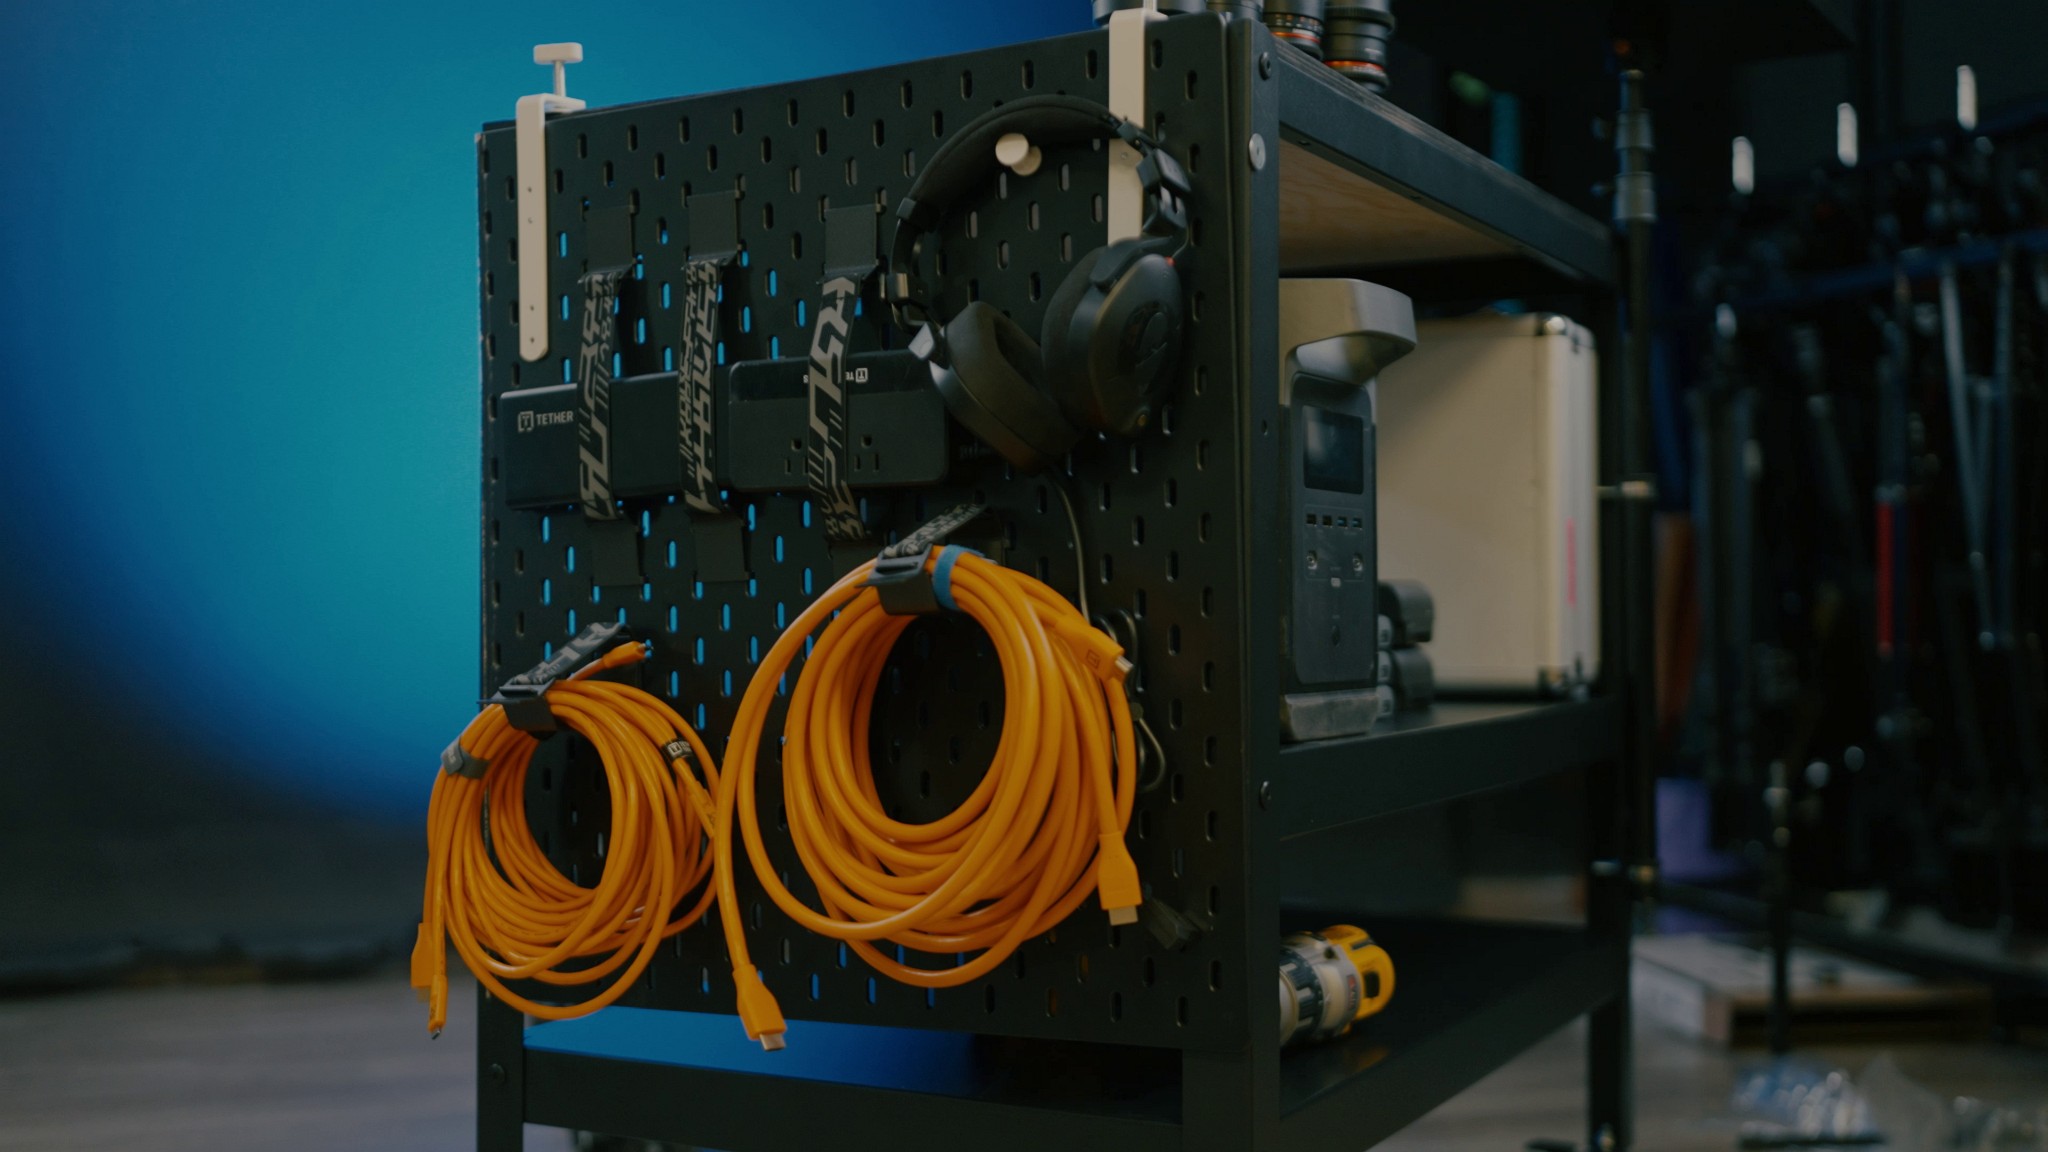
A side-mounted pegboard (and various pegboard accessories) gave them a perfect place to add portable power banks, tethering cables, and headphones. IKEA offered plenty of solutions for mounting the pegboard and other bits to the cart as well.
One of the more unique additions to the DIY cart involved a hacked light stand that transformed into a laptop mounting pole when used in tandem with a Tether Tools Aero Table. You might not have light stands to spare for production carts, but any adjustable riser that you can mount to the wooden cart top should do. It helps to know that the Tether Tools table includes a convenient bracket that will secure the table to a 5/8″ stud studio stand, Arca-type compatible mounting attachment, 1/4″-20 tripod head, or 3/8″ tripod mount. In other words, you have options.
[Related Reading: Lightroom Tethering | Ultimate Guide to Tethered Capture in Lightroom]
Power for Production Carts
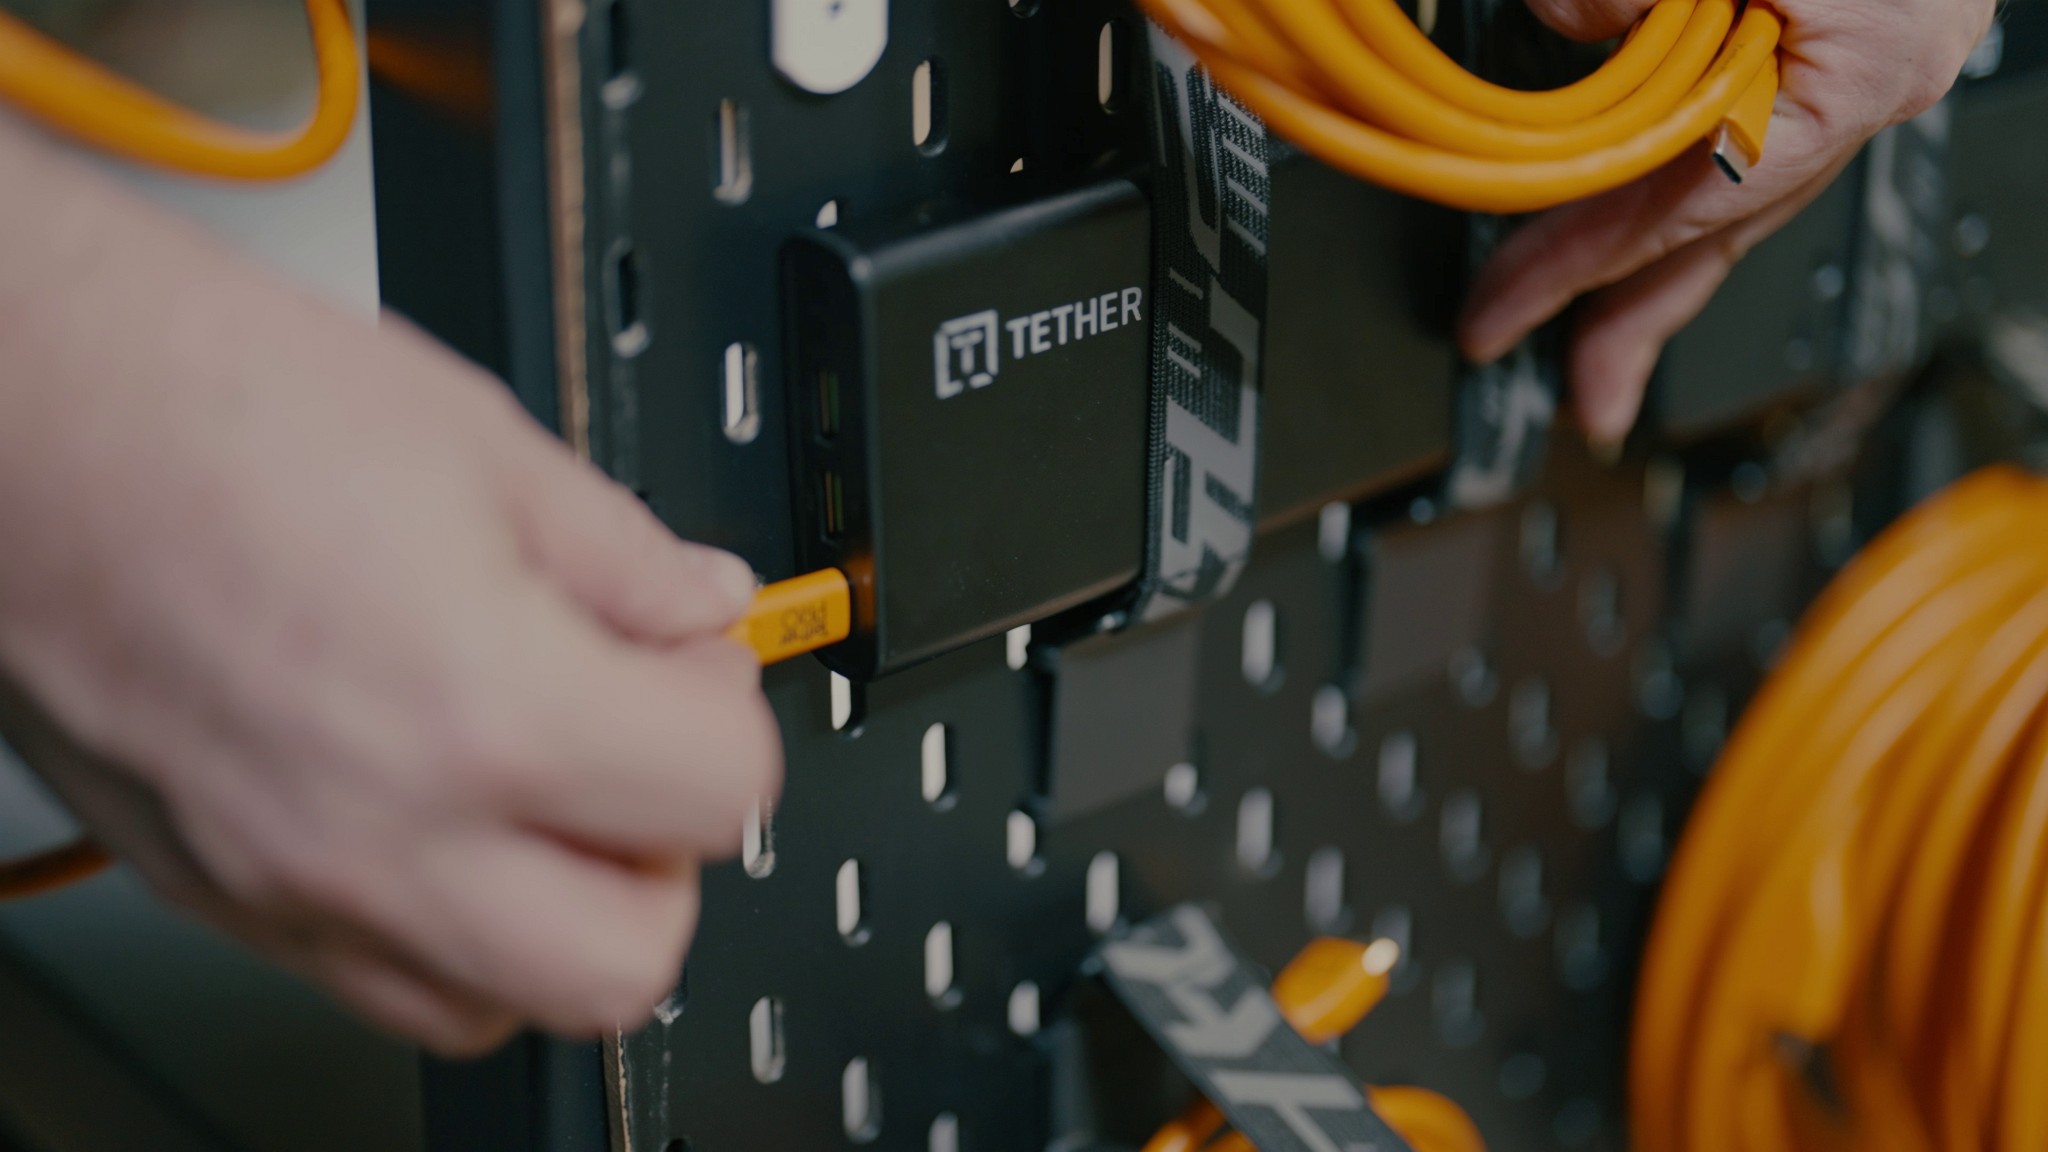
If you’re going to power up a laptop or other devices on your studio cart, then you’ll want to make a plan for providing power. The DIY team added a single power strip to their cart to minimize the number of power cables going out to the wall. They also added a couple of portable power options to eliminate the need for wall sockets altogether (when necessary).
Conclusion
Given the high price of store bought production carts, it’s great to have DIY options like this thanks to creators like the team at DIY Photography. Hopefully, you can take this information and use it to build your own studio carts. Speaking of which, what are some other elements that you think would prove useful on these carts?


