Every photographer develops a system over time. We learn from mentors, from our mistakes, and — if you’re anything like me — from making it up as we go until something actually works. The following is the complete photo shoot workflow I’ve built from years of corporate and portrait work at WorkStory Corporate Photography, covering everything from the initial concept through backing up your files at the end of the night. Whether you’re shooting a branded corporate session, a portrait client, or a creative concept project, this is the process I return to every time.
Planning your photo shoot
1. Dream up a concept

The first question to answer is: what is this shoot actually for? Is it a passion project? Marketing assets for a client? A portfolio piece in a specific genre? That purpose shapes every decision that follows. If the shoot is for yourself, the sky is the limit. If you’re struggling to land on a concept, try working through these questions:
- What movies, genres, or books do you love? Can you build a shoot around that visual world?
- Is there a location or a specific person who inspires you? What story can you design around that?
- Is there a feeling or moment from your own life you want to communicate?
For client shoots, finding out what they want to communicate is the job. Here’s how I approach that:
- Just have a real conversation. Ask them why they hired you. What do they like about your style? Let that inform everything.
- If you prefer structure, send a questionnaire before you meet. I recommend following up in person — some people don’t fully express themselves in writing, and that face time builds a connection that pays off on shoot day.
- Work with your client to build a visual inspiration board, which we’ll cover in step three.
2. Decide on a location
Once you have a concept, you need the right location to bring it to life. For my corporate clients at WorkStory, this is usually straightforward — we shoot at their office or business in Spokane. For portrait and concept work, it takes more thought. A few things to work through:
- Does this location fit the story you’re trying to tell?
- Do you need a permit to shoot there?
- Is there a location fee, and can you pass that cost along to your client?
- How will weather affect the shoot? Do you have a contingency?
- What’s the quality of natural light at that location and time of day? Will you need to supplement or overpower it?
Before the shoot, do a dedicated location scout to pre-plan your shots and identify any surprises.
3. Create an inspiration board

Most clients don’t fully know what they want until they see it. At WorkStory, after meeting with a new client, we build an inspiration board on Pinterest that shows our vision for the shoot. We share it with the client, invite them to contribute, and ask them to be specific: do they like the pose, the lighting, the concept, or the styling? That precision prevents mismatched expectations.

In our SLR Lounge Workshops, Pye shows how Lin and Jirsa have their wedding and engagement clients build a mood board using only images from their own portfolio — so clients are choosing within a consistent style rather than pulling references from a dozen different photographers. It’s a smart way to keep expectations realistic and aligned.
4. Do a model call or hire a model

For concept or commercial work, you’ll likely need models. If you’re new to working with them, here are a few approaches:
- For experienced models, check a local modeling or talent agency.
- Join model and photographer meetup groups on social media — there’s usually a working community in any mid-sized city.
- For personal projects, friends can work well. Just set clear expectations: do they get prints? Will their likeness be published?
- Send a model call to your client list or network. Same rule applies — define the terms upfront.
- Always get a signed model release.
5. Plan hair, makeup, and styling

Styling gets skipped more than it should. Even for corporate work at WorkStory, we spend time during the pre-shoot consultation talking through what employees should wear, how to tidy up their workspace for camera, and whether professional hair and makeup makes sense for the job. For concept, fashion, glamour, or portfolio work, collaborating with stylists consistently raises the quality of the final images. Here’s where to find them:
- Reach out directly to stylists you admire and ask if they’re available for hire.
- Offer your own stylist a trade: incredible images they can use in their advertising in exchange for their time on your shoot.
- Contact a local boutique or designer whose aesthetic matches your concept and propose a collaboration.
- Reach out to local colleges. Beauty schools, fashion programs, and interior design students need real-world experience and are often eager to collaborate. Check rules and internship requirements with the specific school first.
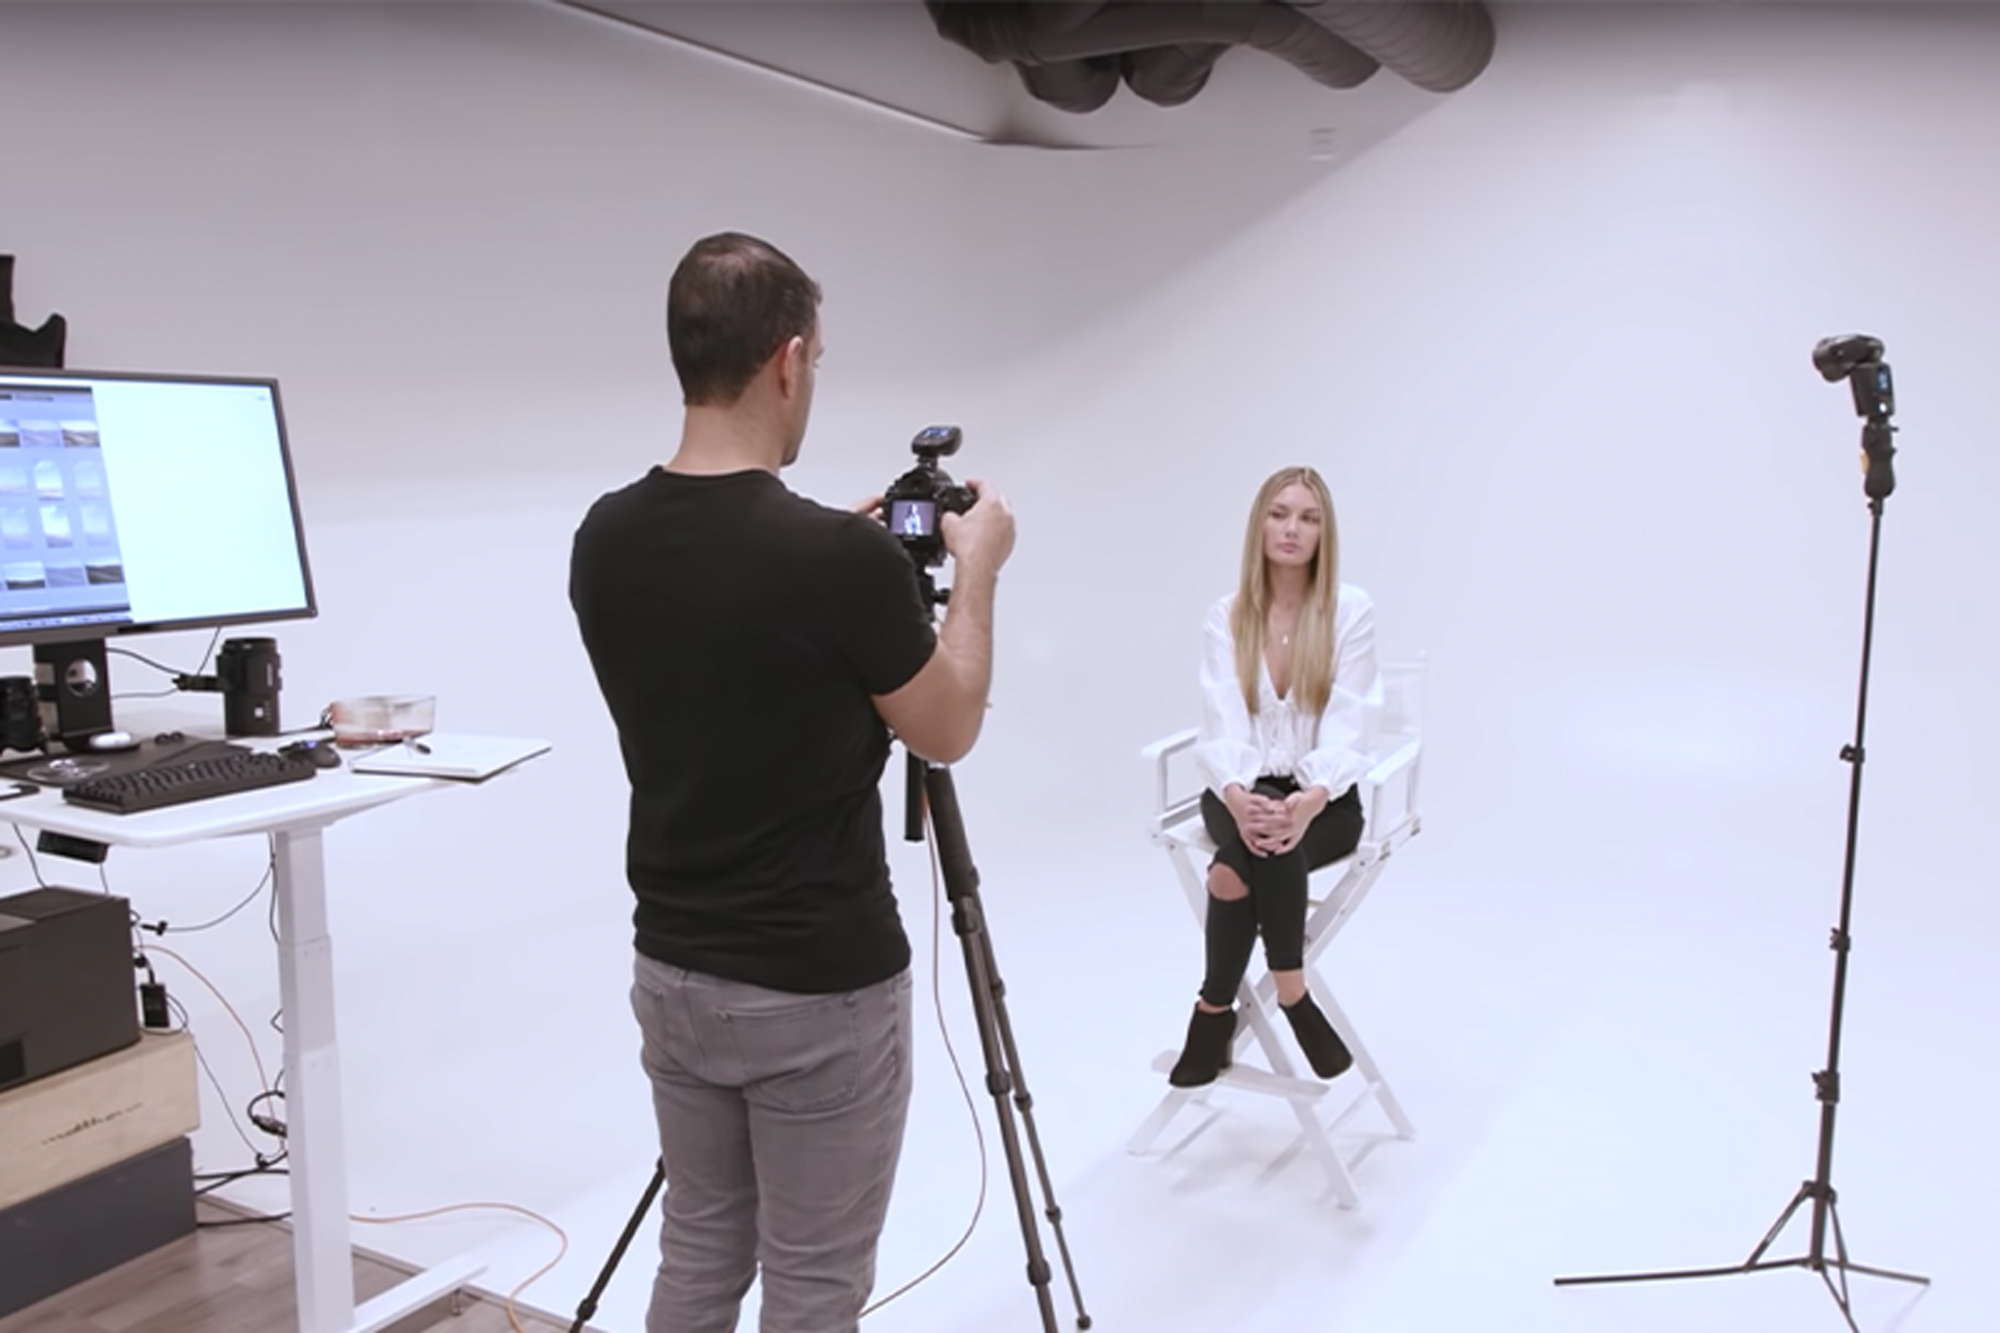
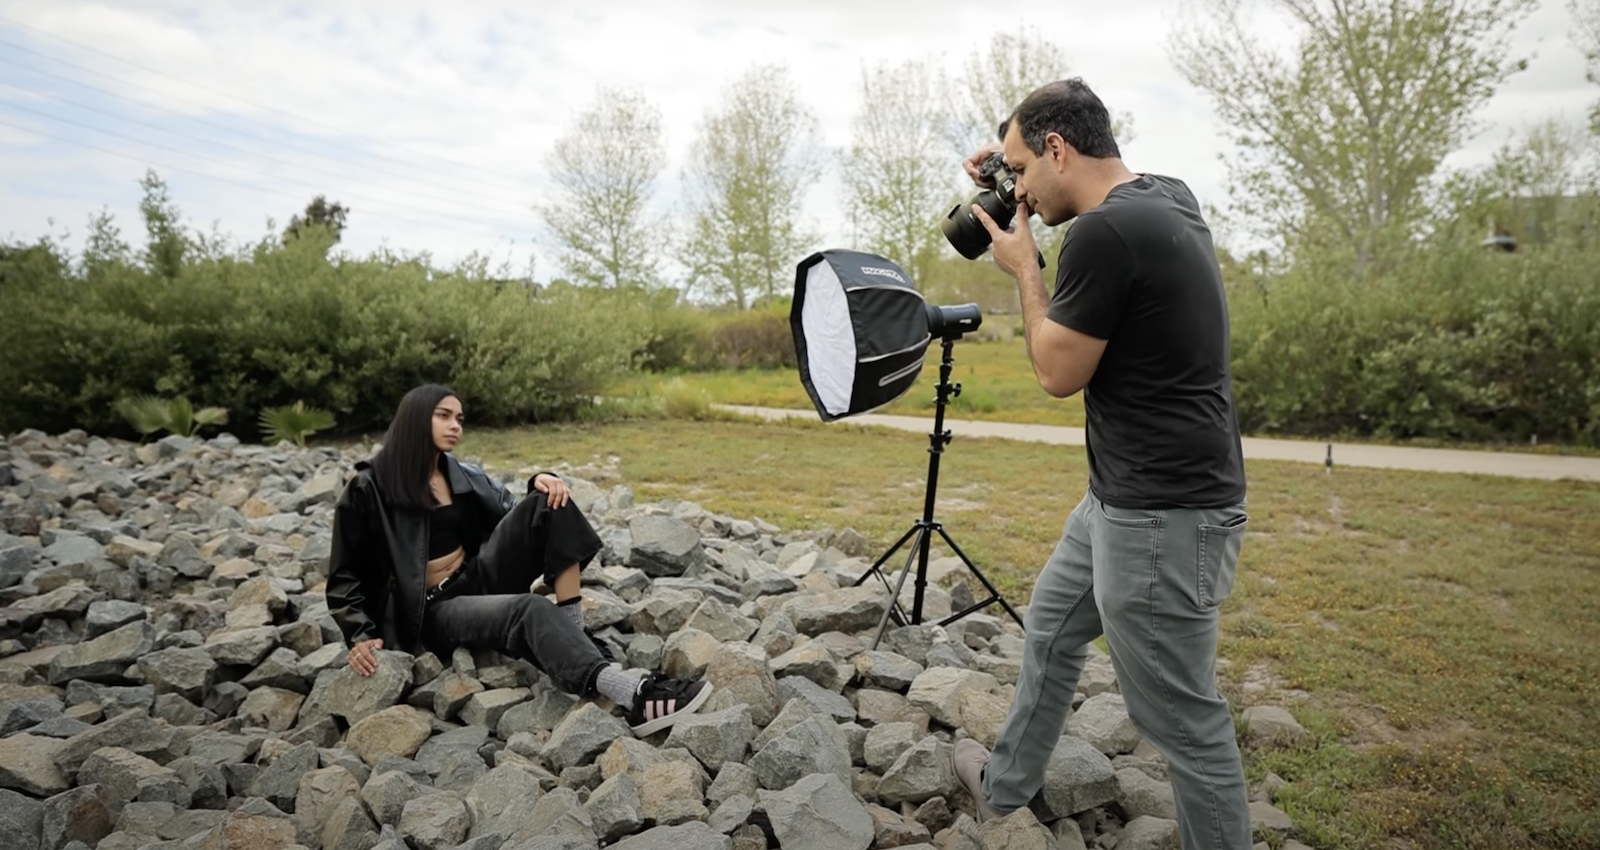
6. Plan your lighting and gear

With the concept, location, and team locked in, work through what gear and lighting you’ll actually need to make the images happen. Even if you shoot natural light only, you may still need a reflector, scrim, or diffusion panel. A few questions to answer before you pack:
- Are you working in a tight space? What constraints does that put on the gear you can bring?
- Are you shooting from a specific vantage point — elevated, ground level, overhead? What do you need to make that work?
- Do you need a specialty lens — macro, ultra-wide, tilt-shift?
- Do you need to overpower ambient light with a strobe, or will LED panels get you where you need to go?
- Do you have enough batteries — for the camera, speedlights, and any portable strobes?
- Do you need radio triggers, light stands, modifiers, super clamps, or sandbags?
Executing your photo shoot
7. Gather all your gear

The night before, I pull everything I’ll need and run through my checklist. There’s a lot to track, and forgetting a radio trigger or a charged battery on shoot day is a real cost. I keep a gear checklist that I fill out for each job because every shoot is slightly different. Here’s what mine typically includes:

- Camera bodies (Canon 5D Mark III, Sony A7 II)
- Speedlights
- ProFoto strobes
- Light modifiers
- Video light
- Flashlight
- Triggers
- 5-in-1 reflector
- Batteries
- Backdrop stand
- Light stands
- Boom arm
- Sandbags
- Backdrop
- Step stool and ladder
- Foam core board
- Leatherman tool
- Gaffer’s tape
- Sticky tack and 3M hooks
- Spoon, prisms, and specialty effects items
- Gels
- Spray bottle
- Shot list and contracts
- Model releases
- Water and snacks
8. Be on time

This one matters more than most people think. Showing up on time — and I aim for 15 minutes early — sets the tone for the entire day. It tells your client that the timeline you planned together is real and that you take it seriously. I also make this expectation explicit with clients: it’s written into my contract that if they’re late, that time comes out of our shooting window. We start on time and we end on time.

The scheduling form I use helps me map out the timeline with each client in advance. Some clients want the day planned in 15-minute increments. Others just need to block the start time, end time, and a lunch break. I tailor it to them, but having it in writing keeps both sides accountable.
9. Stick to the shot list
Using the client’s inspiration board and the information from their consultation, I build a specific shot list for the day. I’ll go off-script if I spot something genuinely inspiring or if the client wants a more photojournalistic approach, but for most corporate and portrait clients, there are specific images they need. We knock out the must-haves first, then use whatever time is left to experiment.

My shot list forms have plenty of blank fields because each client’s needs are different. Whether you’re shooting portraits, weddings, or commercial work, a shot list is a tool, not a constraint. Some wedding photographers I know swear by them; others find them cumbersome. Use what works for you.
10. Try something new

After the must-haves are handled, I build time into the shoot to try at least one thing I haven’t done before. I let the client know upfront — this might work, it might not, but it’s worth exploring. It’s how I stay sharp and avoid getting stuck in the same handful of shots. A few things worth experimenting with:
- A lens you don’t typically reach for, like a 100mm macro or a 16mm ultra-wide
- A shooting angle you rarely use, like directly overhead or flat on the floor
- Shooting through something in the foreground — glass, a prism, foliage
- Adding texture with a spray bottle on the lens, a prism, or a piece of acrylic in front of the glass
- A new lighting setup you’ve been wanting to test. Not sure where to start? Our Lighting 101 and 201 video workshops cover a wide range of techniques from basic to advanced.
- A new posing or directing approach with your subjects
11. Wrap up on time

Respect the end of the shoot the same way you respected the start. Clean up the area, return anything you moved to its original position, and run back through your gear list to make sure nothing gets left behind. Thank your client, confirm when they can expect to see their images, and schedule that delivery appointment if you haven’t already. The last impression you leave is part of the job.
After the shoot
12. Back up your images

Before you do anything else, back up your images. I do it as soon as I get back to my office after every shoot. Some wedding photographers I know back up to the cloud from their car before they drive home — which sounds extreme until you hear a story about a card failure or a break-in. This is not optional. We’ll cover culling and editing in the next part of the series.
13. Maximize the effectiveness of the shoot
You spent real time planning and executing this shoot. Make sure the images work hard after the fact:
- Post on Instagram and Facebook. Tag and add as a collaborator every business, location, and model involved. Their audiences become yours.
- Create a Reel on Instagram. Don’t use each image once and move on. A Reel from the same shoot extends the reach of content you’ve already made.
- Share the images with everyone involved. Give collaborators files they can actually use for their own marketing, and ask that they credit you when they do.
- Blog the images or add them to your portfolio. Rename your files before uploading and follow SEO best practices so the images are discoverable long after the shoot.
Photo shoots are a significant investment of time and planning. The workflow above keeps the process consistent whether you’re running a corporate session for a new client or testing a creative concept on your own. Build the checklist, trust the system, and you’ll spend less energy managing the chaos and more time making images.