In this video, I’ll show you a simple Photoshop compositing technique to remove light stands from your images in less than two minutes. Then, we’ll do a complete rundown of how the image was shot, lit, and processed.
Why is Compositing Useful?
This technique is one of the highest requested videos and also one of the most frequently asked questions in our Master OCF & Lighting Facebook Group. Here are some reasons why you’ll want to spend a minute and learn this technique:
- Not enough flash power: We’re often working with lights that don’t pack enough power to be placed out of frame. Although medium-large strobes (like the Profoto B10 or Godox AD200) have become quite popular, they aren’t in everyone’s toolkit.
- Shooting wide: maybe you are looking to achieve a wider composition but still need to add light to your subject.
- Creative purposes: maybe you are intending on using your lights to really spotlight your subjects and getting your light stand close to your subject is the easiest way to do this.
Regardless of the reason, this is a useful and simple technique to master, here are the steps. To make this quick, we’ll jump straight to the editing portion of this tutorial, assuming you’ve already shot a “plate image.” If you don’t know what a “plate” shot is, watch the video in full, or start with the section below on “How the Image was Lit and Photographed.”
How to Remove Light Stands via Photoshop
1. Sync Develop Settings with the “Plate Shot”
After processing your image for the desired look, sync your develop settings over to your plate shot. If you don’t know what a “plate” shot is, we’ll dive further into the subject down below in the section “How the Image was Lit and Photographed.”
2. Right Click > Open as Layers in Photoshop

If using Lightroom, select both images, right-click go to Edit in > Open as Layers in Photoshop. If you are using a different raw processing solution, jump into Photoshop and simply open up both your lit image and plate shot on two separate layers.
3. Auto-Align Layers in Photoshop

Ideally, you shot the image and plate on a tripod. But, regardless, and just for good measure, I want you to auto-align the layers to ensure they are pixel perfect. To do so, select both layers then go to Edit > Auto-Align Layers > Auto.
4. Add Layer Mask & Paint Out Lights

With the final lit image on top, add a Layer Mask and select your Brush (B) with default colors (D). With a black brush at 0% hardness, paint with a Wacom pen or mouse to conceal the stands while revealing the plate shot below.

That’s it! Now, let’s dive into the actual creation of this image.
How the Image was Lit and Photographed
In Lighting 3, we introduced the C.A.M.P framework as one of our SLR Lounge teaching methods:
- Composition: What do we want our scene to look like? Where do we want the camera to be? What’s the angle? What do we want our subjects to be doing?
- Ambient Light Exposure: Choose the intention of the scene. Do we want a dramatic image (darkening the ambient light and using more flash) or do we want a softer image (brightening the ambient light and using a more natural power of flash)?
- Modify/Add Light: Are your subjects visible in the frame or do they need to be chiseled out? Do you need to add an additional light source?
- Pose & Photograph: Take your shot!
This image was actually created during the filming of that workshop and is, in fact, one of the tutorials we teach called Light Stacking. We are going to break it down step by step and walk you along on how we created this shot.
Step 1: Composition
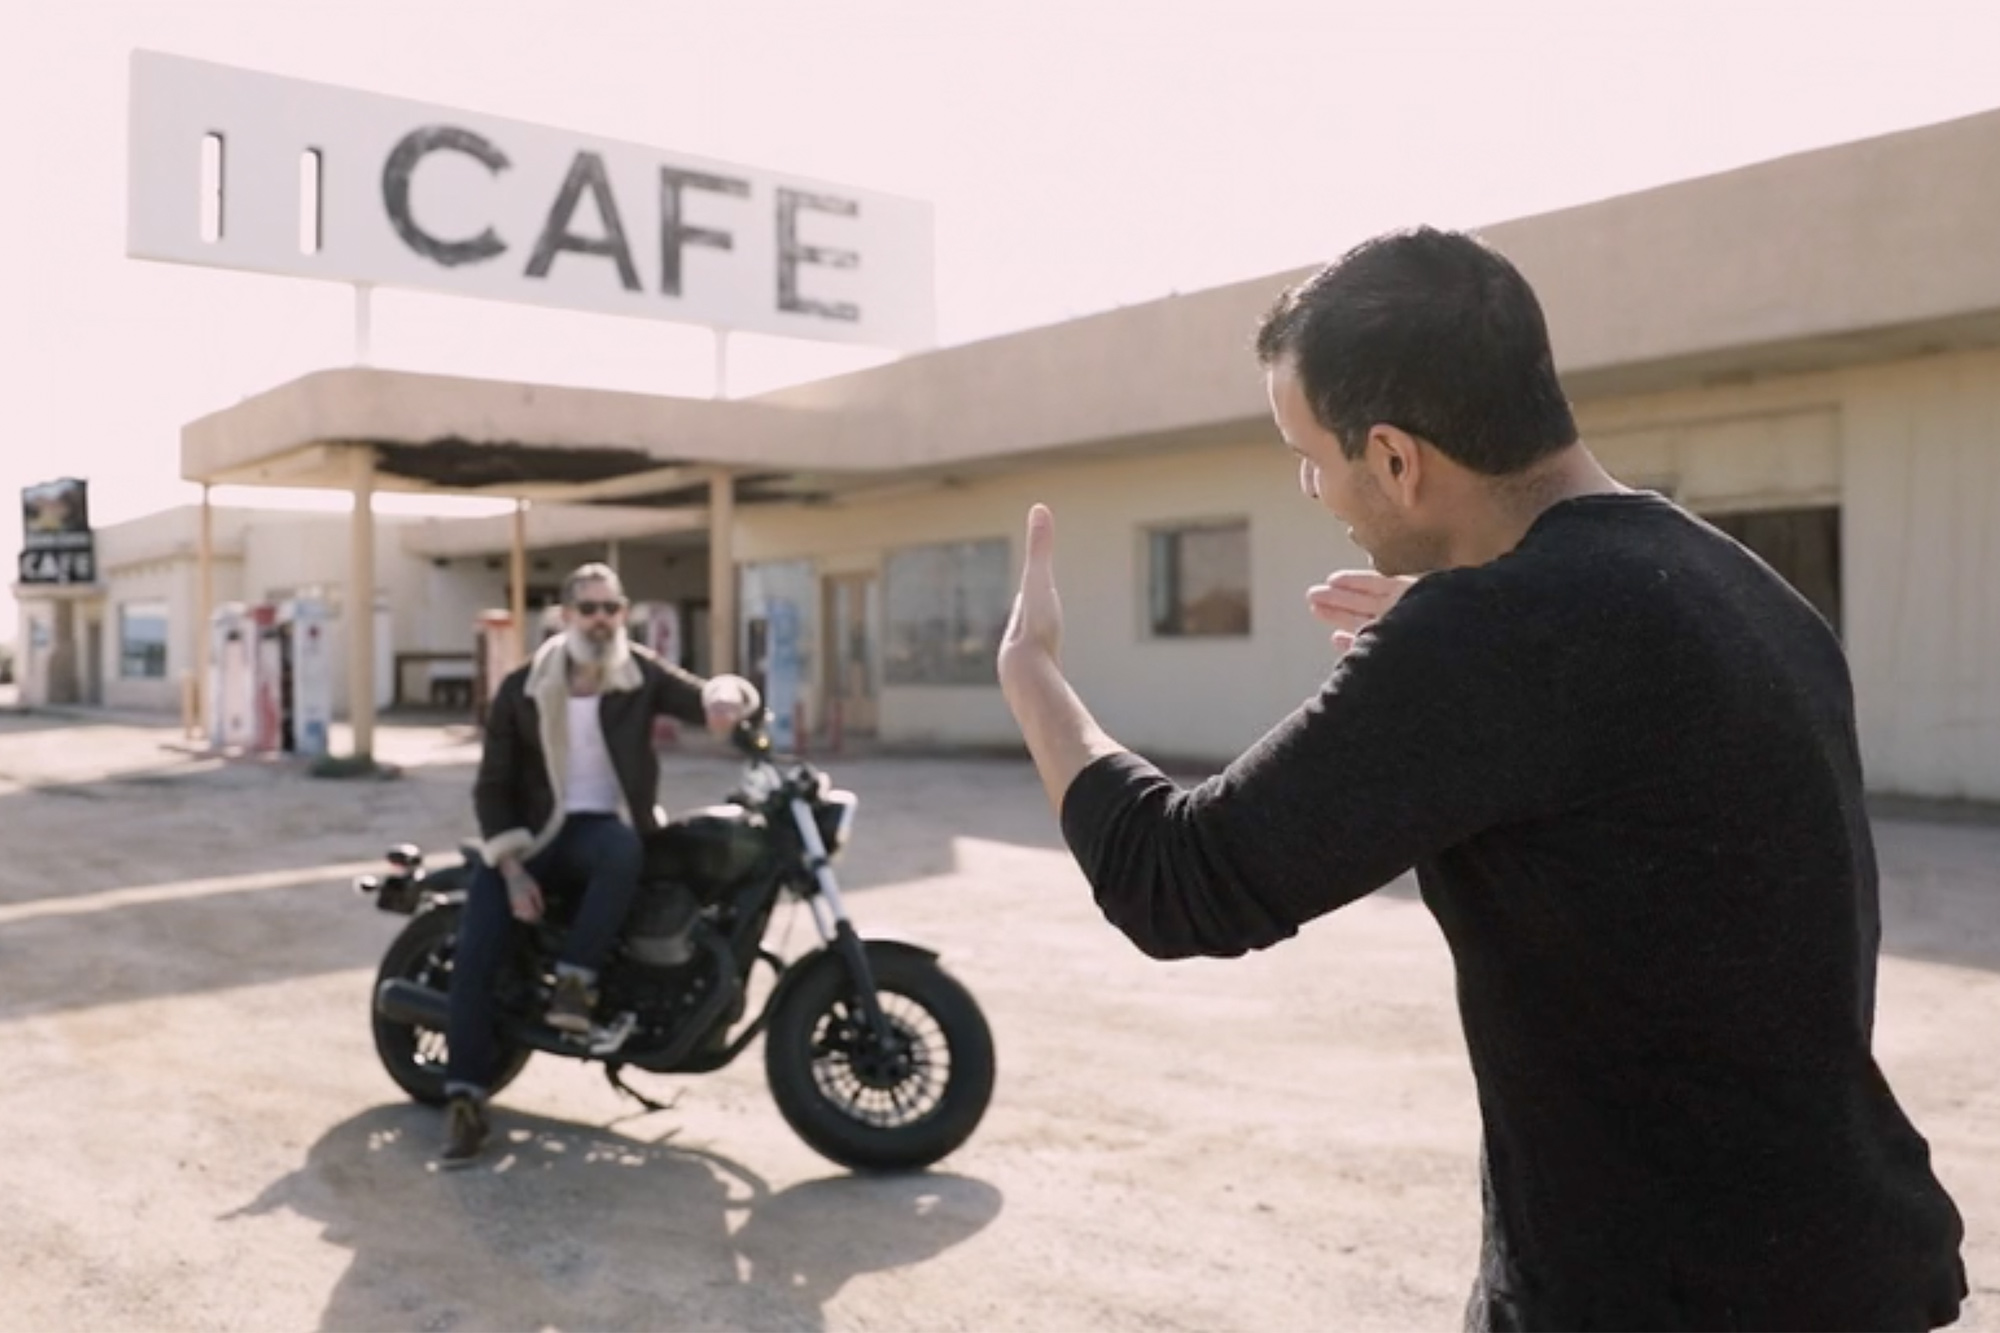
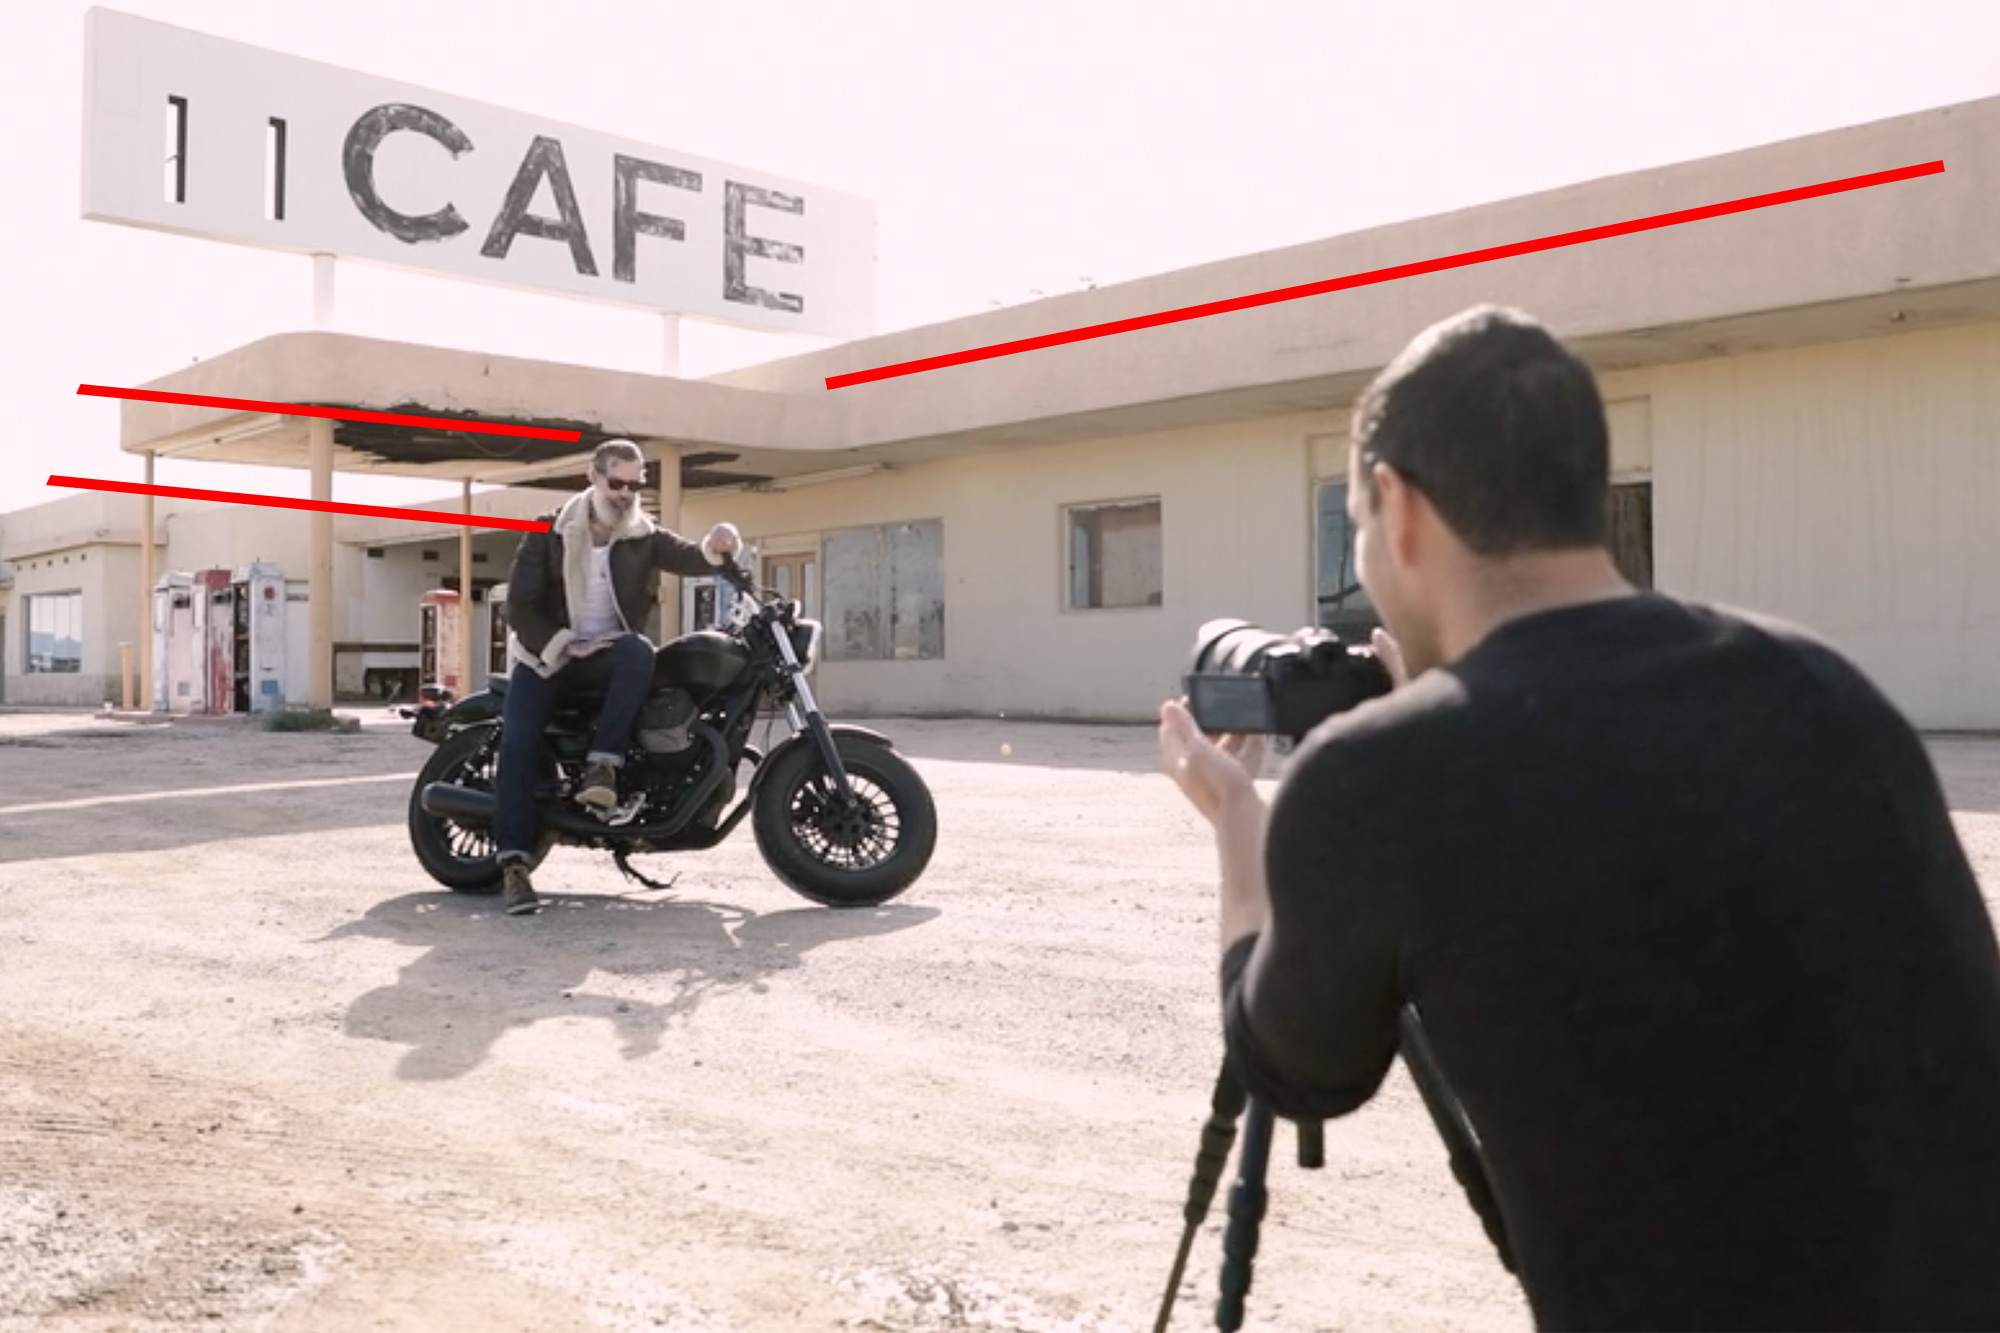
I wanted to get my subject, Seth, placed in an area where the background could frame him. You can see in the behind the scenes video that he is framed within the pillars of the cafe, right on the left third of the image. I made sure that his body and head were placed against a dark background so that he would pop out more in the scene. In addition, all the lines of the building lead to our subject.
Step 2: Ambient Light Exposure

The difference between a natural-looking image and a dramatic image has nothing to do with whether you are adding flash or not, but instead, it deals with ambient light exposure. If you want a more dramatic looking image, you’re going to pull the ambient exposure down and pump up your flash power and do the exact opposite for bright more natural-looking images.

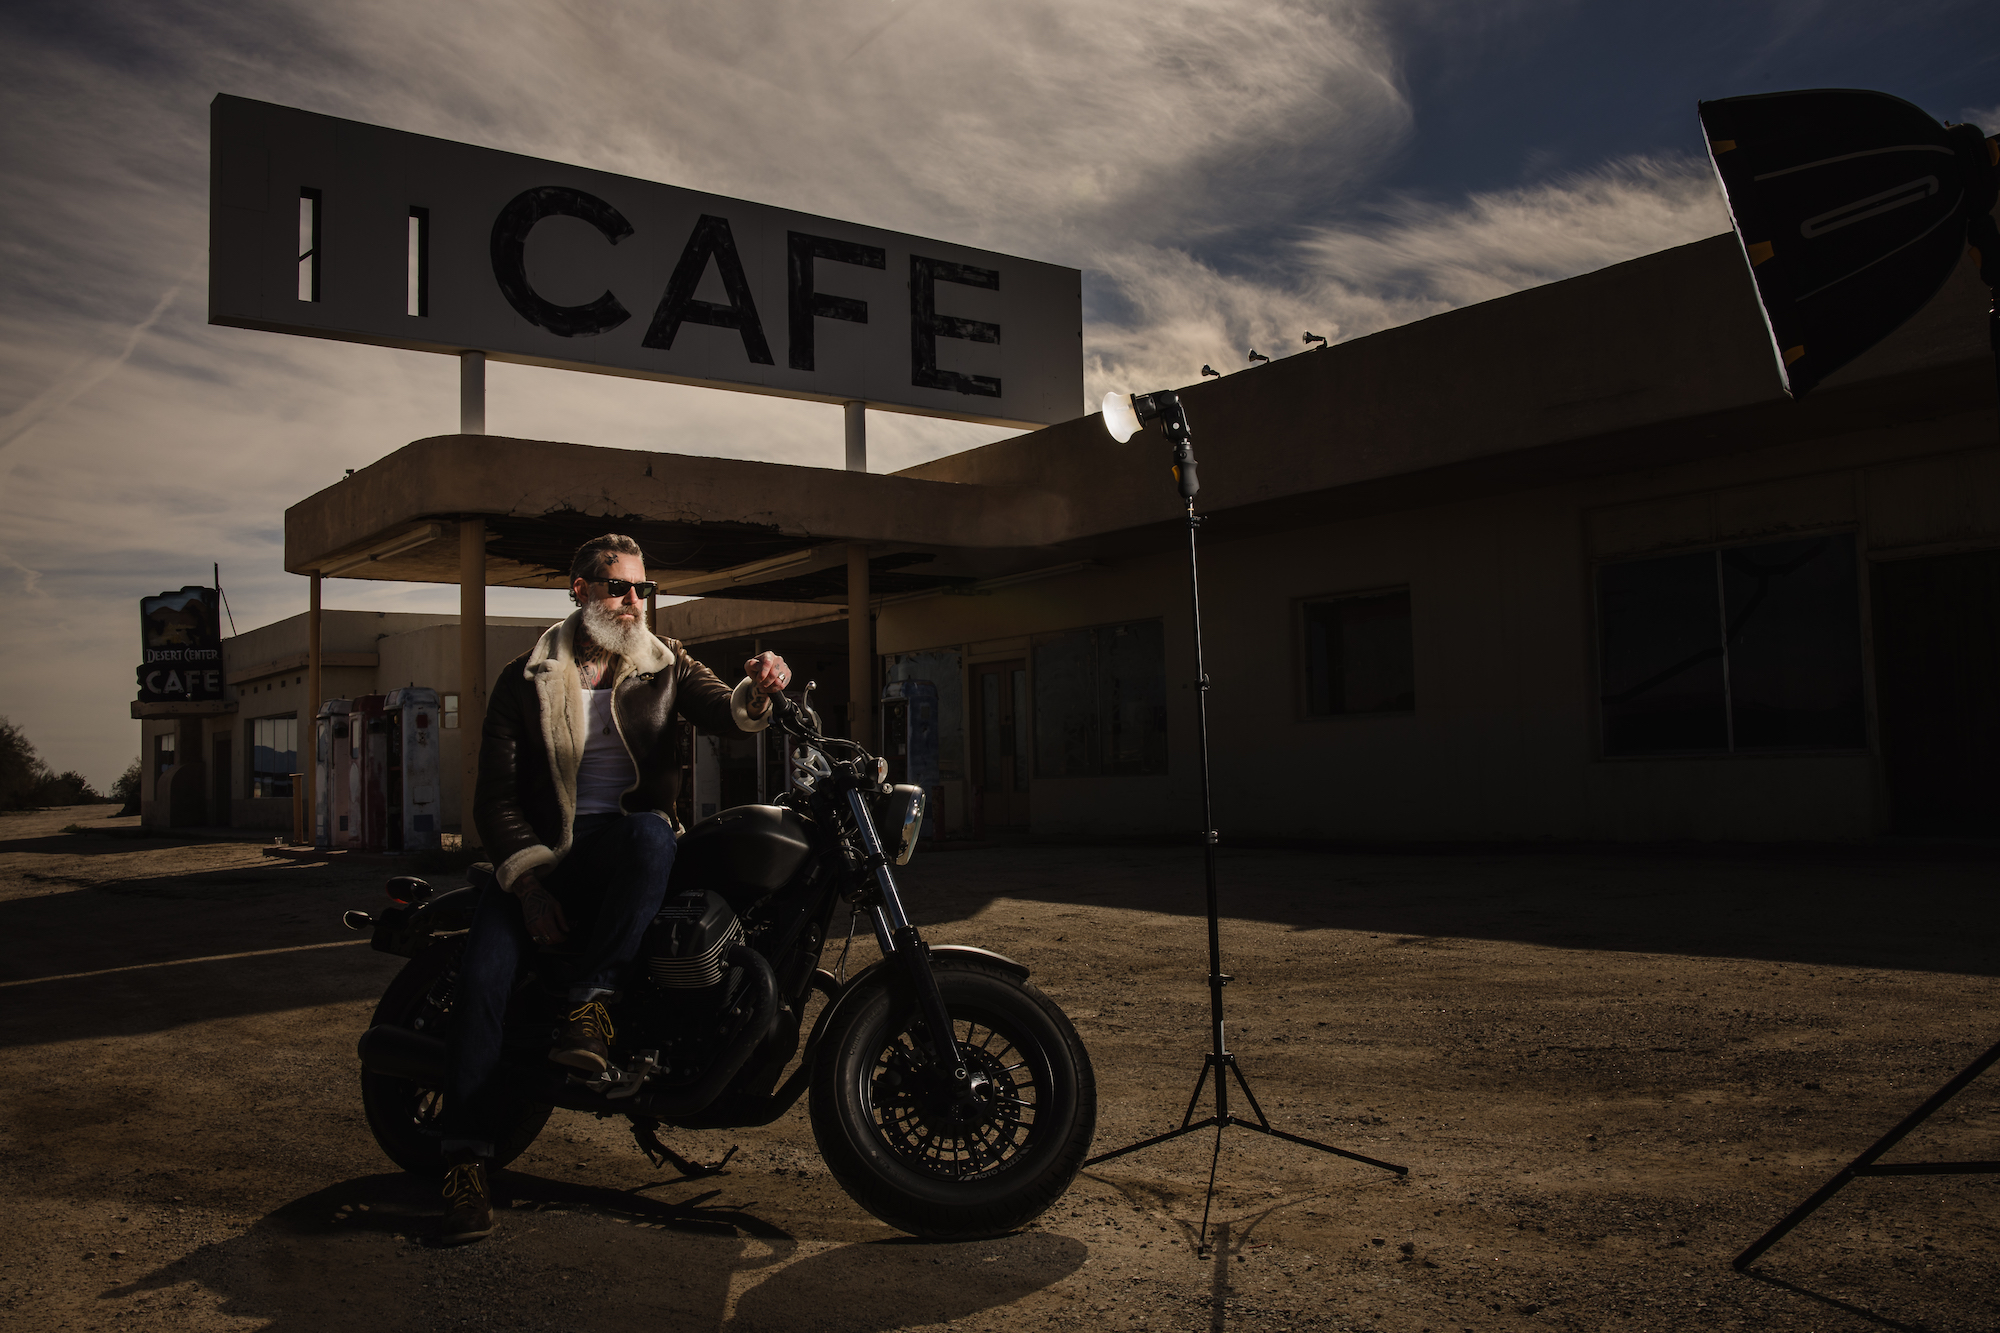
We are shooting this at mid-day in harsh sunlight, which is why the lights are so close in the first place. I opted for a more dramatic exposure and chose to use my lights to brighten my subject.
Step 3: Modify or Add Light

Now that we’ve chosen to create a more dramatic image, we will need a ton of power to get our subject to be brighter than the background. For this shot, we used 2 Godox AD200’s firing through a MagBox with the FocusDiffuser as our key fill light and one speedlight placed closer to Seth with a MagSphere to really chisel his face out of the scene. An equivalent setup could be used with say a Profoto B10+ firing through the MagBox or any small beauty dish or softbox.
Step 4: Pose & Photograph
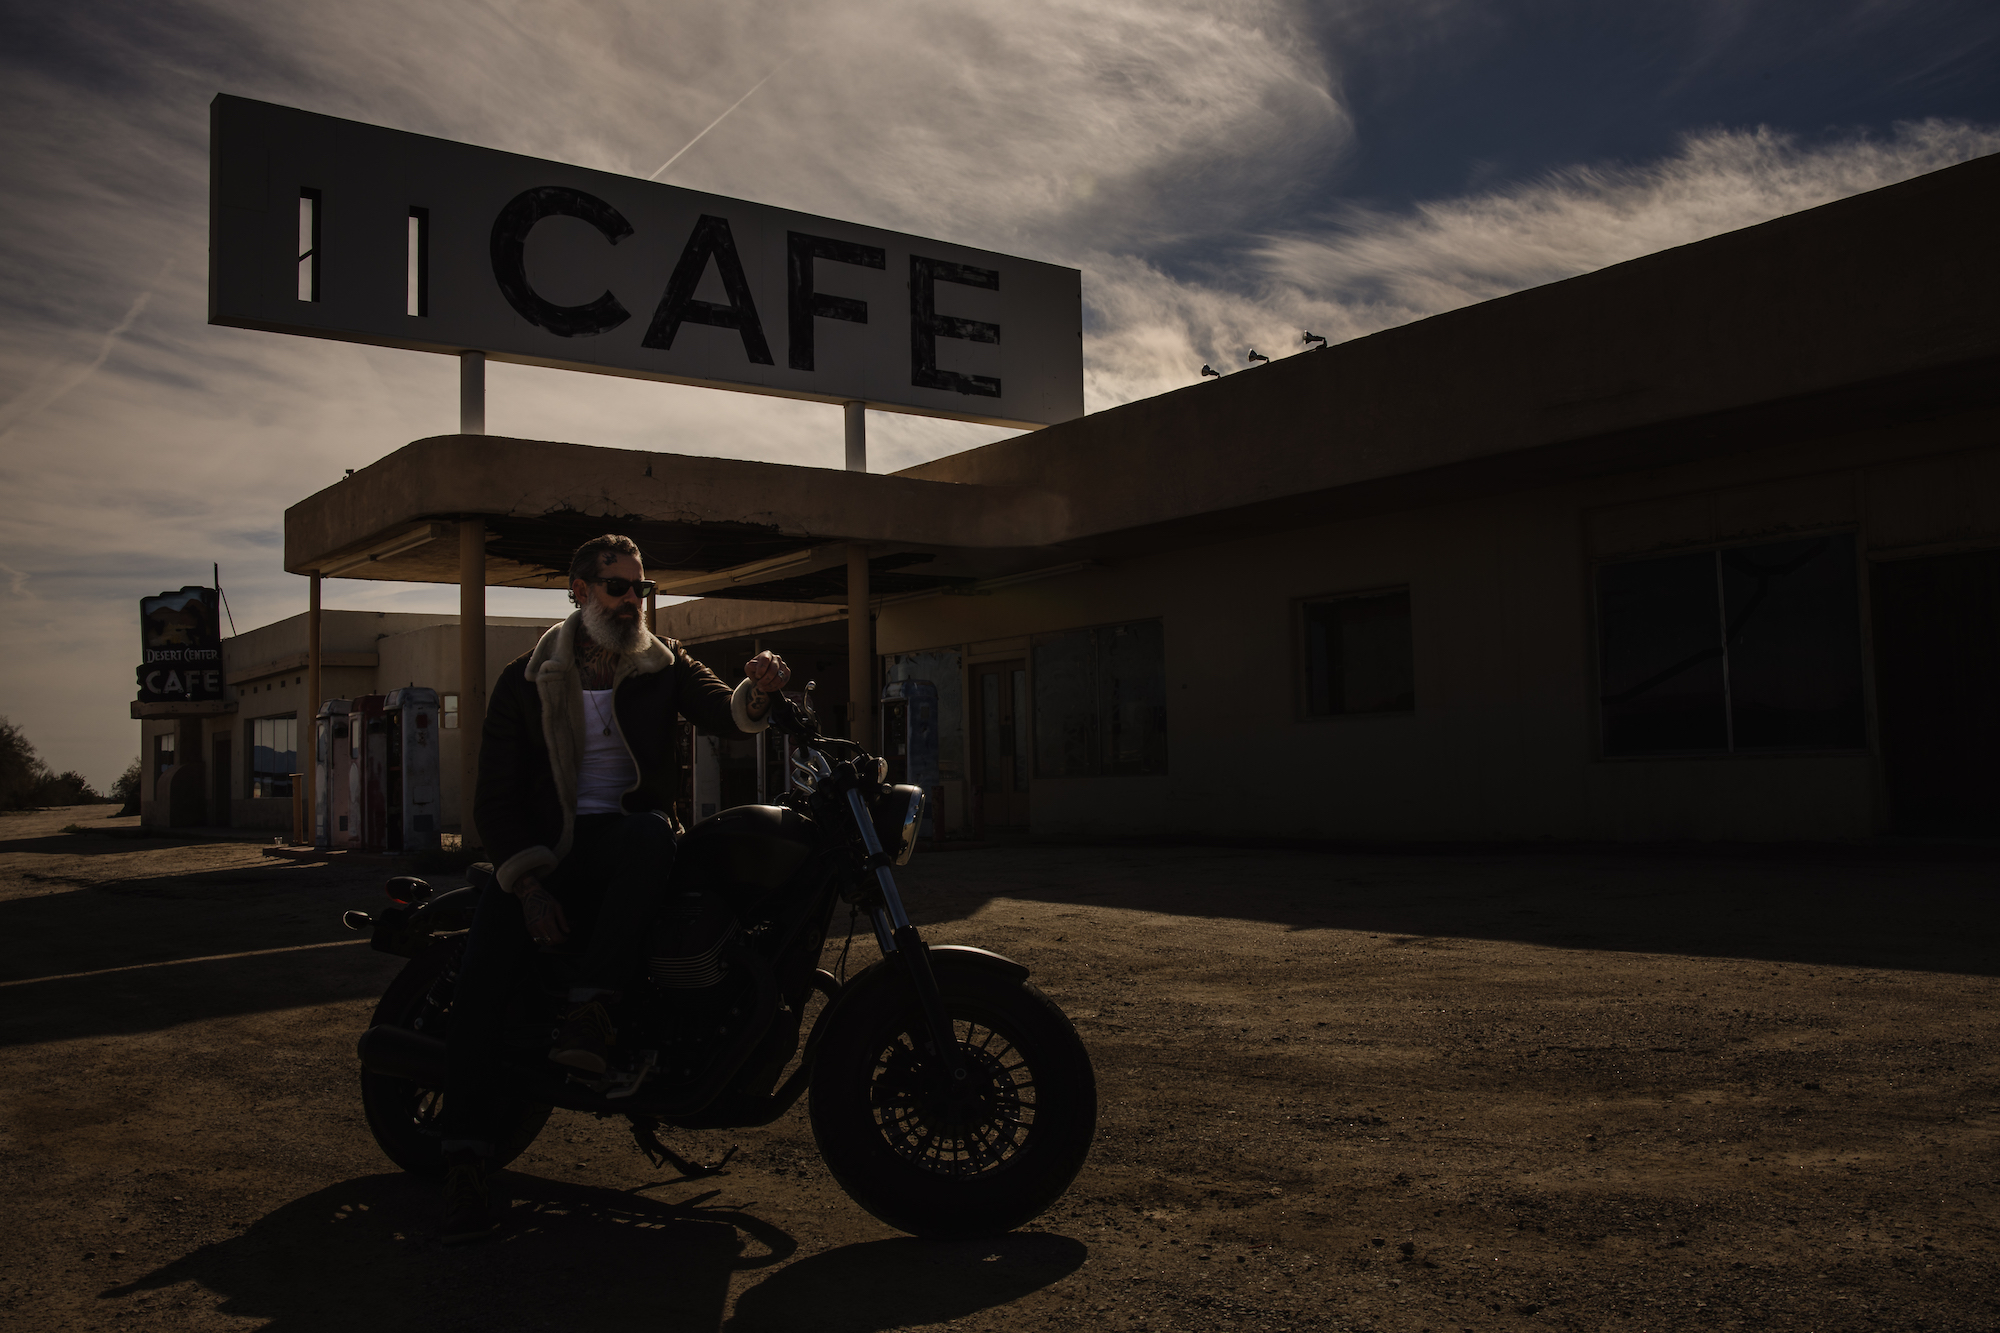
Remember the plate shot! After capturing your perfectly lit shot, remember to remove the light stands and shoot what’s referred to as a “plate.” This is where a tripod comes in handy to ensure that there’s no movement from the shot that had the lights, to the plate shot after. This can be done handheld, but it potentially can mess you up and slow things down in post-production. Best bet, use a tripod. Here’s our plate image below.
With both the lit image and the plate shot, we’re ready for post-production.
For the final look, we brought the images into Lightroom and used our upcoming Visual Flow presets choosing the Flash Preset from the Modern Preset Pack. Visual Flow presets offer a patent-pending lighting condition-based system that dials in specific settings on how an image should look within different lighting conditions.

I won’t get into the nitty-gritty here, but for those that want a complete breakout of all the settings, just check out the video. If you want more info on our upcoming collaboration with DVLOP for our Visual Flow presets, sign up here!
I hope you all enjoyed this tutorial! If so, leave us a comment below, and feel free to share!