As photographers, we believe that every “keeper” photo we take is very special. Even for a beginner or casual photographer, the whole point of taking pictures is to capture special moments, with the hope that those moments can be preserved, well, forever…
Unfortunately, sometimes those images can be lost forever if you’re not careful! There are at least a dozen “easy” ways to accidentally lose all your photos, from dropping your camera/phone in water, to having a memory card become unreadable, damaged, or corrupted.
In any case, as long as your device isn’t completely lost, you can probably recover those photos! The important thing is to have the right tools for the job, and to remember the correct steps for safe data recovery.
EaseUS Data Recovery Wizard is one such tool, and today we’ll be using it to walk you through the process of recovering lost photos and other data files.
What Do You Do If Your Memory Card Has Trouble?

The first step in safely recovering images comes at the very moment you realize something is wrong. Is your camera telling you that the memory card cannot be used, or that it needs to be formatted, even though you already have photos on it? Do you see some of the images on the back of your camera showing missing thumbnails, or error messages?
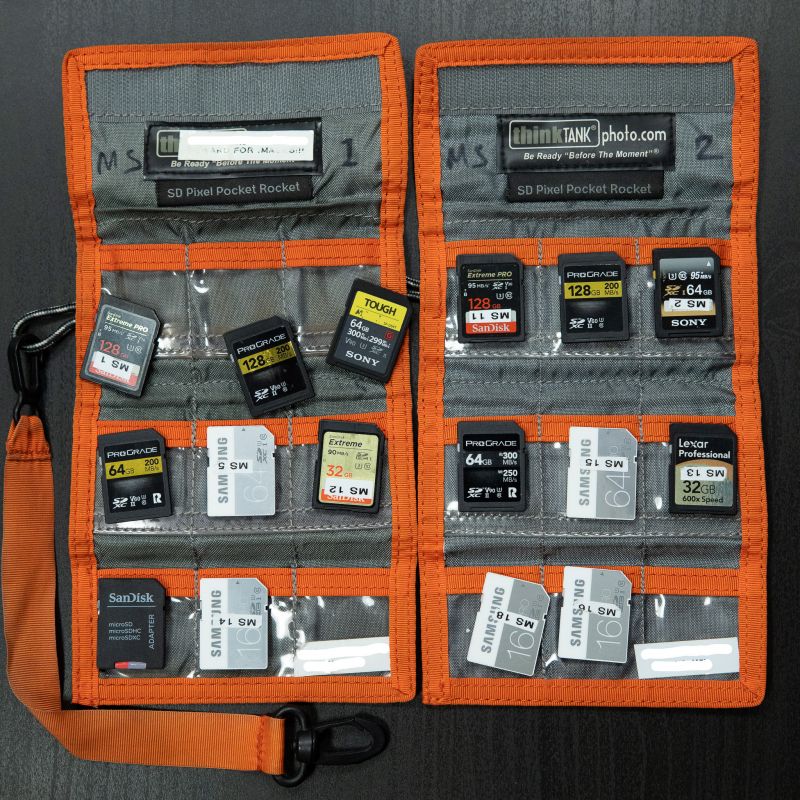
Immediately stop what you are doing, and do not capture any new images on that memory card. If you want the best chance at recovering lost data, you need to stop using that card right away. Remove it from your camera if possible, and set it aside somewhere safe. Most photographers carry a memory card wallet such as the ThinkTank Pixel Pocket Rocket.
If possible, try using another memory card in your camera, a memory card that has no photos on it in case your camera requires you to format the card before use. Finish your photo shoot, and then when you get home later, you’ll begin the process of recovering any lost photos from that other, “bad” memory card.
How Is Image Recovery Possible?
In many situations, there is nothing wrong with your camera or your memory card, except a simple communication error, or just one corrupt image file. Unfortunately, this simple communication error could cause your camera to request you to format the entire card. Or, one single corrupt image file could cause the camera to give you a warning message, because it is helping you avoid any additional corrupt images.

Don’t worry, almost all of your images are likely still on the memory card! Solving “communication errors”, and scanning past one single corrupt image to find all the others, is exactly what data recovery software is meant for.
In fact, even if you format your memory card in-camera, or select “delete all”, the erased images are still there on the memory card! How is this possible? The camera is not actually erasing the images. What it’s really doing is, telling the memory card to just ignore the images, and then eventually save new images on top of them.
So, even if you format your memory card, or delete an image, it is almost always still there, UNTIL you click a new photo, and the old ones are over-written. (This is why it is so important to stop using a memory card if you have an error! Capturing new photos will not only put those new photos at risk of corruption, but also the previously erased images will be permanently lost when they are “buried” under new images, and no recovery software can get to them.
NOTE: In certain cameras, there is a thing called “Low-Level Format”. If you are regularly (or accidentally) running this type of format procedure on your memory cards, then no recovery software will be able to scan for lost images or data, unfortunately. A “low-level format” doesn’t just tell the memory card to “forget” the images, it actually takes the time to truly erase images, and completely refresh the memory card to “zero images”.
EaseUS Data Recovery Wizard

The EaseUS Data Recovery Wizard is a simple, easy to use software that can recover all kinds of images and data, from all kinds of different scenarios. Meaning, whether you want to recover images from a memory card in a camera or drone or another device, or you want to recover data from a computer hard drive, (internal or external) …EaseUS can probably help.
Step 1: Select The Device That Needs To Be Recovered

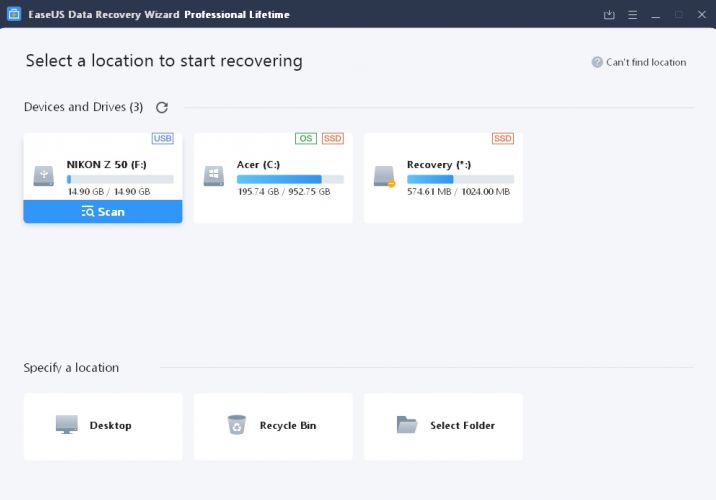
Whether you’re plugging your camera or phone or another device directly into your computer or using a memory card reader to connect the storage directly, step one is of course to connect your “bad” device to your computer and launch the recovery software.
Once the software starts up, simply select the memory card or other device that you wish to run recovery on, and of course, select “Scan”…
Step 2: Scan The Device
 EaseUS Data Recovery Wizard will automatically scan the device with both a basic and then an advanced recovery scan. When we used a 16GB SD card, this only took a couple minutes, and when we used a 64GB SD card, it took just under 10 minutes.
You will begin to see literally every single file of every type that is contained on the card. Folders, data files, all sorts of things that you didn’t know were on your memory card! Of course, you can conveniently filter for just the pictures, however, we still recommend recovering every single item on the entire card, just to be thorough and safe. We’ll get to that in a minute!

You may be surprised to see that EaseUS claims to be finding many more images than your memory card can actually contain! For example, when we scanned a 16GB memory card, the recovery program said it had located 29 GB worth of data to recover.
Unfortunately, this does not mean there are images that you previously “over-wrote” which are now recoverable. It simply is categorizing and tagging your images, and counting some of the data twice. For example, in our case, the recovery software actually recovered 14.79 GB of images, which is normal for a 16 GB memory card. We’ll get to the recovery process next…
Step 3: Select The Files To Be Recovered

Once the scan is complete, as we suggested, you should recover the entire card. This means that you will see a lot of other files, and many folders, however, it’s the safest thing to do. You can sort out which images are duplicates later, in Lightroom or something.
To recover your image data, simply select a destination on your hard drive where you’d like to store the files, then click “Recover”. This step is what actually begins creating new image files from the ones that were previously erased, formatted, or lost.

EaseUS Data Recovery Wizard can be used for 2GB data recovery for free. To recover an unlimited amount of data, their Pro software is $69, and includes free customer service from their data recovery specialists, should you need help.
Step 4: Locate And Verify The Recovered Files

When the recovery process is complete, EaseUS will let you know, and give you a link to where the recovered photos have been stored on your computer. This will likely open up Windows Explorer or Apple Finder, but we recommend using your photography software, such as Adobe Lightroom or Adobe Bridge, to verify that the image files, whether raw orJPG, are actually “good to go”.
If you originally captured raw images, for example, or especially if your camera was set to RAW+JPG, then open Lightroom and import all the photos. During this process, you can use Lightroom’s option for “Don’t import suspected duplicates” to see which recovered images may have been created twice, and avoid (or delete) them as necessary.
Step 5: Back Up Your Image Data!
For maximum safety, the very next thing you should do is, of course, back up your recovered images! All of your images should always be stored on at least two different storage devices, preferably three, and preferably with one of them being stored at a separate location. If possible, back up your images onto the cloud, as well!
Remember, “back up” means 2nd or 3rd copy. If your ONLY copy of any photos is on your “backup” external hard drive, then that’s not a backup!!!
Conclusion

If you take these precautions, then you should never have an issue with losing photos ever again. Your final step will be, of course, to either retire the bad memory card that gave you trouble in the first place, or get the camera/device itself serviced in case there are any actual errors with the storage system. For more information, see EaseUS’s photo recovery tutorial.
Of course, even with all these precautions in place, sometimes human error still results in an accidentally deleted photo or folder of photos. If this happens, having a recovery software ready to go should give you complete peace of mind!


Get Connected!