Welcome to the IGTV series we’re doing every two weeks on Profoto’s Instagram called “Slice of Pye”. We’ll be covering a myriad of topics, discussing lighting principles, and showcasing a ton of Profoto gear in action over the course of the next year so please join us over on IG Live!
Tune in to our next episode: October 28th at 11AM PST!
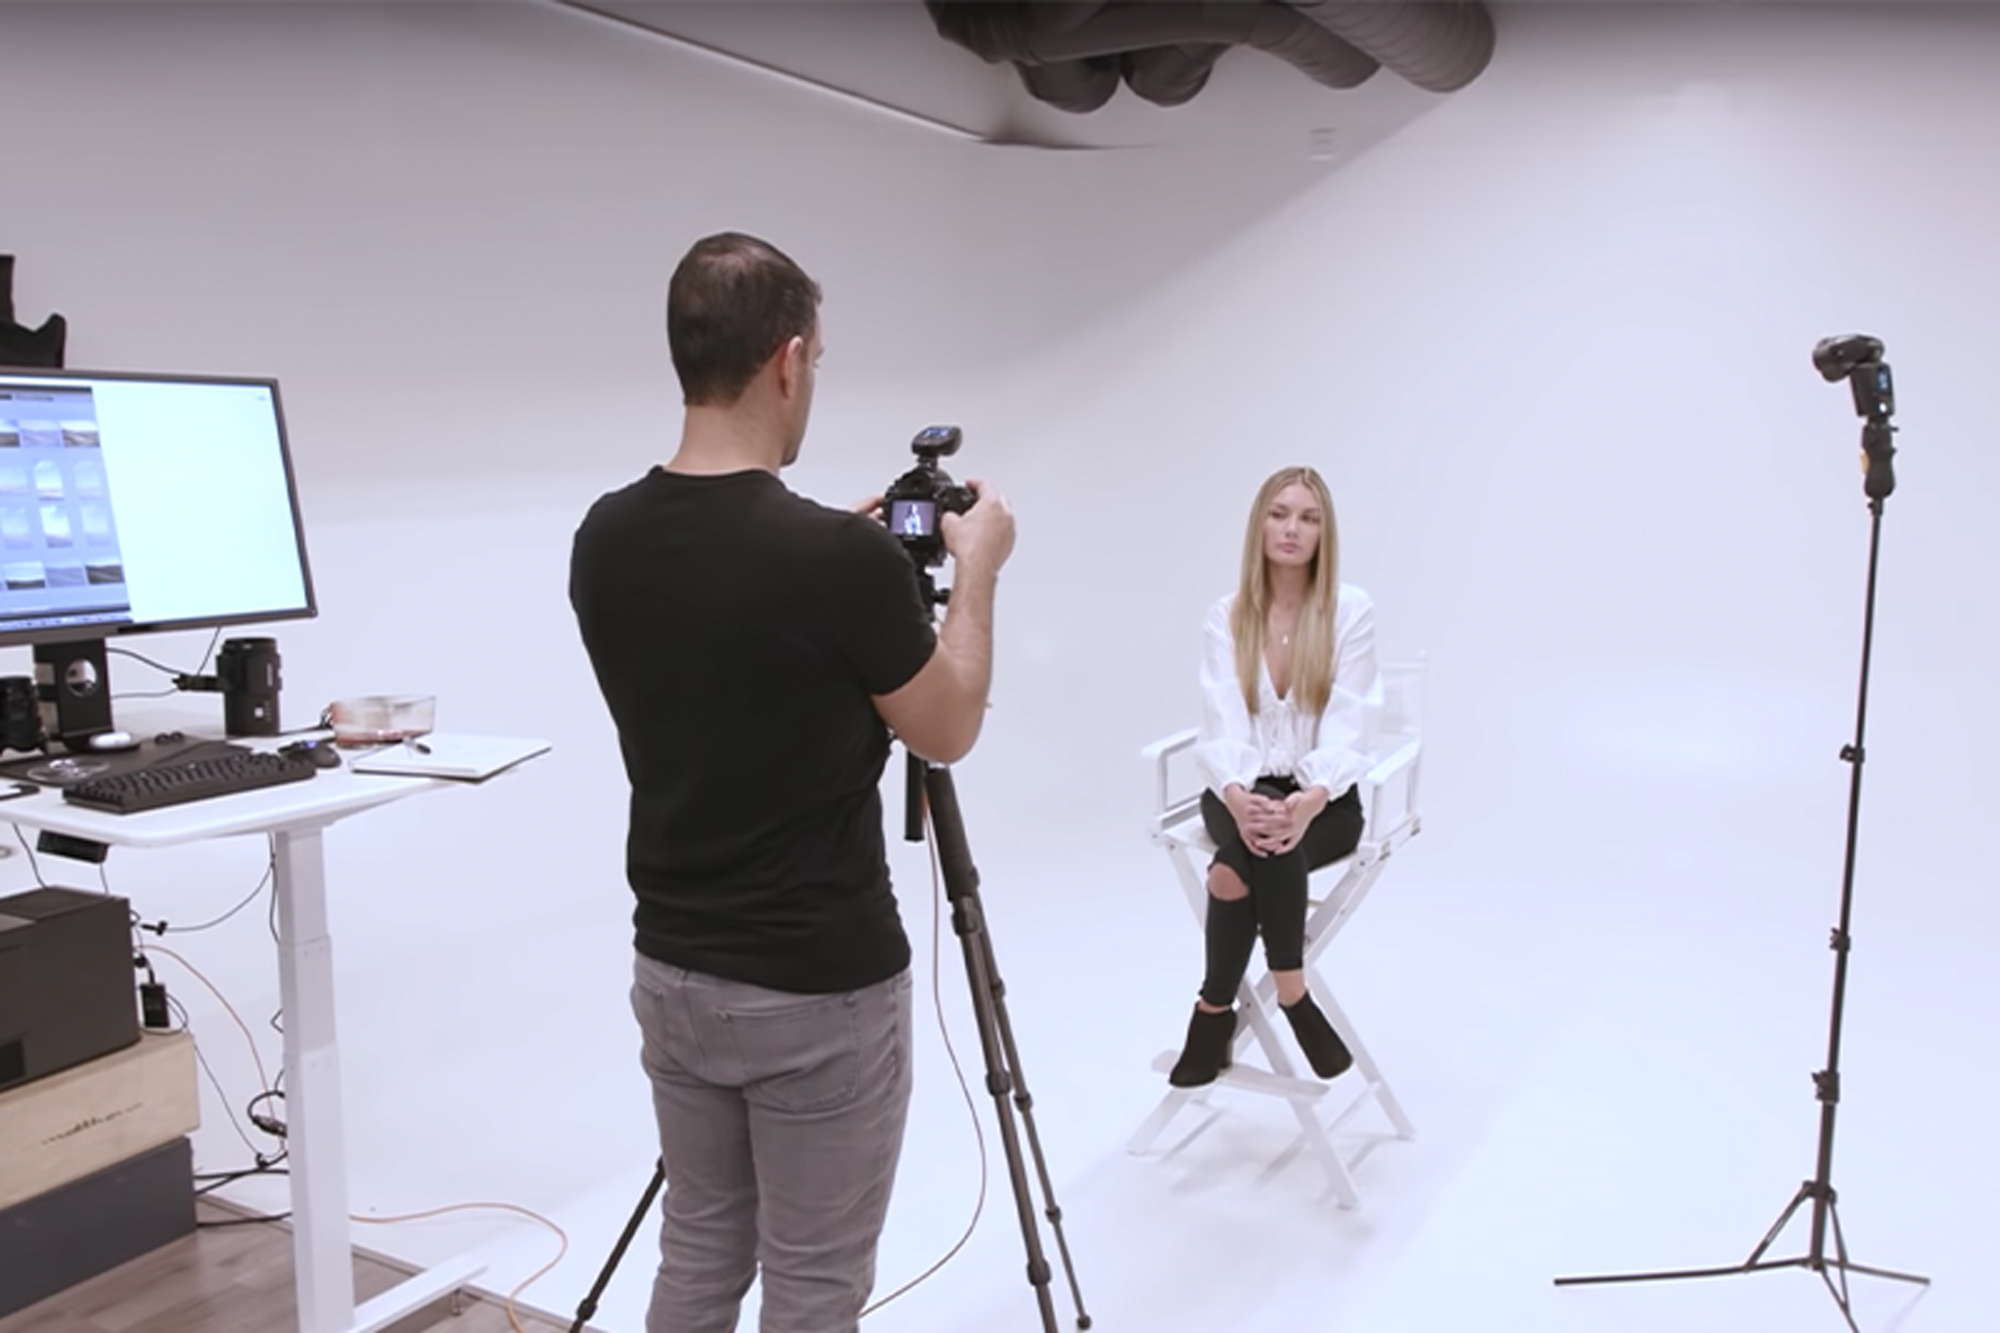
View this post on Instagram
“Why don’t you use a light meter?” I’m often asked this question across a number of platforms, so I decided to share my thoughts on the topic with the community at large. Before I answer, let me start by saying there’s absolutely nothing wrong with using a light meter. If you work on a commercial set, capture editorial images, or create product shots, then you’re probably better off using one. For those who shoot on the go, however, such as portrait and event photographers, a light meter is not necessarily conducive to this style of shooting.
In this video, I’m going to give you tools and a process for getting to the right exposure without a light meter.
Gear Used in Tutorial
- Profoto B10 Plus: This strobe features 500 watt seconds of power, which will give us a good amount of light while shooting under the midday sun.
- Profoto OCF Beauty Dish: Although the light from the beauty dish is specular, we can diffuse it a bit with a diffusion panel.
- Profoto OCF 2ft Octa: This softbox breaks down to a convenient, compact size for transport, which is great when shooting on location. It’s also pretty quick and fairly easy to set up. I’m using a silver reflector because we’re shooting midday and I need as much light to fall on my subject as possible. I have found the easiest way to put the beauty dish on is to mount it onto the light without the diffuser so that you have more control when handling the softbox. When it’s on and ready to go, then add the diffusion panel.
- C-Stand: Whenever you’re placing a modified light on a c stand and there’s a chance of wind, I recommend using a C-Stand. If the wind kicks up, be sure to use a sandbag to weigh down and further secure the stand.
- Canon EOS R
- Canon RF 50mm f/1.2L USM Lens
- Peak Design Travel Tripod: A tripod wasn’t a must for this shoot, but it helped to keep the frame/composition consistent while working through various poses and expressions.
Before you pick up your camera or reach for your flashes, check out our C.A.M.P. framework and simplify your lighting process.
- Composition: What do we want our scene to look like? Where do we want the camera to be? What’s the angle? What do we want our subjects to be doing?
- Ambient Light Exposure: Choose the intention of the scene. Do we want a dramatic image (darkening the ambient light and using more flash) or do we want a softer image (brightening the ambient light and using a more natural power of flash)?
- Modify/Add Light: Are your subjects visible in the frame or do they need to be chiseled out? Do you need to add an additional light source?
- Pose & Photograph: Take your shot!
Here’s how to get to the right exposure without using a light meter in 4 simple steps:
1. Decide on Your Composition

I chose my angle for the featured image based on the sun’s location, which was overhead and just off to the righthand side. I placed my subject, Shivani, in a shaded spot to avoid direct or dappled lighting, keeping the sun slightly behind her. Even though we shot this just before noon, we still had a little bit of light direction. Furthermore, I used the hedges in the background as leading lines to direct focus to Shivani.
2. Set the Ambient Exposure
In this step, you’ll dial in your intention for the photograph. If I choose a bright ambient light setting, then I can’t add much flash power; otherwise, I’d blow out the highlights and details on my subject. If I choose a darker ambient light setting, however, I’ll need to use more flash power.

As a general rule, remember this: The darker an exposure, the more dramatic it is. The brighter an exposure, the more whimsical it is. For this shot, I wanted it to be pretty dark, but I didn’t want to get into using high-speed sync, ND filters, or anything else. Here’s where I started when shooting my subject in the shade under midday sun:
- Shutter Speed: 1/200th
- Aperture: f/10
- ISO: 50
Tool Tip: Use the histogram to ensure you’re retaining details, especially when lowering the ambient exposure by a considerable amount. For this shot, I set the baseline exposure to be very dark (see the histogram and the test shot below). There’s a reason why this is important: we’re using light and shadows to draw our eyes to the subject, not depth, so I’m going to make my subject the brightest element in the frame.

[Related Reading: How to Read a Histogram | Quick Reference]
3. Add Light

Because the baseline exposure is so dark, we need to add light to illuminate our subject. In this instance, modifying the ambient light wouldn’t cut it. I wanted to get a dramatic light pattern on Shivani’s face, which I’m able to do by looking at where the light is coming from. If I want Rembrandt lighting, for example, I usually stand directly in front of the subject’s gaze and then circle around to where I can just see a sliver of the subjects face that should be lit in the Rembrandt style. I then place my light in that position. If you place to light too far over to the side of the subject’s face, you’ll end up with split lighting, which is not the look we’re going for in this shot.
It’s important to note how much work we’ve put into setting up this shot before we’ve even tested the flash. As photographers, we tend to get excited about gear (which I understand) and start setting up lights and firing test shots without thinking about composition or other elements that make a great portrait. I encourage you to follow the C.A.M.P framework and take your time to make a better photo.

When shooting in midday sun, I generally start testing my flash at full power (a.k.a “one over one when in the sun”). If you’re using high-speed sync, you’ll probably need full power. If you’re not using high-speed sync, like we’re doing here with a slower shutter speed and stopped-down aperture, then you’ll still need full power because of the narrow aperture. So, start at full power and then adjust your flash power as needed. For the featured shot, we moved the light in closer and lowered the flash power. We then took a plate shot so that we could quickly create a composite and remove the light stand in post.
Tool Tip: Use the highlight alert for playback on your camera to ensure you’re not blowing out details on your subject’s face (see the image above). If you see a blinking light over your subject’s face, then you know you’re losing detail and blowing out the face.

[Related Reading: Create Amazing Composite Portraits in 7 Steps]
4. Direct Your Subject Into a Pose and Capture the Photo
Now that you’ve composed your shot and dialed in your ambient exposure and flash settings, it’s time to pose your subject and capture the photo. Since the lighting for this particular image is somewhat dramatic, it makes sense to go for a more dramatic pose and serious expression.
Conclusion
Hopefully, you found our tips on how to get to the right exposure without a light meter helpful. Remember to use the C.A.M.P framework and you’ll be able to walk into any scene and dial in your settings in just a matter of moments. If you’re interested in learning more about how to use flash (both on and off-camera), check out our Flash Photography Training System!
For more Profoto lighting tutorials, be sure to check out our Slice of Pye Series on their IGTV!