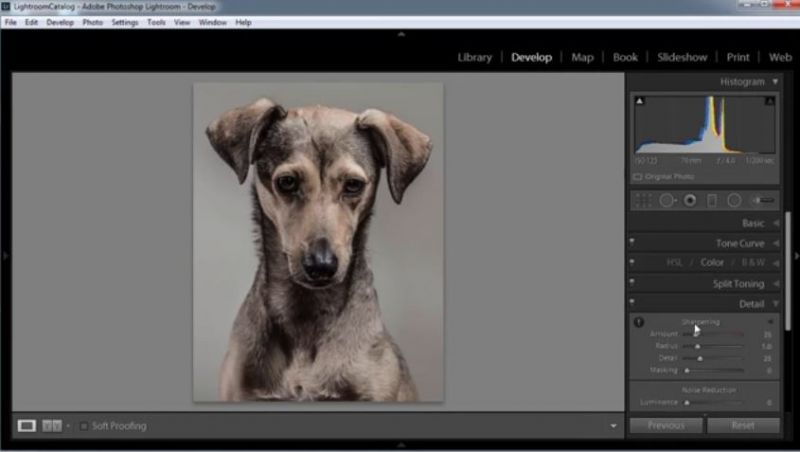
Learning to edit your photographs can be a daunting task to a new photographer, but with a few careful adjustments to contrast, sharpening. and toning, shots can take on an ultra-realistic visage. On forums and Facebook groups there are usually one or two questions a week for someone asking how a particular image was edited or how an image was shot, and one of the more popular styles for that seem to be visited is the high detail, desaturated image. The people of Practical Photography magazine created a detailed video showing the process on how to give your shots a high-impact, ultra-detailed look.
[REWIND: DUET UPDATE | THE DUAL MONITOR APP KING BRINGS TOUCH BAR SUPPORT FOR ANY MAC ONLY $9.99 ]
Lightroom comes with powerful tools to sharpen images during post-processing; the Detail box in the Develop module, contains both Sharpening and Noise Reduction tools that allow photographers to fine-tune their images. The technique described above is great for very few subjects and terrible for others, so use it with care.

 For Someone who is a wedding photographer this process will probably never get used, but for a lifestyle shot where there is detail like a mechanic in a garage or cosplay portraits, it might be handy to have in your bag of editing tricks. In my opinion, I would use this technique like selective color; that is hardly if ever.
[RELATED: SHARPENING | SO MANY GET IT WRONG & THIS WILL HELP YOU GET IT RIGHT ]
All that said, trying new process and editing techniques is important in growing as a photographer. You may find this style works for you or you may never use it again, but you’ll get a deeper understanding of how Lightroom works and what you can do with it at just the right time. For photographers looking to get the most out of their images, there are wonderful tutorials from Creative Live and SLR Lounge that teach Lightroom mastery.


Get Connected!