When Is the Blue Hour for Photography and How Long Does It Last?

The blue hour period occurs when the sun is between 0 and 18° below the horizon. It is further divided into three types: civil, nautical, and astronomical twilight, where the sun is respectively between 0 and 6°, 6 and 12°, and 12 and 18° below the horizon.
Many photographers prefer the period from 4 to 8° below the horizon, as the blue light here is both soft and most prominent. When the sky is clear, the blue hour is breathtaking, with the horizon glowing in red, orange, yellow, green, and blue tones. Depending on the amount and height of clouds, they can also be lit by the sun in spectacular reddish hues, and this setting is fantastic for blue hour photography.
The name blue hour is not necessarily an hour long. It depends on your location, the time of year, and the weather conditions, but it generally lasts about 20 to 40 minutes. That length also depends on your distance from the equator. The closer you are to the equator, the shorter the blue hour becomes.
In the winter of some Nordic countries, like Norway, the blue hour lasts about two and a half hours. During the summer, the sun does not set at all in the northern parts of the Nordics, so the blue hour never occurs. In the southern parts of the Nordics, the sun does not reach 18° below the horizon, meaning the blue hour lasts all night. It is also during summer in the mid-latitudes where you can experience the ethereal noctilucent clouds.
Many apps and tools are available that can help you plan for blue hour photography, like the Photographer’s Ephemeris, Sun Surveyor, and Golden Hour.
What are the Best Tips for Blue Hour Photography?

Focus on the Point of Interest
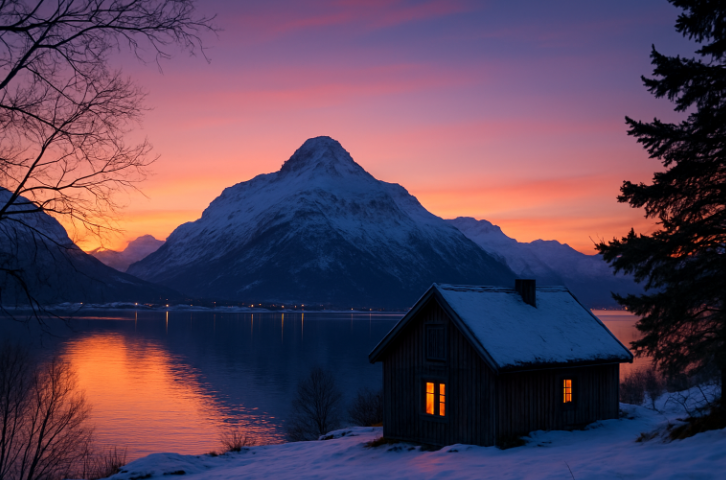
When it comes to composition in blue hour photography, it is essential to photograph something specific, a point of interest. This could be a house, a mountain, a tree, or something else that draws your eye.
It is also important to keep your edges clean. Since your eye is drawn to bright areas and areas of high contrast, you should avoid these elements along the edge of your image. They will inevitably pull attention away from your point of interest. For example, patches of snow, street lights, illuminated windows, or other glowing objects. This does not mean you cannot have bright areas along the edges of the image, but you must be aware of the effect on your composition.
Shooting In Artificial Light
The blue hour photography works very well for cityscapes and scenes with artificial light from small houses in the landscape, or villages that are illuminated.
Because houses and cities are lit, they attract more attention. You need to decide if the city, the house, or the landscape is your point of interest. If you hit the right time, you get a balance between natural light and artificial light. Too early, and the city lights look weak. Too late, and you risk overexposing them.
Shooting in RAW lets you bring out shadows if you miss the optimal time and your surroundings are too dark.
Choose the Right Hour
Another thing to consider in blue hour photography is whether to do this at sunrise or sunset. On calm mornings, there is a better chance of low fog, which you can aim for to create separation between the elements and contours of the landscape. Otherwise, this can be hard to achieve due to flat light.

On damp and calm evenings, when the temperature falls quickly after sunset and hits the dew point, you can also experience ground fog before leaving the blue hour for the silence of the night.
Choose Best Camera Settings
The biggest advantage of photographing during the blue hour is the low dynamic range. There is not a big difference in light between shadows and highlights. In most cases, you can use a single exposure, but still check your histogram, as the camera screen can be misleading.
It is best to get proper exposure by exposing to the right. You can adjust light during editing if you shoot in RAW, but it is best to capture it correctly. If you have access to separate stripes, use them. If you have access to separate stripes, use them.
As in other landscape blue hour photography, you need a good depth of field, where both the foreground and background are in focus. In many cases, you will photograph with an aperture between f/8 and f/13 or whatever aperture gives you the depth you want. Likewise, use the lowest possible ISO, often your base ISO, such as ISO 64, ISO 100, or ISO 200.
Since light during the blue hour is low, you must compensate with a longer shutter speed. A good starting point is shooting in manual mode to set the exposure factors, or use aperture priority mode and adjust exposure with the compensation dial or menu.
Because of longer shutter speeds, use a tripod and a two-second delay or a shutter release cable to prevent shake when the exposure starts.
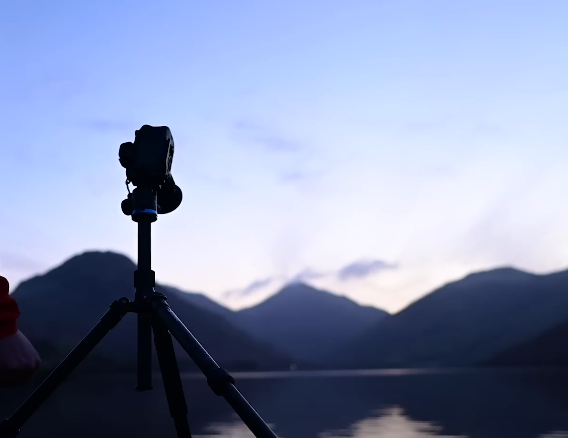
On a tripod, switch off image stabilization, as it can create shake by trying to compensate for vibrations that are not there.
Capture with Manual Focus and Focus Peaking
During the blue hour, it gets harder for cameras to lock focus, so do it manually. You can activate live view and enlarge the image to achieve sharp focus. On most cameras, a magnifying glass button allows this.
You can also activate focus peaking in the menu to highlight sharp areas in color on the screen, often as yellow markings. Once you find your focus, enlarge the image again to confirm sharpness.
Balance Multiple Exposures
If you do not hit the exact balance between artificial and ambient light, you may overexpose and clip the highlights. In this case, you should make separate exposures: one for ambient light, one for shadows, and one for artificial light.
You can use auto exposure bracketing and combine the photos into an HDR image afterwards in Camera Raw, Lightroom, or with luminosity masks in Photoshop.
Apply the Time Blending Hack
Another creative way to use multiple exposures in blue hour photography is time blending. This technique combines one image from the golden hour or early blue hour with one from the late blue hour, where city lights are more visible. This gives you the dramatic sky from golden hour and the depth and mood of blue hour.
However, you must not move the camera during this time, so a tripod is needed here.
Use a Polarizing Filter
A polarizing filter can be the difference in blue hour photography. It stops polarized light from reaching your camera’s sensor, which can reflect from the atmosphere or surrounding surfaces, like lakes and rocks. By blocking this, you can draw more attention to your point of interest.
Related Articles to Blue Hour photography Definition
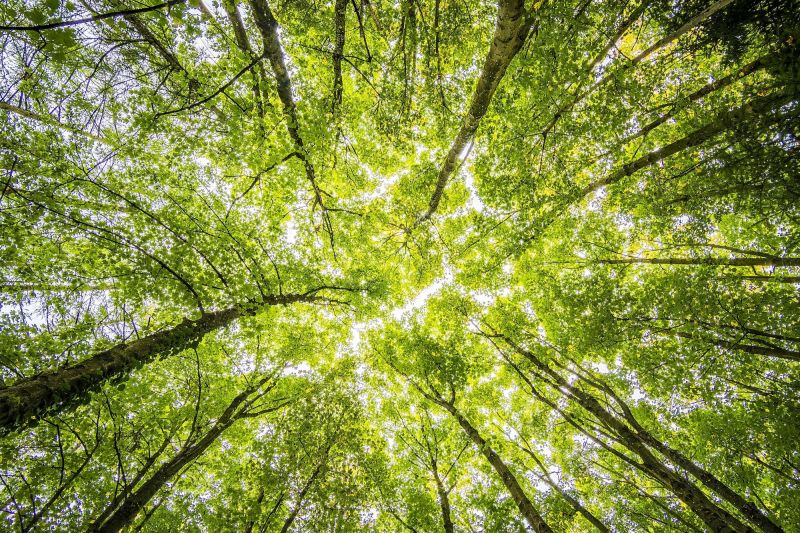
Forest Photography Tips & Guide for Better Photos

10 Winter Landscape Photography Tips for Better Photos