Welcome to the live series we’re doing bi-monthly on Profoto’s Instagram called “Slice of Pye”. We’ll be covering a myriad of topics and showcasing a ton of Profoto gear in action over the course of the next year so please join us over on IG Live!
Tune in to our next episode: July 31st at 2PM PST!
Hard direct light does indeed have it’s use and purpose, in this episode we’ll show you two stylistic ways of using direct flash.
View this post on Instagram
Gear Used
direct Flash Portraits
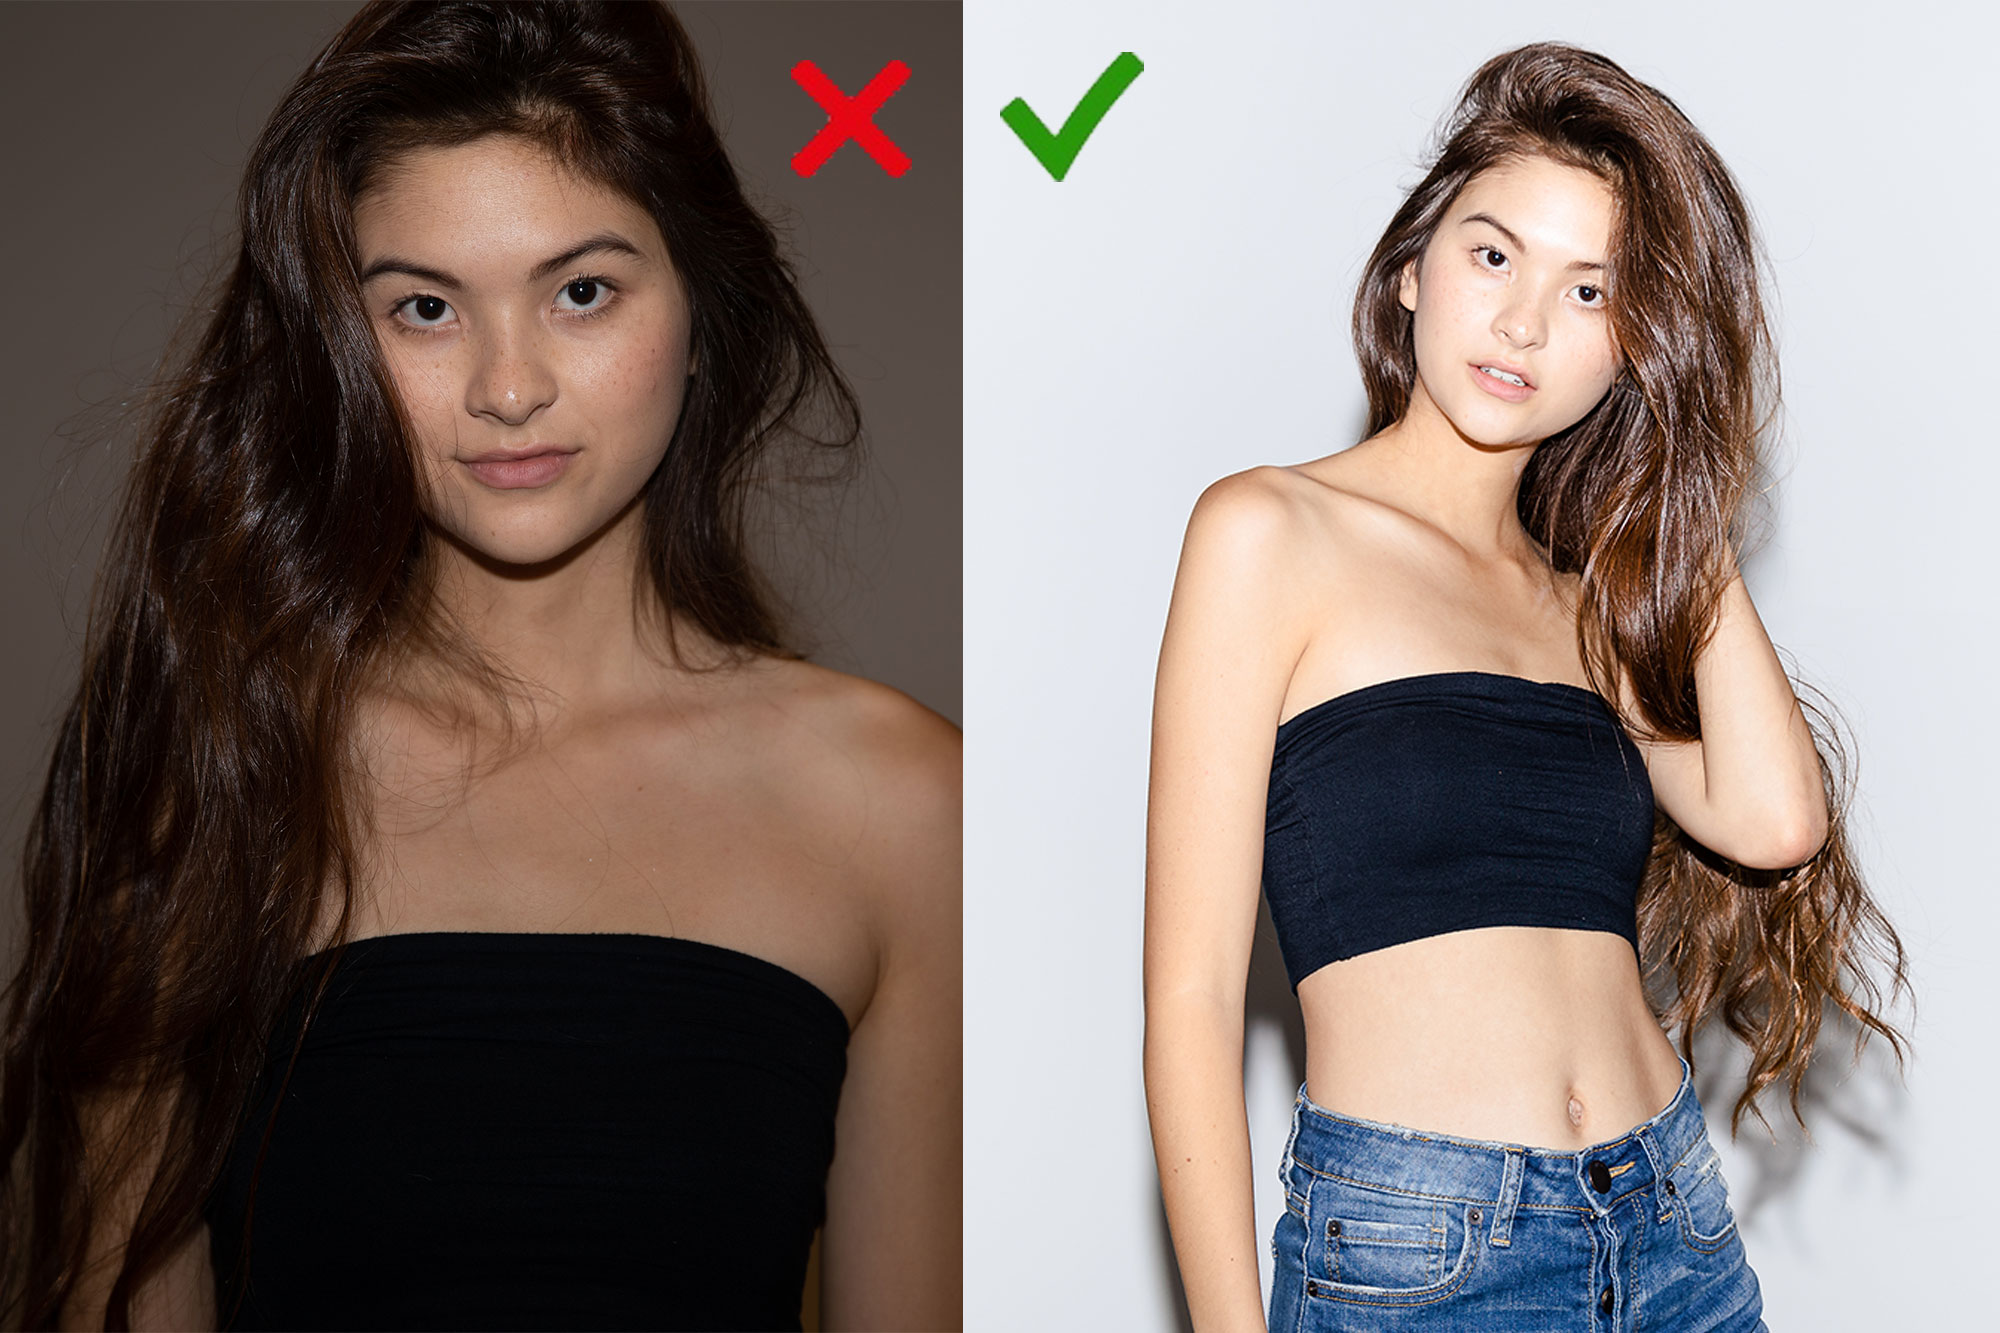
Direct flash has a very distinct purpose and looks when used correctly. Often times, amateurs point the flash straight forward because they want to fill the face with light in dark situations make the subject look like a deer in headlights as seen below.

This is a concept we dive deep into in our Lighting 101 course.
But, direct flash can be done well and used with stylistic purpose. In this article, I want to show you two of my favorite uses for direct flash.
DIRECT FLASH FOR A HARD STYLIZED EDGE

1. Dial-in Your Ambient Light Exposure
Unlike using the flash as a fill, the goal here is to knock out all ambient light, and fill the entire scene with direct hard light.
2. BLAST THAT FLASH!
The key word here is anything but subtlety. Give the flash enough power to become the main and primary light in the scene. Just watch out not to blow any highlights, especially over skin.
3. Zoom TO PIN LIGHT

You’ll see in the video that once I zoom in the flash, there is a stronger vignette on the corners of the frame and a higher concentration of light on the subject. Play with the zoom on your flash to test how much light you want on your subject vs. all throughout the image.
4. SHOOTING PORTRAIT ORIENTATION: HOLD OR USE FLASH BRACKET

You’ll see that I use the trigger and use my other hand to hold the flash on top of my camera to prevent from creating a directional shadow. By placing the flash here the shadow remains directly behind the subject keeping it consistent with that hard edge light.
Dance Floor Camera Twist

Motion can add excitement to typically bland dance floor photography. When you are working a lackluster ballroom, why not try and add some interest? You can watch this video to go through a step by step tutorial on how to create this look.
1. Dial-in Your Ambient Light Exposure
We recommend starting out around 1/5th, f/4, and ISO 100. Fire a test shot while twisting the camera. Want more ambient motion or light, slow the shutter down more. Less ambient motion or light, speed the shutter up.
2. USE FLASH TO LIGHT + FREEZE MOTION
Point your flash directly at the subject (as much as that pains you), and dial a proper flash power that doesn’t overpower the scene or cause heavy highlights on your subjects face. We recommend starting out at 1/8th – 1/16th flash power. You can use TTL, however it will slow down your recycle times.

3. PULL THE TRIGGER, ADD MOTION!
Add movement into the image by shaking, twisting, zooming, or panning your camera. In combination with the slow shutter speed, the ambient lights(mostly from the DJ’s up-lighting), will create a blurred effect while momentarily freezing your subject with the flash.
Make sure you tune in to our next episode in 2 weeks, see you then!


Get Connected!