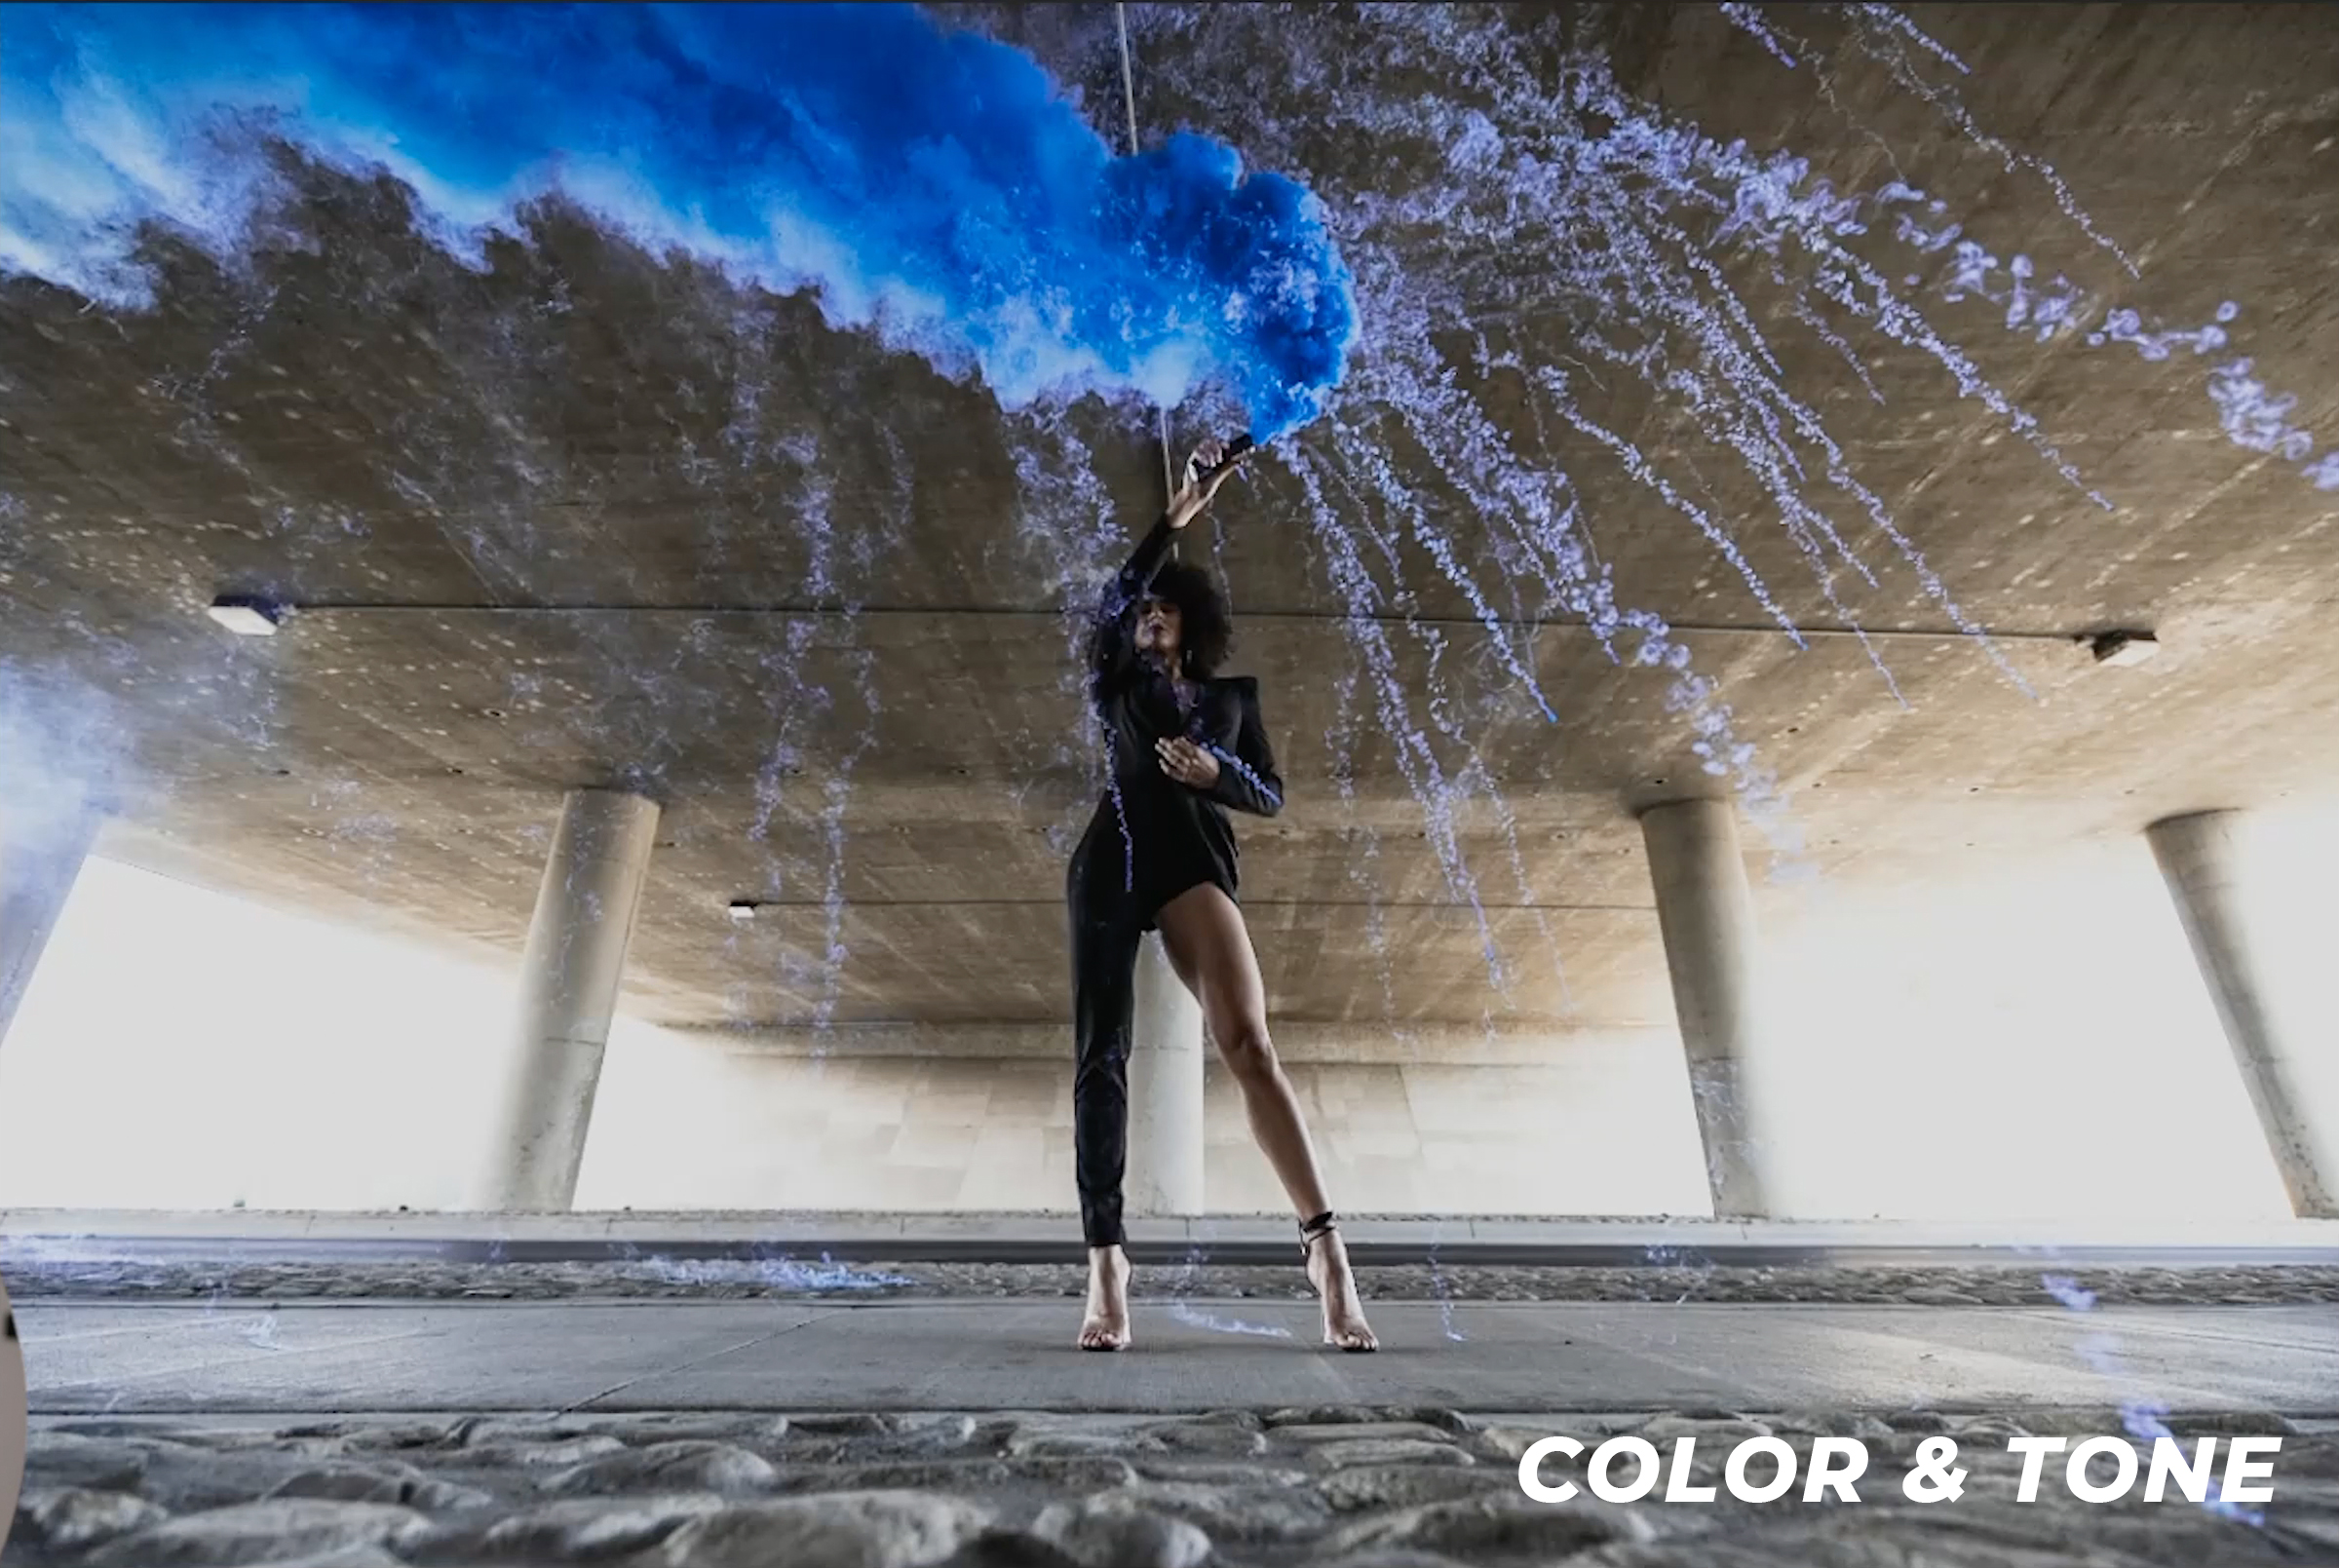
Looking to add some extra pop to your photography? Toss in some smoke bombs for epic portraits anywhere. In today’s video, I’ll be walking through a complete shoot-to-post guide to an epic smoke bomb photoshoot.
Video: Complete Guide to an Epic Smoke Bomb Photoshoot
For this smoke bomb photoshoot, we simply followed the C.A.M.P. process to compose and set our exposure. We’ve covered the framework to capture this image as well as the safety tips in a previous post so you can check out the steps here.

This is our final shot that we’ll be editing in the next section.
Post-Production


Our goal is to emphasize the detail and make the colors pop right out of the frame. Let’s start off first by applying our basic adjustments.

Here are the final settings.
Next, we’re going to make local adjustments using regular masks as well as Lightroom’s new AI Masking tools. For an in-depth guide on how to use the new AI masking tools, check out our previous post on Advanced Lightroom Masking.

First, we added color and tone on Kiara. Then, we darkened the background. Lastly, we lessened the highlights on her feet.


After some final tweaks, here is our final before and after comparison from our smoke bomb photoshoot.
Conclusion
I hope you enjoyed this article/video. A smoke bomb photoshoot is guaranteed to make your portraits and photos pop. Be sure to follow all the safety guidelines and capture images that are sure to impress! For a complete guide on Lightroom editing and more photography related courses, check out the SLR Lounge Premium Library. In addition, for intuitive presets for all lighting conditions, check out Visual Flow Presets.
Don’t miss our next episode of Mastering Your Craft on Adorama’s YouTube channel next week! If you want to catch up on all the episodes, make sure you check out our playlist!


Get Connected!