
Light painting photography is a creative technique that uses long exposures to capture the movement of a light source in front of the camera, producing streaks, patterns, and surreal effects that don’t exist until the shutter closes. The barrier to entry is lower than most photographers expect — a tripod, a dark room, and a $20 set of string lights will get you a compelling result on your first attempt. In this guide we’ll walk through everything from camera settings and gear to three distinct light painting techniques, including a DIY light ring approach that costs less than a fast food meal.
Light painting photography video tutorial
In this video, we show you how to capture a light painted portrait with both a DSLR and an iPhone using string lights to create motion — a quick 4-minute walkthrough that covers the full process. This video is an excerpt from our course Creative Photography 101, which dives into a wide range of unique photo techniques across any camera system.
Step-by-step tutorial for light painting photography
Light painting works with any camera that allows manual shutter control. Whether you’re shooting a full-frame mirrorless or an iPhone, the fundamentals are the same. Here’s how to build the shot from scratch.
Get the right light painting gear
You don’t need much. A tripod is non-negotiable — any camera movement during a 10-second exposure will ruin the shot. A remote shutter release prevents the vibration from pressing the shutter button from registering in the frame. Beyond that, your light source is the creative variable. Here’s what we used for these tutorials:
- Cameras and lenses — Canon 5D Mark IV with a Sigma 50mm Art f/1.4, and an iPhone 11 Pro Max to demonstrate that light painting works on any camera, including your phone.
- Tripod — Peak Design Travel Tripod: works with both DSLR and phone mounts, which makes it particularly useful for the mobile light painting setup in the video.
- Light painting source — Flashlights, glow sticks, sparklers, LED hybrid lights, and string lights all produce different effects. String lights are the most forgiving starting point — they spread light evenly and are easy to spin into circular patterns.
- Colored film gels or colored tissue paper — For adding color to a single-color light source without buying a specialized LED.
- Wireless shutter remote — Lets you trigger the shutter without touching the camera, which matters when your exposure is 10 seconds long. Prevents camera shake at the critical moment.
- Editing tools — Both final images in the tutorial were edited in Lightroom using Visual Flow Presets.
Determine your light painting location
Light painting needs darkness — not dim, but close to pitch black. Because you’re slowing the shutter way down, any ambient light will register in the frame and compete with your light source. A few things to consider when choosing a location:
- Dark location — Studio, blacked-out room, or an outdoor location away from streetlights. The ambient exposure at your working settings should render as pure black before your light source enters the frame.
- Interesting background — Even in a dark environment, background texture and depth matter. Brick walls, seamless paper, or an open space all produce different results.
- Permission — If shooting outdoors at night, confirm you’re allowed to be there.
Place your camera on a tripod

A tripod is non-negotiable for light painting. With shutter speeds of 5 to 30 seconds, even a small shift in the camera position will produce a blurred or doubled subject. Lock everything down before you start dialing in your exposure.
Dial in your ambient light exposure

Start with a shutter speed of 5 to 10 seconds, then use aperture and ISO to black out the room. Your goal before introducing any light source is a completely dark frame — if you can see the background texture, close down the aperture or drop the ISO further. Once the ambient exposure is black, anything you paint with light will pop cleanly against it.
A few specific settings to know:
- ISO — Keep it low (100–400) to reduce noise across the long exposure. Higher ISOs introduce grain that shows up clearly in dark areas of the frame.
- Aperture — A smaller aperture (f/8–f/11) increases depth of field and reduces the ambient light entering the sensor, giving you more control over the exposure.
- Bulb mode — Switch to B (Bulb) mode to hold the shutter open for as long as you need. Pair it with your wireless remote so you control the duration without touching the camera body.
- iPhone — Newer models have Night Mode built into the native camera app. For older models or more control, the Pro Camera App by Moment gives you manual shutter control.
Instruct your subject to hold still
The light painting element needs movement. Your subject does not. Brief your subject clearly before you start — explain what’s happening, how long the exposure will be, and what “still” actually means at a 10-second shutter speed. Even a slow breath can register as blur around the face. Take multiple exposures and review them closely at 100% before moving on. One sharp frame out of ten is a normal hit rate when you’re starting out.
Get creative with light painting

Step behind your subject, set a timer or use the remote, and press the shutter. Once it opens, start moving the light. For a first attempt, spin string lights in a circle around the subject’s head — it’s simple, readable, and almost always looks intentional. From there you can try outlining the body, changing your distance from the subject mid-exposure, or switching light colors partway through.
Take multiple shots. The first few will show you where the motion is too fast or too slow, and where the light is competing with the subject’s face rather than framing it.
DIY light ring technique for light painting portraits
This approach, developed in our Mastering Your Craft series, uses a $20 DIY LED ring built from materials at any arts and crafts store. It produces a distinctly different look from string lights — more controlled, more symmetrical — and introduces a useful secondary light technique using a smartphone as a background fill.
Here’s the full video walkthrough:
Start with composition

Before touching the light, lock in the composition. Use the C.A.M.P. framework (Composition, Ambient light, Modify light, Pose) as your sequence. Getting the frame right before the lights go off saves you from re-composing in the dark after your exposure is already running.
Set and kill the ambient light

Kill all ambient light and make the room as dark as possible. This base exposure — 1/4 sec at f/2, ISO 800 in this case — gives the subject’s face just enough light from the LED ring to be properly exposed, while leaving room to slow the shutter further for the painting pass.
Modify the light ring position

Have your subject hold the ring light slightly in front of their face. That position creates a soft, wrapping light quality — not unlike a large softbox at close range. Moving it further away increases contrast; tilting it off-axis introduces shadow on one side of the face. Run a few test frames at your base exposure to find the placement that gives you the skin detail you want before slowing down for the painting pass.
Add a smartphone background light

Screenshot a solid blue screen on a smartphone, raise the brightness to maximum, and position it behind the subject facing the backdrop. It adds a subtle color separation between subject and background at essentially zero cost. The difference it makes in the final image is bigger than it sounds — the background shifts from featureless black to a cool blue gradient that gives the image depth.

Slow down for the light painting pass

Once the look is dialed in, drop the shutter to 1–2 seconds. Lower your ISO to compensate. Have the subject wear dark clothing — it picks up far less light during the painting pass and keeps the focus on the face and the light trails. Lock focus before the shutter opens to prevent focus breathing during the exposure. Then have your subject move the ring light in whatever pattern you’re after while holding their head completely still.

Creative light painting photography ideas
Here’s a second video tutorial with more creative light painting effects, featuring model Renee. These three images were taken consecutively — which shows how much variety you can generate from a single setup by changing only the motion of the light.

Creative idea 1: circular motion light painting

Swipe the light in a semi-circle or full circular motion, depending on how far your hand can rotate. Keep the light close to the subject to fill more of the frame, or step back to create a circular frame surrounding the subject’s entire body. This is the most readable effect for new viewers — it reads immediately as intentional rather than accidental.
Creative idea 2: waves in light painting

Swipe the light from left to right in a windshield wiper motion. This reveals the individual LED light streaks and adds horizontal energy to the frame. Test different wave frequencies — slow, wide arcs versus rapid tight waves produce very different results. These horizontal streaks can also function as leading lines that draw the eye toward the subject.
Creative idea 3: highlight with light painting
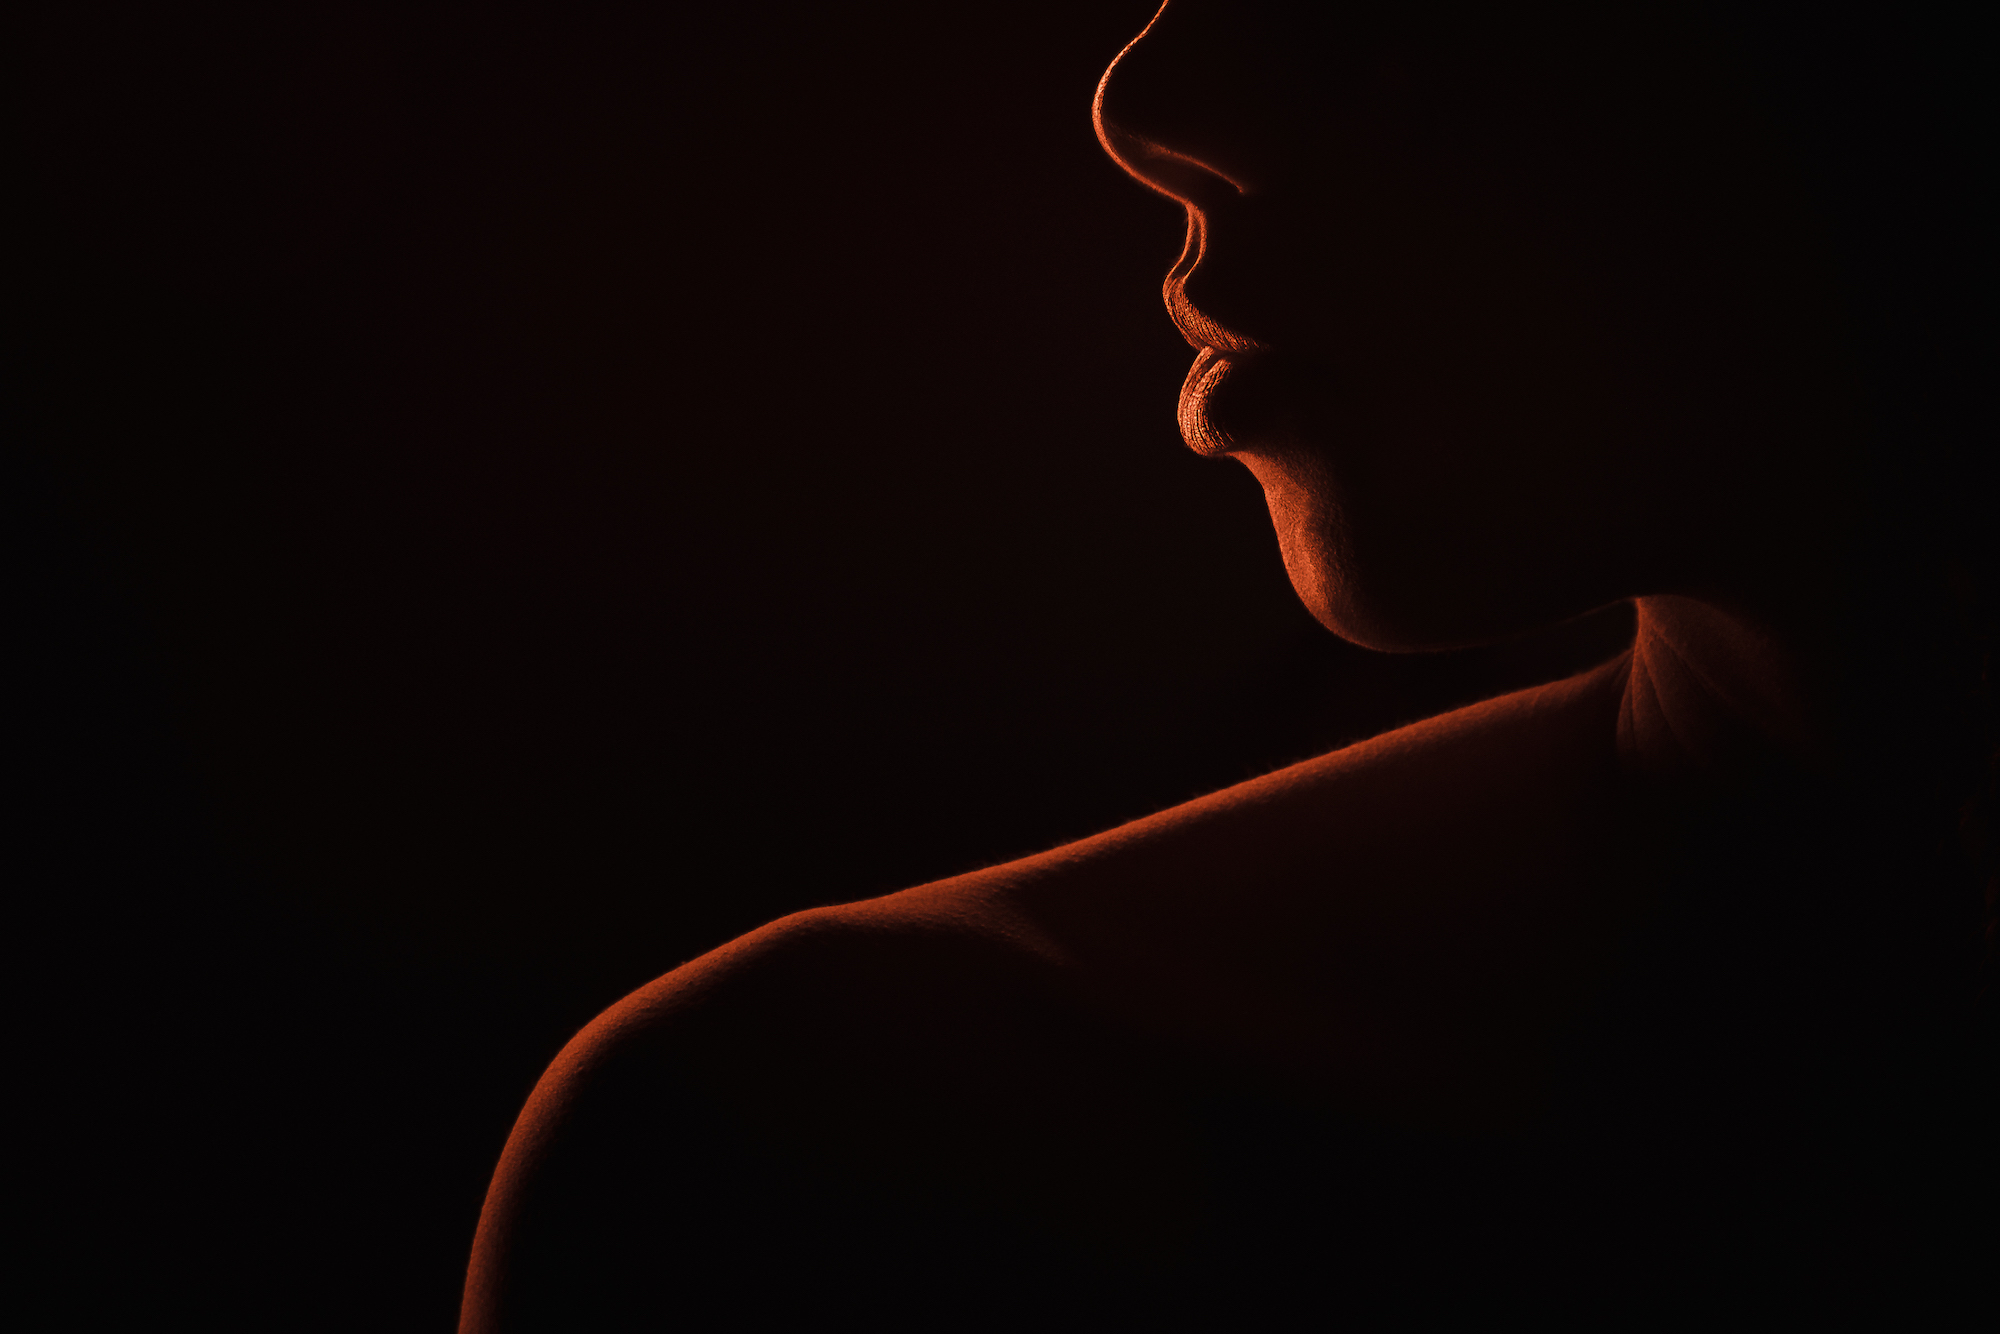
Use the light to trace the subject’s profile, chiseling them out of the dark background with a rim of light rather than filling the frame with motion. This works best in a tighter composition where the subject’s outline is the dominant graphic element. In our experience, this technique produces the most editorial-looking results of the three — it’s less obviously “light painting” and more likely to read as deliberate studio lighting to a viewer who doesn’t know what they’re looking at.
Bonus light painting tips
To create multiple letters or shapes in a single frame without them bleeding together, turn the light source off after completing each element, reposition, then turn it back on for the next. Any light spill onto the person doing the painting can create unintended ghosting effects — which are sometimes happy accidents, but worth controlling for until you have the basics down.
Frequently asked questions about light painting photography
What camera settings do I use for light painting?
Start with a shutter speed of 5 to 10 seconds, ISO 100–400, and an aperture of f/8 to f/11. The goal before introducing your light source is a completely black frame — if the background is visible, close down the aperture or lower the ISO further. For portraits where you need the subject’s face properly exposed, open the aperture to f/2–f/2.8 and test at shorter durations like 1–2 seconds. Adjust from there based on how the light trail registers versus the subject’s face.
What is the best light source for light painting?
String lights are the most forgiving starting point — they produce a soft, spread light trail that reads clearly in the frame and are easy to spin or wave. For portraits specifically, a DIY LED ring (built for around $20 from craft store materials) gives you more control over the quality of light on the subject’s face while still creating the painting effect. Flashlights and glow sticks are better suited to writing or outlining work where you need a tight, defined beam.
Do I need a dark room for light painting photography?
Yes. Light painting relies on the camera sensor recording only the light you introduce during the exposure. Any ambient light — from windows, streetlights, or room fixtures — will register in the frame and compete with your light source. The room doesn’t need to be a professional darkroom, but at your working settings (long shutter, low ISO, stopped-down aperture), the ambient exposure should render as black before you introduce any light.
Can I do light painting photography on an iPhone?
Yes. iPhone models from the iPhone 11 onward have Night Mode in the native camera app, which allows shutter speeds long enough for basic light painting. For older iPhones or more precise shutter control, the Pro Camera App by Moment gives you full manual control. The technique and creative ideas are identical to DSLR or mirrorless — the main limitation is that you can’t use Bulb mode, so very long exposures above 30 seconds aren’t accessible.
For more on creative lighting techniques and long exposure portrait work, explore the full Flash & Lighting Photography Guide. And if you want to go deeper on special effects photography including light painting, our Flash Photography Training System covers the lighting setups, camera settings, and creative techniques we use on real shoots.


