If you’re anything like me, you love getting hands on with any and every tool that comes out in regards to photography and videography. Having a background in IT, I love finding any new ways to make my retouching workflow easier, faster, better, and well, more fun! I’ve tried out a LOT of actions, presets, panels and plugins over the years all with varying levels of success and adoration, and in some cases, the lack thereof…but…we won’t talk about those here haha. For now we’ll talk about my first time trying out the Retouching Toolkit.
For many this may be old news, but for me, Version 3.1 was my first time ever getting hands on with this system, and while I was initially overwhelmed with the level of customization available, I still fell in love with the tools in the prebuilt packs and how much smoother they ran when compared to some others out there. Installation was a breeze with it’s “wizard” walking you through each step of the process including the downloading and installation of optional free add ons available from the website. If you want to get into a deepdive on customization and manual installation of the toolkit i’ll refer you to the video immediately below which walks you through pretty much everything you can think of. If you’re new to the customization options available to you, this video is a great asset.
Installation of the Toolkit
What’s New in 3.1?
Since version 3.1 is my first time diving into the Retouching Toolkit I can only speak to the press release on “what’s new” so i’d love to hear from existing and previous users about your experiences and feelings when upgrading from version 1, 2, or even 3.0 in the comments below! But I digress, the notes on the upgrade from 3 to 3.1 are not groundbreaking by any means, but from what I could tell and read, they still managed to make some pretty significant improvements to the extension.
Basically the Retouching Toolkit is what the Adobe Configurator could have become if Adobe had kept it up to code and made any improvements to it. The toolkit integrates with Adobe Photoshop letting you layout and design your own custom panels to suit your perfect workflow, and it comes loaded with add-ons from the development team to help jumpstart and simplify your workflow without any homework whatsoever.
The Addons

Wallstrom’s Workflow Addon
The first add-on you’ll notice when installing RTK 3.1 is the Conny Wallstrom Workflow add-on. Wallstrom designed this add-on to help streamline any retoucher’s workflow making it a great place to start for someone new, or a working professional. Everything is arranged in a well thought-out layout, including dodging and burning as well as creating folders to keep your layers organized.

One of the boasted improvements in this panel is the dedicated Dodge & Burn scripts where they made a typical D&B curves adjustment but with two points to keep the amount of color / hue shifting to a minimum. This was something I never even thought of before and did a side by side comparison and was blown away. I’ll never go back to my old way after testing this out! Honestly, this alone was worth the price of admission for me.
Watch this video for an in depth explanation on the Dodge & Burn enhancements;
The other features of this workflow that had me super impressed was the Selective Saturation tools. As you can see in the screencap below, the Saturate & Desaturate with Help button creates a series of layers and folders to walk you through adjusting the eyes (localized) as well as the entirety of the image in a process that’s as simple as running some dodge & burn. Again, these are tools that have always been around in photoshop, but the RTK team has made it as easy to do as a single click of a button.

Check out the video below for a more detailed explanation of the Saturation tools.
Improvements to Frequency Separation
While most consider FS a touchy subject, the RTK team have improved the scripts and actions for Frequency Separation substantially, allowing you to create multiple separations for fine detail (small), large detail, and overall tones in the image. Not to mention you can choose which blur technique you want to use for each of the Frequency separation steps.

Smart Objects
This, while i’ve always known about the benefit, is only something I really started taking advantage of after I started using the Retouching Toolkit. The RTK takes advantage of Smart Objects for destructive editing tools such as Liquify, blur, grain, and sharpening. This allows you to edit in a non-destructive way since you can come back and make changes to those layers even after closing the file.

Backdrop Panel
Okay so this guy, i’ve not had any time to play with, but from what i’ve seen (check the video below) it’s incredibly fun for your portraiture! The plugin pulls images/texture from some high quality images of actual hand painted backdrops that are lit well and perfectly flat and it setup you up with a few predefined blend modes to work with. All you have to do is mask your subject matter and you can change the background to meet the color and tones you want!
I just spent 2 minutes and was able to create this (it’s by no means perfect…and arguably it’s not even good…but i spent no time at all on this and just used a quick default “select subject” to create my mask, so imagine what you can achieve with a little patience!

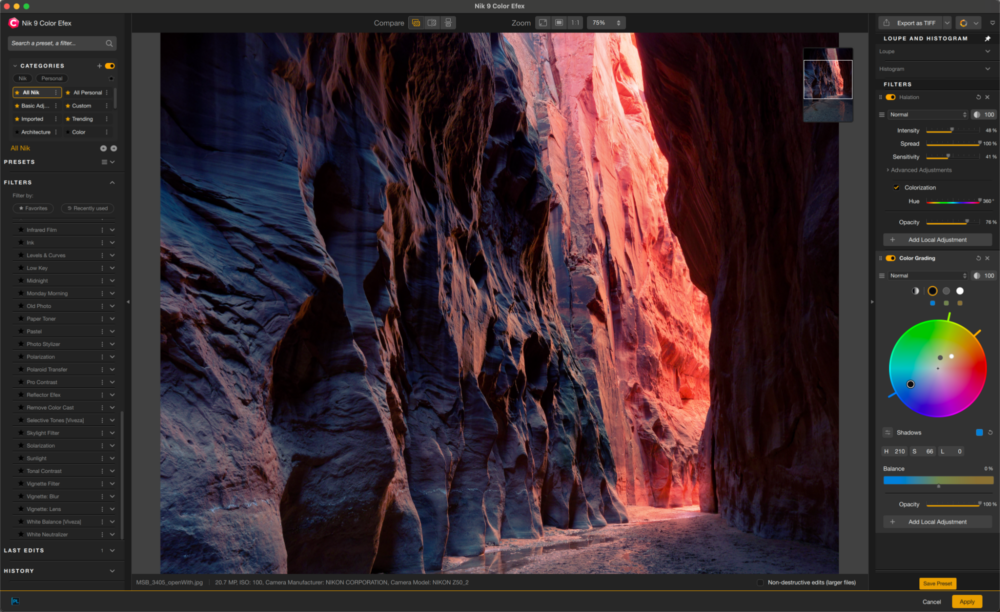
Color Wheels for Photoshop
Where to begin? I remember when I was first starting to learn about complementary colors, the first thing I was told was to get a color wheel to make it easier to process. Then proceeded to spend the next few years working with a curves and hue/saturation layers to do color grading in Photoshop. It wasn’t until I found Capture One Pro and their color grading process did I find the bliss of the visual color wheel in my images once again. Well, thanks to the the Retouching Toolkit, now we can have our beautiful color wheels right in Photoshop where they belong!
The Color Wheel addon allows you to modify your curves via a visual color wheel targeting your Highlights, shadows, midtones and more. Thus keeping the “Scarieness” of working directly in multiple curves to achieve a certain look out of the picture. You can even use it to load multiple points from a custom curve adjustment allowing you to work on more than the three “Standard” luminosity ranges.
The Color Wheel Addon is available for $59 and requires the base Retouching Toolkit 3 in order to run. You can get the addon separately or as part of a bundle if you’re a new user. Check here for pricing and options as well as more information on the Color Wheel Addon.
Pricing

The Retouching Toolkit 3.1 is available in a variety of bundles starting at $129 and includes all the tools mentioned above, (excluding the Color Wheel), as well as the legacy 2.0 panel layout if you are a legacy user and want to use it. Personally I just jumped into the new workflow since I had no history with the app. The additional bundles are as follows;
- Toolkit M – $199
- you get access to the color wheels add-on bringing the ease of use of the color balance tool found in Capture One into Photoshop. Included in this price is also the color mapping add-on (Currently in Development)
- Toolkit L – $239
- you get everything listed above as well as the luminosity add-on (Currently In Development), so you won’t need a luminosity masking and selection panel anymore.
- Toolkit XL – $299
- You get everything listed in the previous bundles but you also get the launcher and the export add-on which are both still in development
If you’re already a user of the RTK you can still acquire the bundles one at a time and you can also upgrade to the bundles at any point.
[Related Reading: See more of the best Photoshop Plugins for Photographers in this post from Shotkit]
While additional information isn’t listed on the official website regarding the upcoming in process addons, you can join the official facebook group where the development team post teasers, guides, and videos very regularly giving you the inside scoop on what’s coming down the line, as well as a ton of great general retouching resources and conversations amount the users and professionals.
What I Liked About The retouching Toolkit 3.1
- Highly Customizable interface and panels allowing you to create your own perfect workflow.
- Vastly Improved Dodge & Burn, as well as Frequency Separation Tools. Seriously, the D&B tools are some of the best i’ve ever used and will be hard pressed to ever use anything different for my retouching!
- The extensions bring more power and tools hidden in photoshop directly to your fingertips
- It feels like add ons and enhancements are constantly in the roadmap for the extension.
- There’s already a variety of free AND paid add ons giving you even more flexibility and creativity with your edits
- You can pull in your existing actions and scripts to create your own panel/workflow
- The Facebook group is active and contains a lot of great educational content
What Could Be Improved In The Retouching Toolkit 3.1
- The price points may be a little scary when compared to many other panels and plugins on the market, so a little clarity on what’s included with the purchase including the “in development” addons and enhancements could be clearer.
- No trial version. Giving the users a scaled down taste of what you can do could be greatly beneficial for those sitting on the fence
- Without spending some time watching the video guides and reading up on the posts in the facebook groups, you can get lost and overwhelmed pretty quickly when trying to customize your panels. I’ve never built my own panel, so the initial setup process was a tad frustrating and confusing. Keep in mind all the information you need is available, it’s just a bit much for a noob like me.
- Some of the addons don’t have much in terms of a how-to or help guide to get you started, so they can be a tad confusion or frustrating to get up and running or used properly.
Conclusion
When you consider I’ve been using actions and panels in various flavors for about 6 years now, it’s impressive to me that the Retouching Toolkit was able to make my jaw drop several times over. The majority of my work is done in Dodge & Burn (Courtesy of some training from Peter Coulson) and the science behind the D&B tools with the RTK made me incredibly happy in my short time testing the application. Trust me, i’ll not be going back to any other form unless something else equally mind bending is created! Cumulatively, it’s one of the best Photoshop extension bundles on the market, especially since the addons seem to just keep coming from the dev team.
The included baseline layouts have more than enough function to get anyone started and retouching like a pro, and if you get comfortable enough with the configuration tool, you can create your own ultimate workflow panel full of everything you’d ever need in a single place ready at the click of a button. If you want to streamline your workflow and develop a more efficient retouching practice, then the Retouching Toolkit 3.1 is definitely worth taking some time to research and ultimately incorporate into your workflow.
For more information as well as pricing, be sure to check the link here