The ability to change specific colors in post-production is a good skill to have in general but, it’s also a necessity for working professionals. For example, any number of logistical reasons may prohibit the photographer from receiving a product in the desired colors or client’s color preference for the final image may change.
Reshooting the entire project may be unfeasible but, that problem can be remedied in Photoshop. If this sounds like something you’ll need in your skillset, Nathaniel Dodson‘s tutorial sharing five ways to change colors in Photoshop is for you.
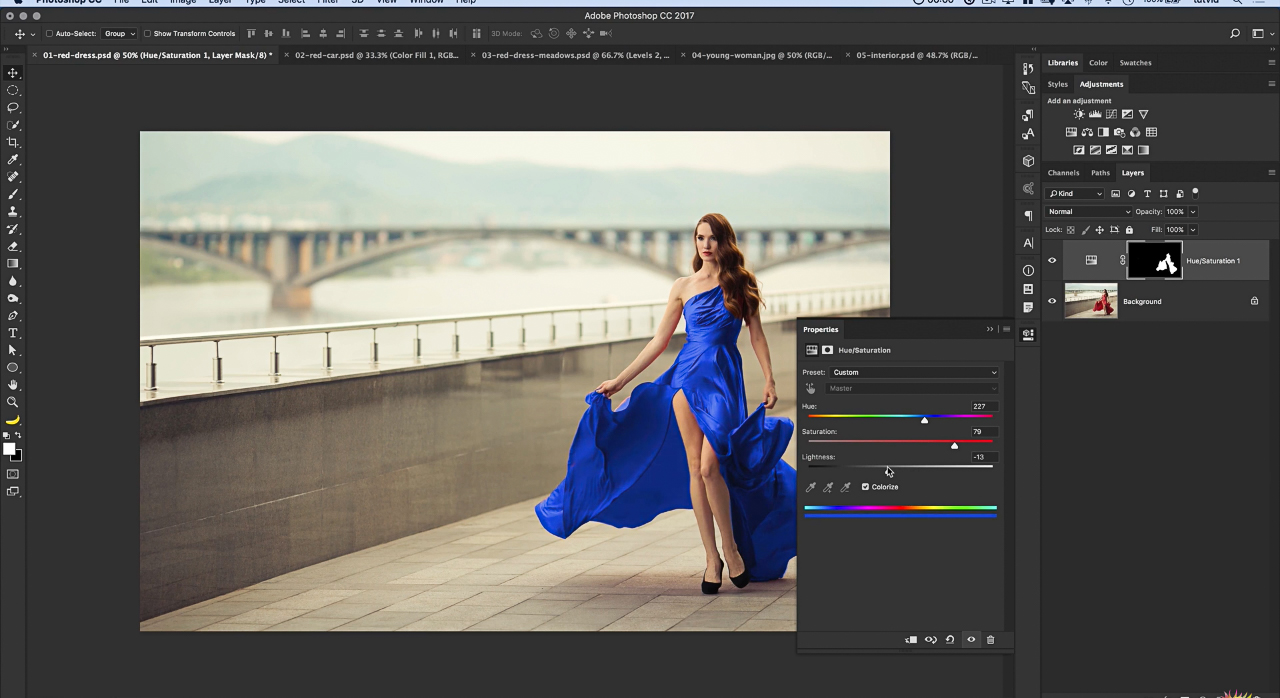
Hue/Sat Adjustment Layer
This is a straightforward method that has results that really depends on son how well you make your selection. After your adjustments are made, you can make further adjustments it by lowering your opacity
- Create Hue/Sat layer
- Adjust both the Hue, Saturation and the brightness
- Use the properties panel to adjust the mask edges to clean them up
- Turn on Colorize in Hue/Sat to get a richer color
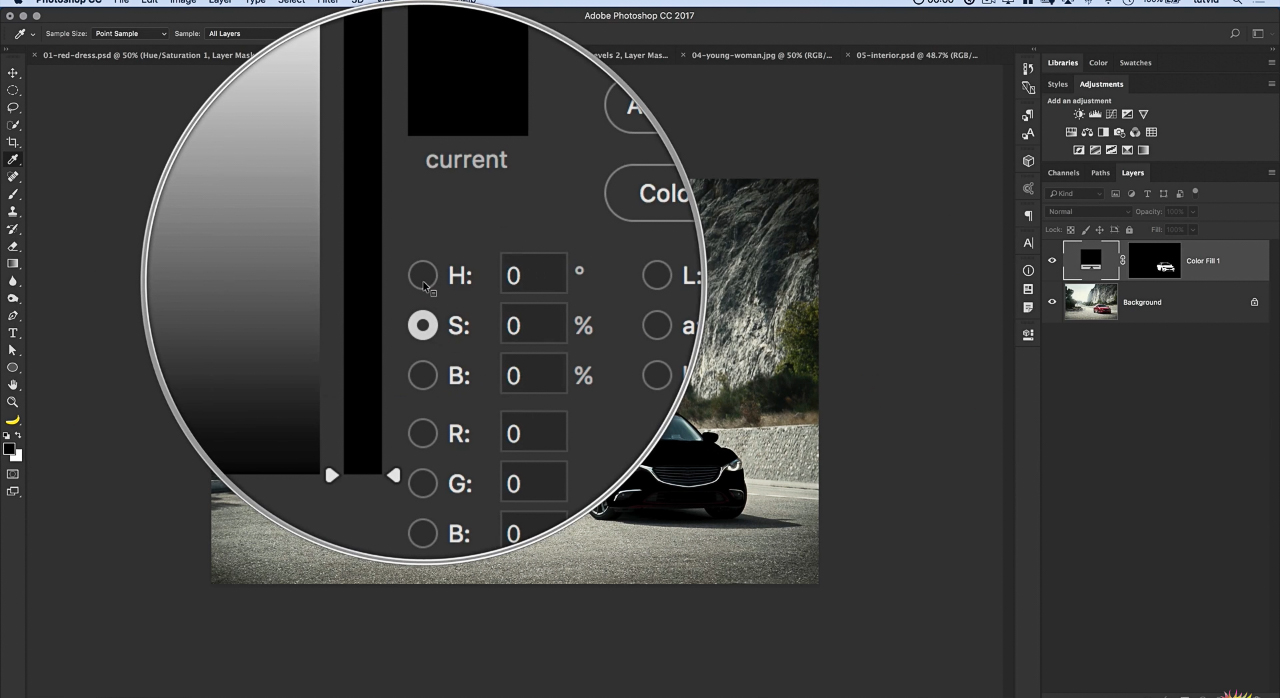
Solid Color layer set to Hue/Color
This method can provide some very realistic results and allow you to easily sample color already present in the image.
- Add Solid Color layer with a bright blue
- Set to Hue and then Color
- Change the color and sample a green from BG
- Adjust color and work the opacity and feather mask edges, etc…
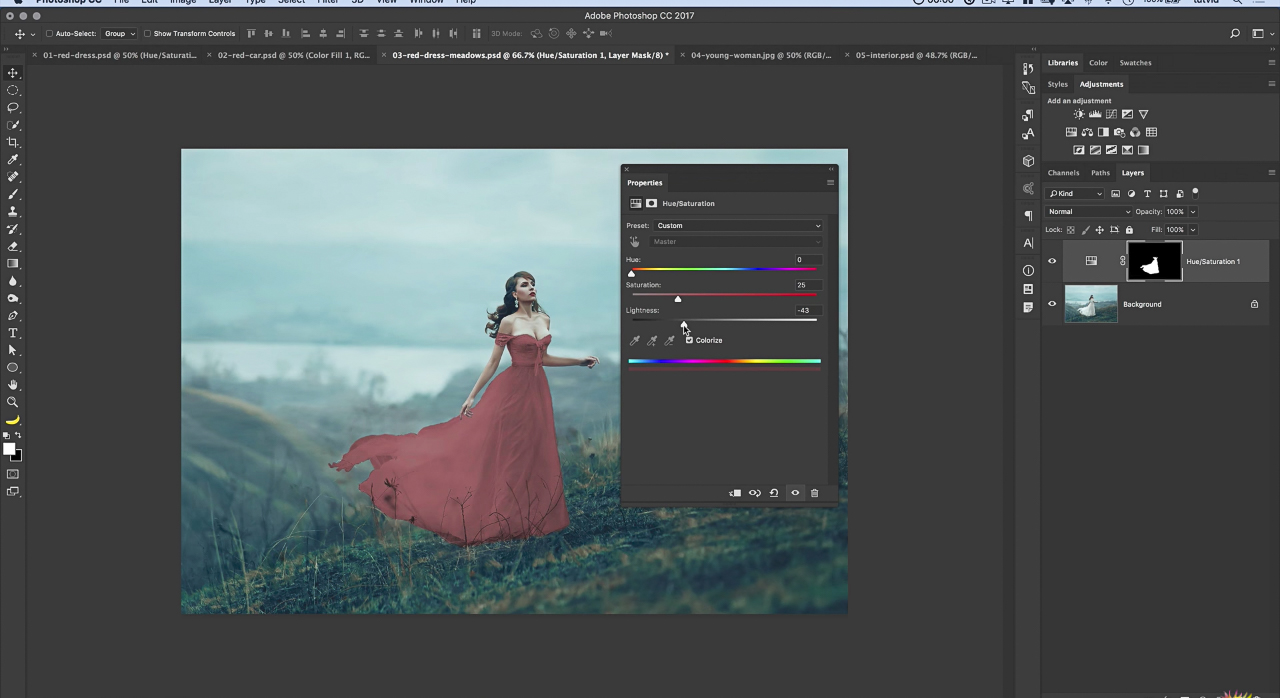
Hue/Sat layer, masked make white/black a color
This method is good for when the object your changing doesn’t have color and you’re forced to not only change it but add color.
- Add a Hue/Sat layer
- Use your properties panel to use Select/Mask to Smart Radius the selection
- Load that mask selection and add a Level adjustment layer
- Raise the dark tones and shift middle gray to make them darker
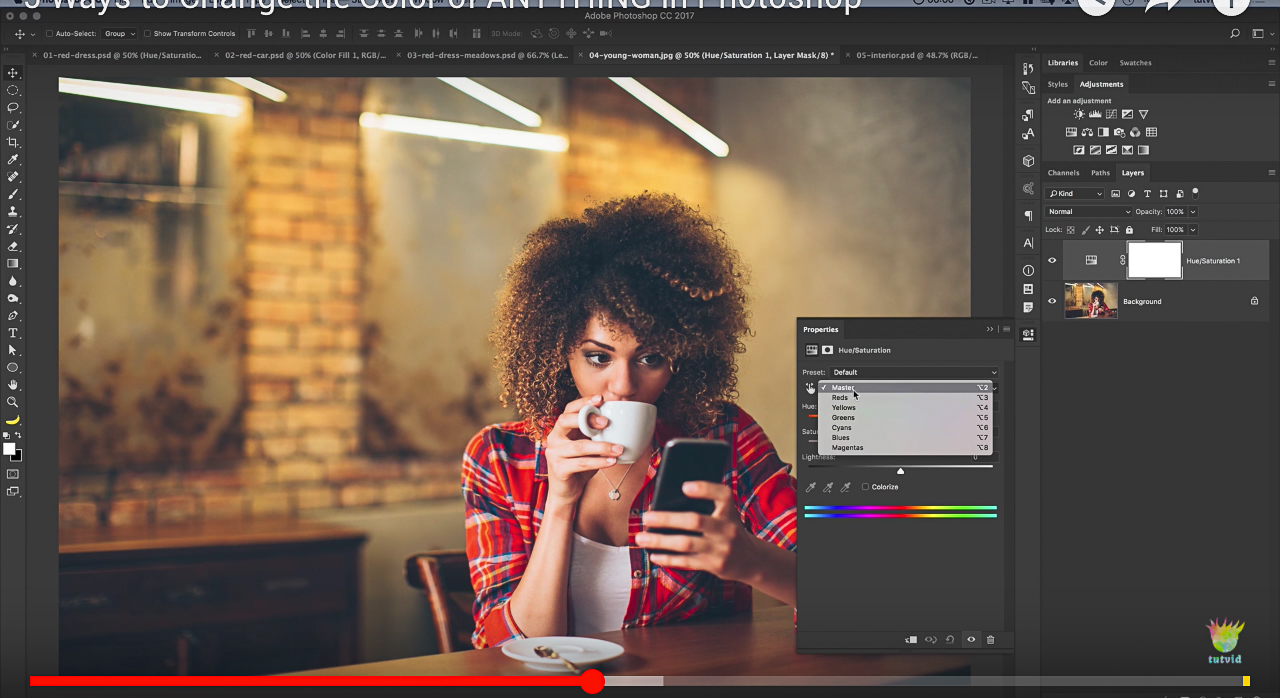
Hue/Sat layer to target a color via color channels
Probably the quickest method but, be aware that adjustments made with this method will affect the entire image. You’ll have to go back and brush out the changes in areas you don’t want to be changed.
- Add Hue/Sat layer and target the colors using the drop down to change backlight
- Now show the scrubby finger to target the backlights with a better accuracy
- Adjust to your liking
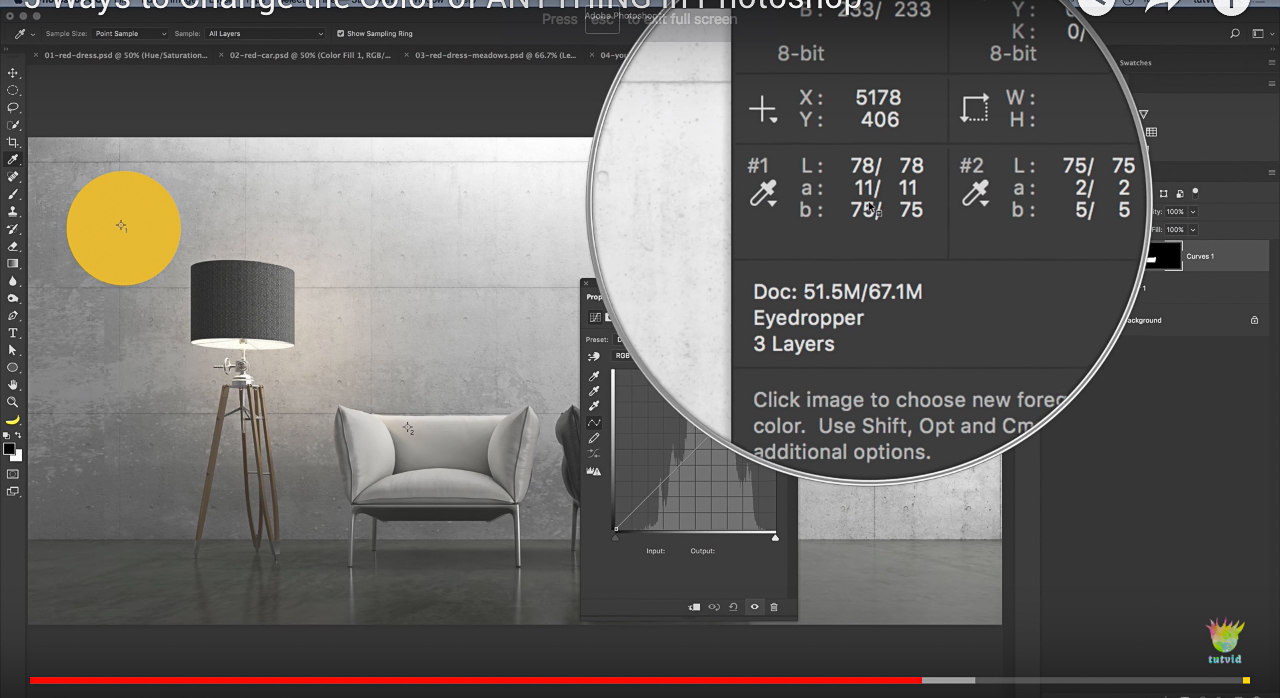
Drop an eyedropper point and use Curves Adjustment layer to match a color
This method is useful when you want to introduce colors into an image with a precision or when the color you want isn’t present in the image already.
- Create a color swatch on a new layer that you’ll fill with the color you want to introduce.
- Add sample points to color swatch and something near the highlight of the chair
- Switch viewing mode in Info panel to LAB, L is like the brightness, A is like the tint in Camera Raw, B is like the color temperature value.
- Adjust to make the colors match


