
We’ve long touted the value of education when it comes to developing your photography style and creating unique portraits. That said, we also realize the important role that gear plays in opening up creative possibilities. This holds especially true when it comes to flash photography. To that end, MagMod recently released the new MagMod XL line, which brings their unique brand of lighting modifiers to the large strobe game. We were lucky enough to get our hands on the new Professional Strobe Kit. In the following video/article, Pye will walk you through what’s included with the kit, explain what it’s for, and share his thoughts on shooting with it.
Let’s start.
What’s In the Kit?

As we mentioned above, the new MagMod XL Kit gives photographers the ability to use their favorite light modifiers on full strobes. This includes everything from the MagSpheres and MagGrids to MagGels. To begin, here’s a look at what’s included in the kit:
- Reflector XL: The Reflector XL works like a zoom reflector and funnels light forward. Of course, it is compatible with your favorite (and now super-sized) MagMod modifiers. It’s unique in comparison to other zoom reflectors in that it collapses down for easy transport, and its silicone body helps keep it ding and scratch-free. To attach the Reflector XL to your flash, you can use a MagRing or a brand-specific strobe mount.
- MagSphere XL: This new MagSphere XL works just like its predecessor, but in larger form.
- MagGrid XL 20 & MagGrid XL 40: Like the MagSphere XL, the MagGrid XL grids included in this kit work just like their predecessors, and they’re also stackable.
- Correction Dome Gels (CTO 3-Pack) – Creative Domes Gels are also available, but sold separately
- Case XL Carrying Case: This is arguably more fashionable than a Louis Vuitton bag.
**The Professional Strobe Kit XL featured here runs for $289.85. It’s worth noting that if you plan to use more than a single strobe at a time, you’d get more for your money with the Two Strobe XL Bundle for $489. You can also pick up each modifier individually.
Pye’s Thoughts on Using MagMod Products
I really enjoy using these products, and I’ve used the MagMod system on countless shoots for quite some time now. This includes everything from weddings to portrait sessions, both outdoors and in the studio.
Other modifiers are just more clunky and difficult to set up. I’ve been wanting a MagMod system for my full strobe for a long time because of how convenient the system is to use with my pocket strobe setups. I also love how the Reflector XL + MagSphere XL can double as my beauty dish. Just like the regular-sized MagMod system, the MagMod XL system is compact, highly portable, and super durable. For this reason, and because of how well it works, it will likely replace the soft box for the majority of my location-based shooting.
From a quality of life standpoint, the XL system just greatly improves quality of life when it comes to using any full studio strobe, wherever you might use it.
Final Images Created with the New MagMod XL Kit
Be sure to check out the next video/article to see how Pye created some of the shots below using the MagMod XL system.


Gear Checklist
Here’s a list of the gear used in this tutorial for the MagMod Professional Strobe Kit XL.
1. Composition
Like always, we begin with the C.A.M.P. Framework (Composition, Ambient Exposure, Modify/Add Light, Pose & Photograph) and then work our way through the shot. In this case, we’re going with a two-light setup to create a dramatic, silhouetted-esque dance portrait.
2. Ambient Exposure
For more dramatically lit shots, you’ll want to go darker in terms of setting the ambient exposure in-camera. Otherwise, going with a brighter exposure and lower powered flash will render a more natural look.

Here’s an example of a dark ambient exposure setting, which will work well once we add our lights (see above). As you can see, pretty much all of the ambient light has been taken out.
3. Add and Modify the Light Source
Now, we need to add some light back into the scene. We’ll start with one and then go from there.
Add the Backlight

Place your subject into the scene so that you can set up your lights as needed. Here, we placed a Profoto B10+ directly behind our subject, approximately 5’-7’ back. We’re using a B10+ as a backlight to give us more power. We’ll use a regular Profoto B10 (and a little less power) for the main light up front. We can do this because our main (or front) light source will be very close to the subject.

Here’s what it looks like when we add the first light as a backlight. We used our go-to combination of a MagSphere XL, MagGrid XL, and a Dome Gel (all placed on a Reflector XL, which was mounted to a MagRing).
Add Main Light

We could stop here for great silhouette shots, but a second light on the front of the subject will help us create a more dynamic portrait. As we mentioned earlier, we don’t need as much power from the front flash. As you probably guessed, we used the Reflector XL, MagSphere XL, MagGrid XL, and a Dome Gel gel to modify the front light as well. The grid control minimizes light spill light while the sphere softens and diffuses the light.
Make Final Adjustments
With both lights set up, we can now dial in the final settings for the second light.

We captured the image above with the second flash set to full power. Clearly, the light is too bright and out of control. So, that means we need to lower the power down to 1/16th power (about 3-4 stops).

You might not have a white floor to add fill light back onto your subject. Don’t worry, you can improvise with something like a v-flat or reflector on the ground. Continue adjusting the light power until it looks the way you want it.
4. Pose and Photograph Your Subject
All that’s left now is to direct your subject into a variety of poses and start capturing photos.

Pro Tip: Because we’ve placed the light almost directly over our subject, she needed to tilt her head slightly up in each shot. If she looks down, we end up with a “raccoon eyes” effect.
Lighting Comparison with the MagMod Professional Strobe Kit XL
Here’s a look at what each light is doing independently.

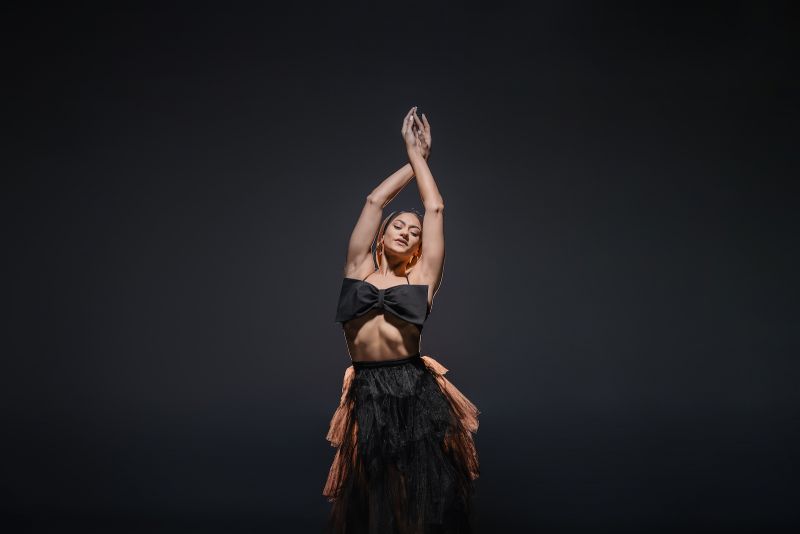
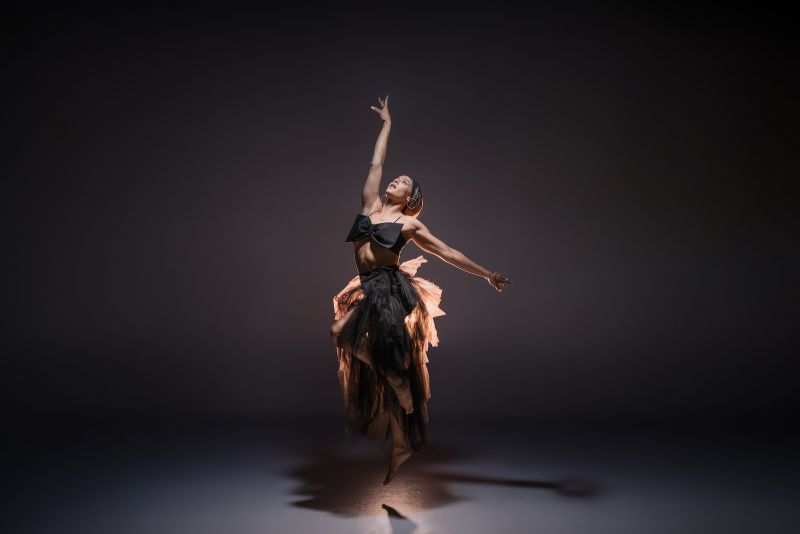
Final Images Using the MagMod Professional Strobe Kit XL
Now, here are the final edited images….


Conclusion
At the end of the day, the new lineup of MagMod XL modifiers (including the MagMod Professional Strobe Kit XL) make it incredibly easy to get the look you want from larger, more powerful lights.


