
Of all the niches that fall under the umbrella of product photography, jewelry photography ranks as one of the most challenging. The small size and highly reflective surface of most jewelry products make it difficult for photographers to maintain focus and minimize unwanted elements in the reflections. Photographing jewelry (well) requires the use of specialized equipment and a knowledge of several photography techniques. With a bit of guidance and practice, however, you can add capturing quality jewelry photography shots to your “can-do” list.
Let’s get started.
What Is Jewelry Photography?
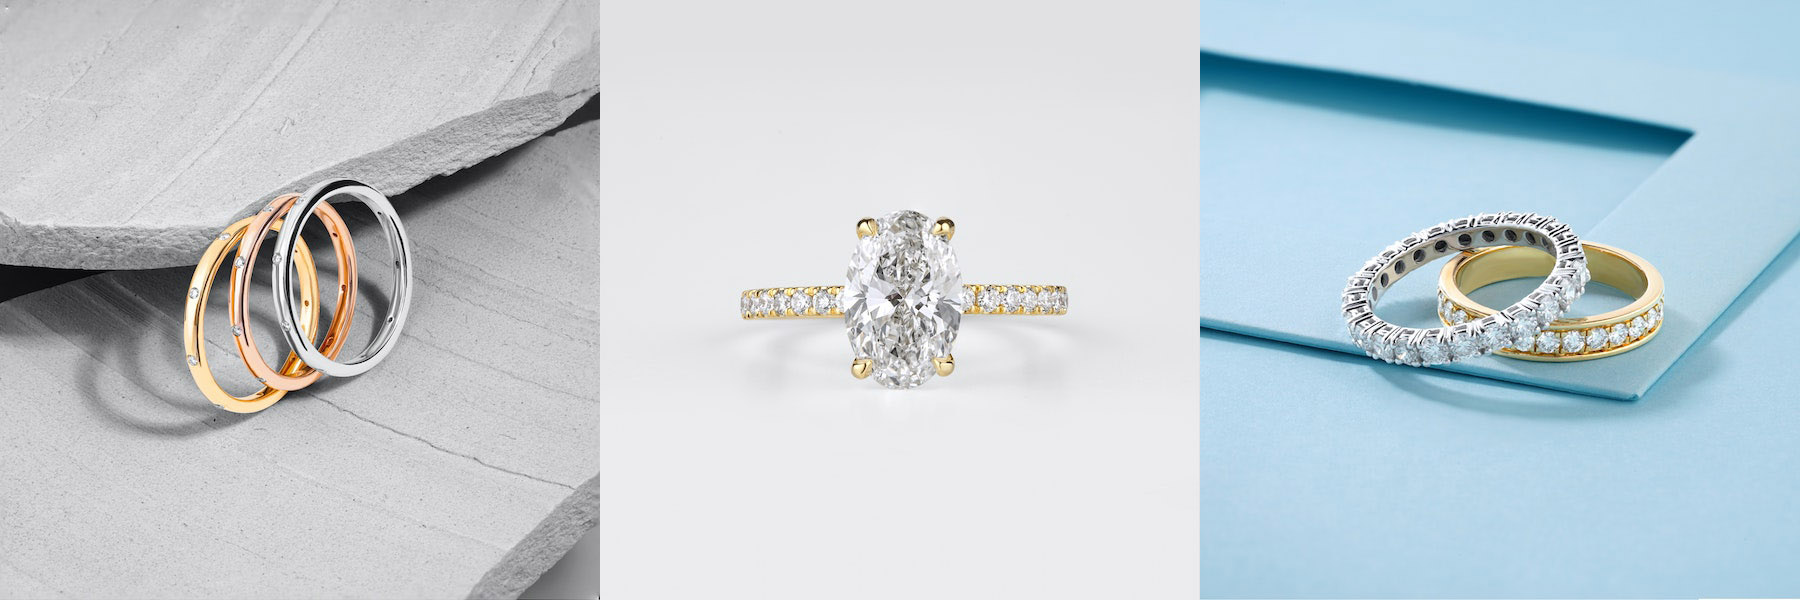
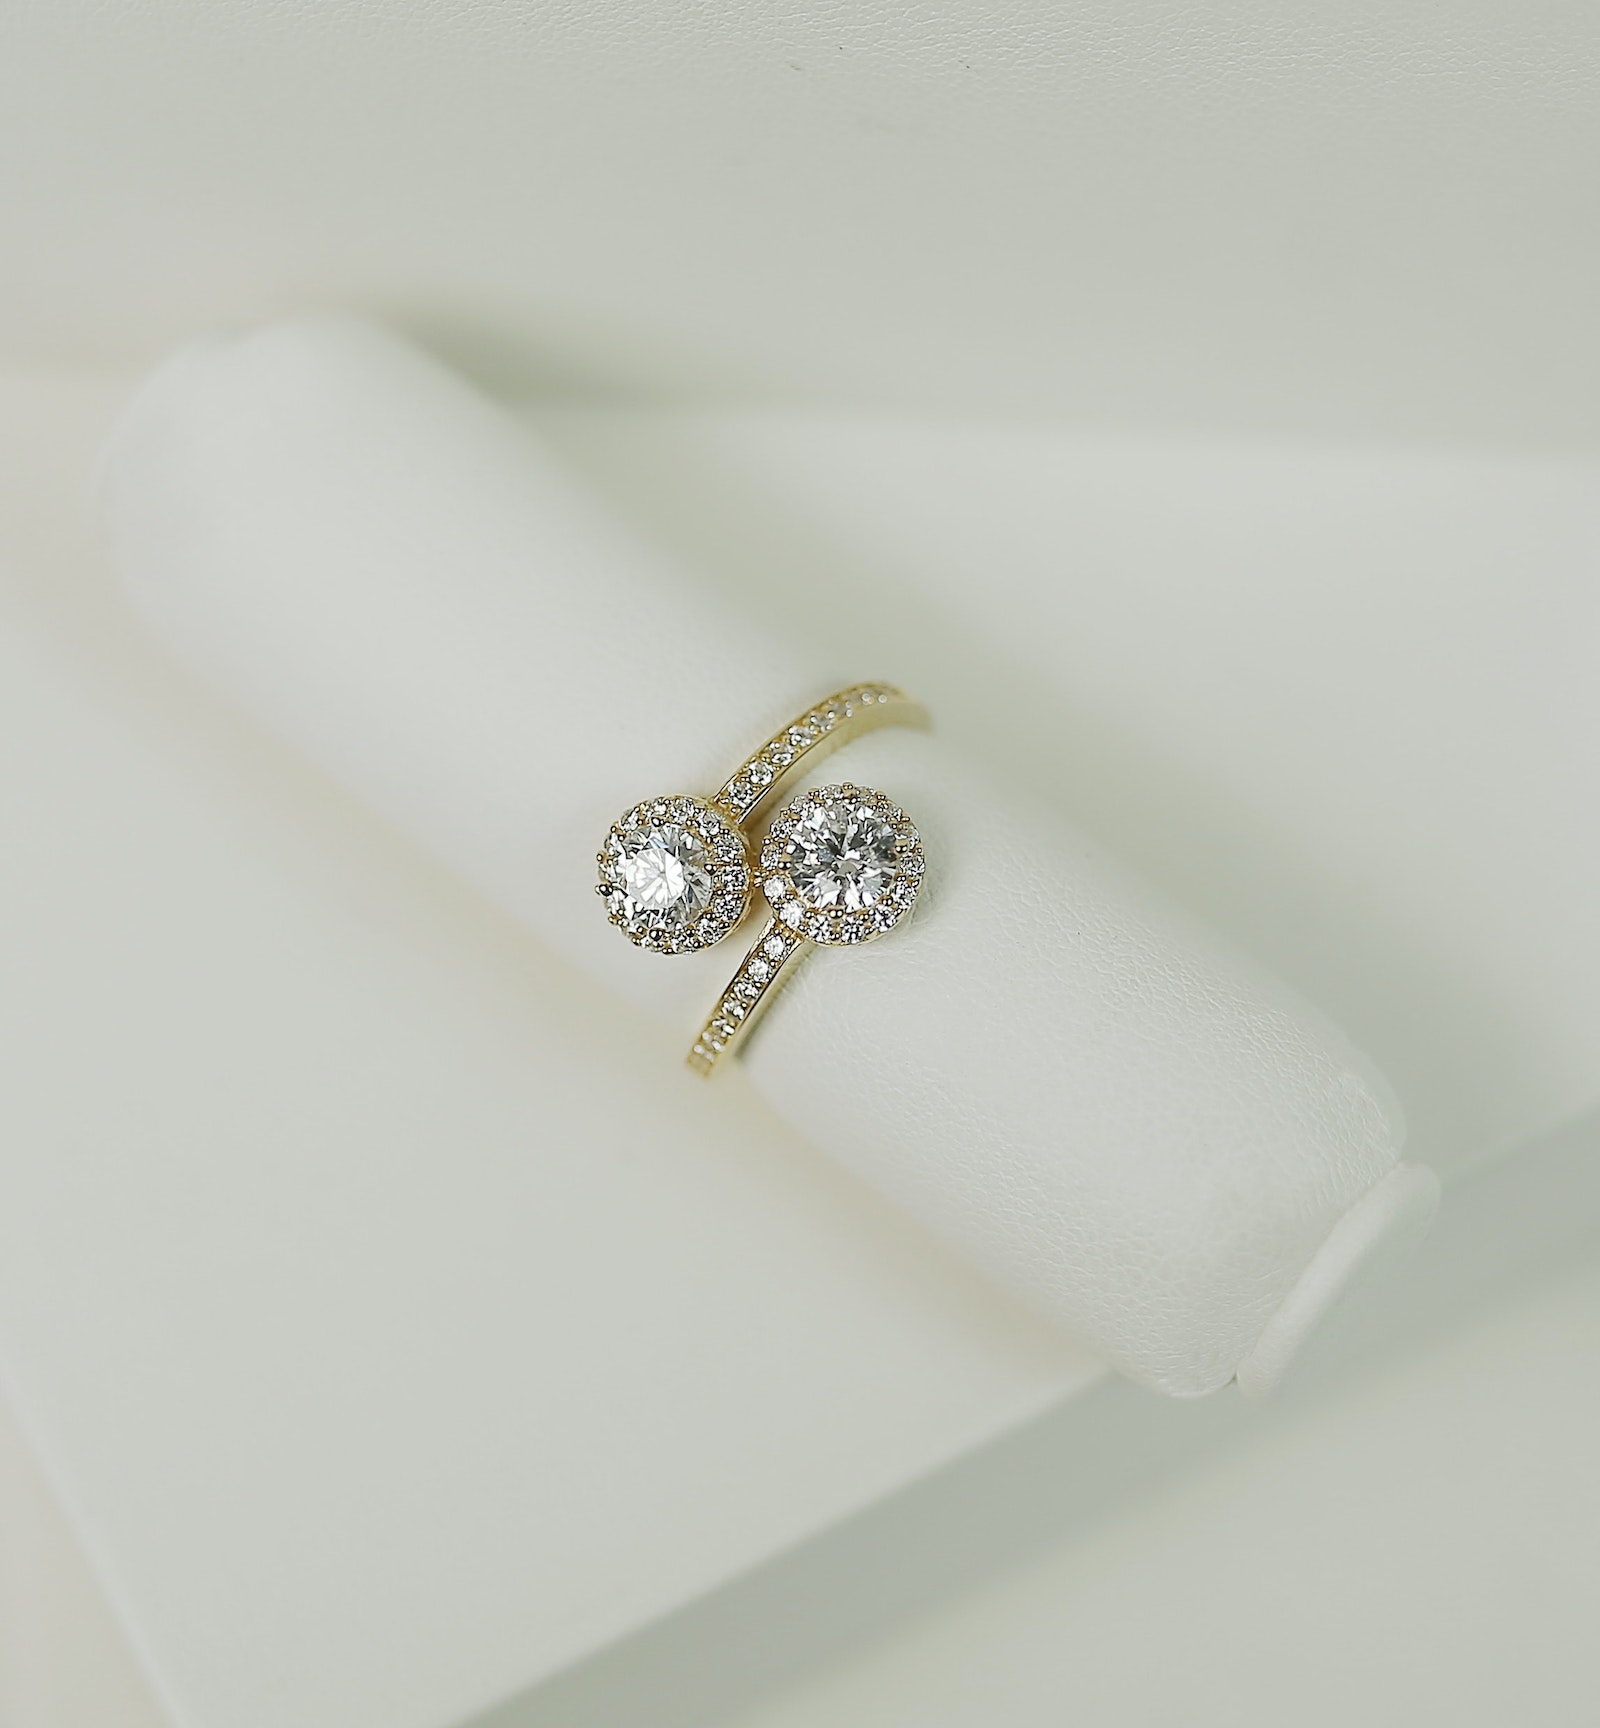
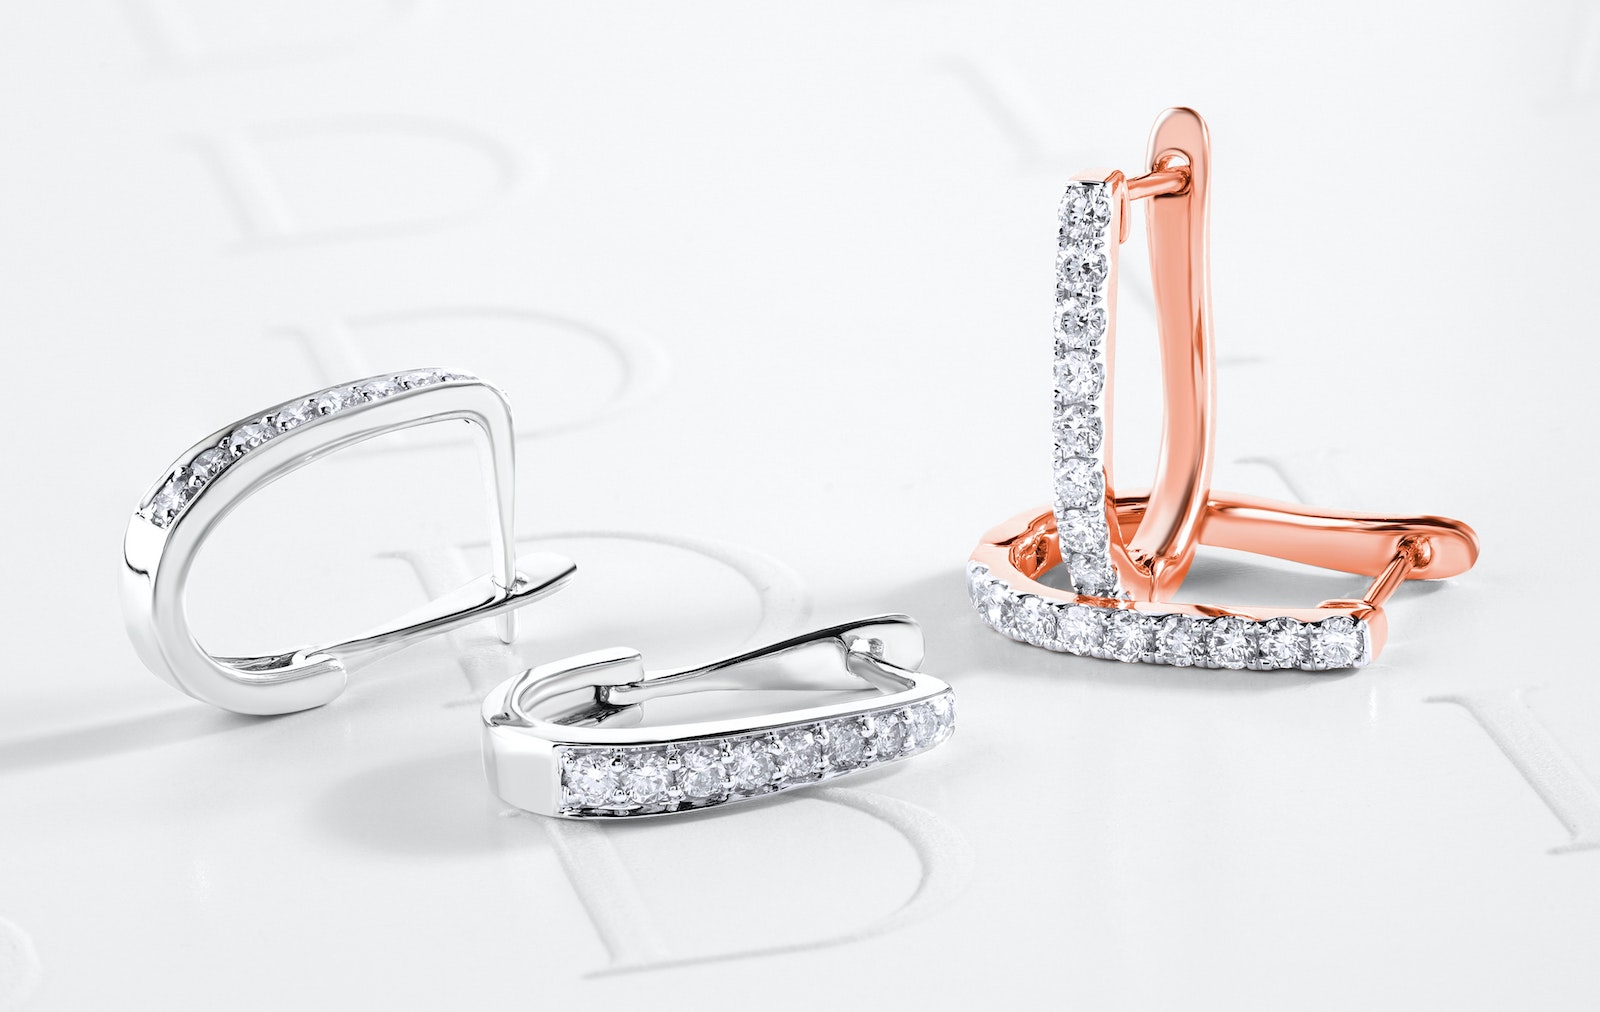
Jewelry photography falls into two main categories, including 1) product and e-commerce photography, as well as 2) editorial or lifestyle photography. The former involves shooting still life photos of jewelry usually against a solid color background. These photos are typically used to sell the jewelry on e-commerce sites like Etsy, Amazon, or even big chain stores.
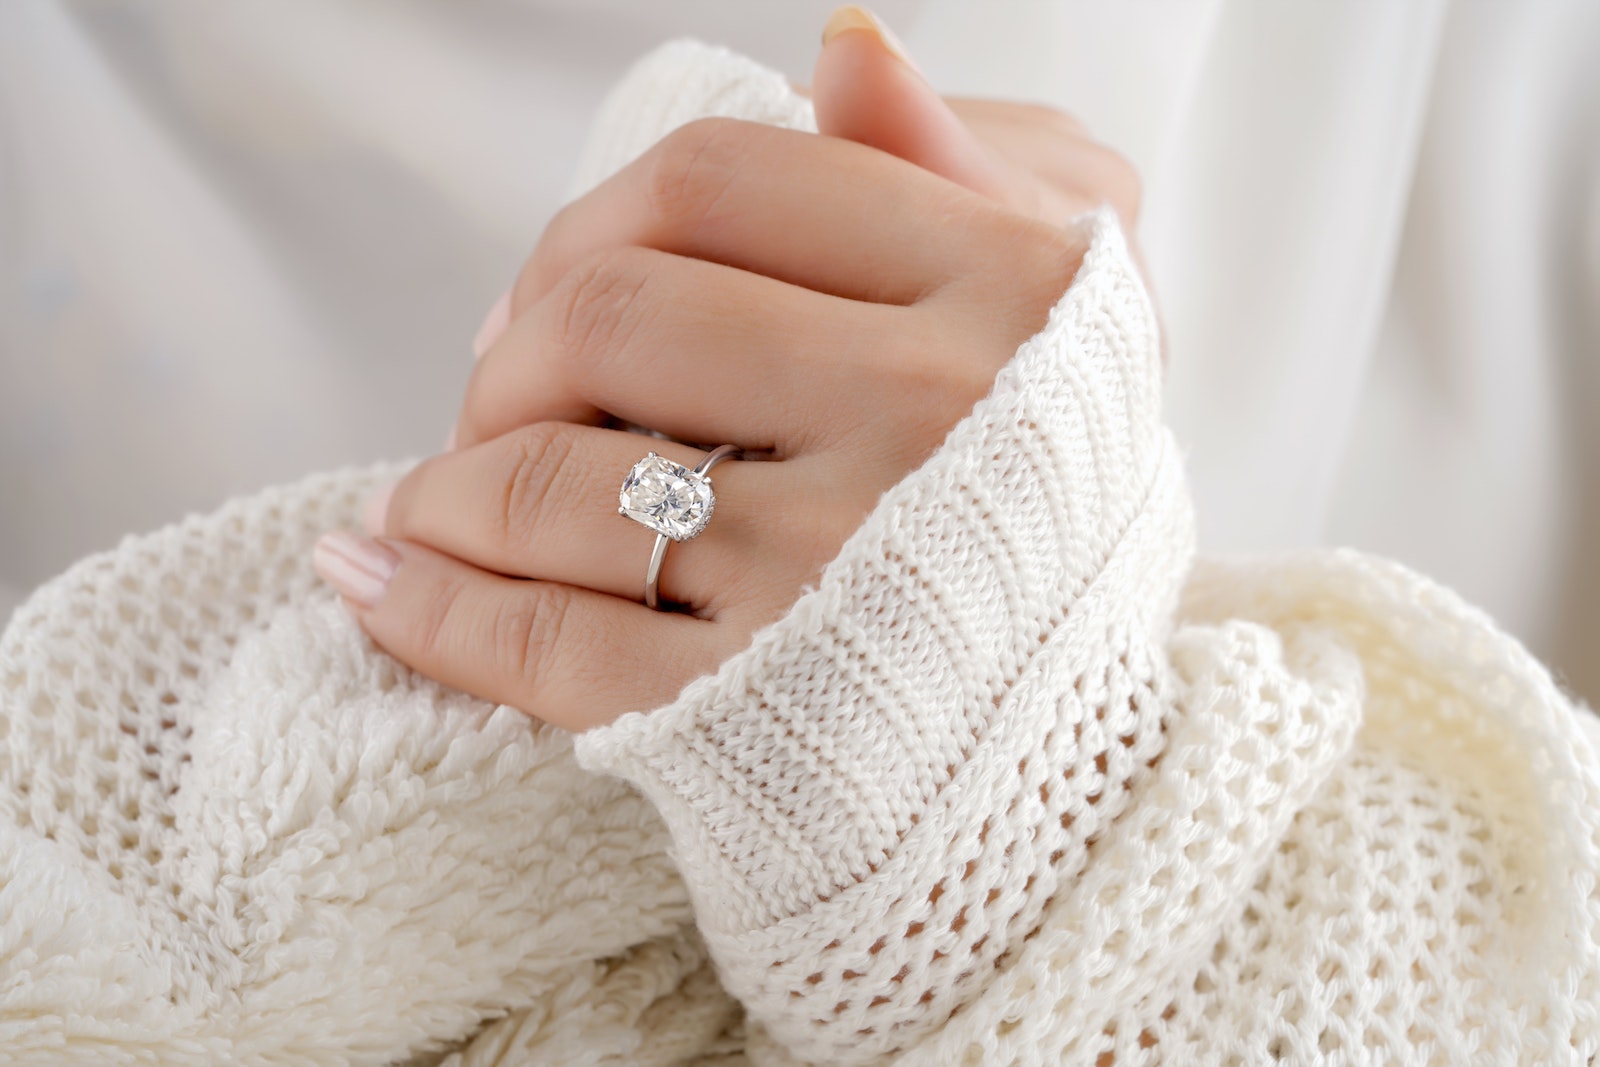
Editorial or lifestyle jewelry photography, on the other hand, typically features the jewelry on a model or against a backdrop that gives the scene context. You’ll more often find these images used in magazine ads or in branded campaigns.
Recommended Jewelry Photography Gear List

Gear plays an important role in jewelry photography. You always want to come prepared for the shoot, and if you’re photographing jewelry, this means you’ll need most (if not all) of the essentials listed below. The following gear will help you execute clean jewelry photography shots in-camera and save time in post-production.
- Camera & Lens: Camera specs don’t matter much unless the images will be printed, in which case you’d need a mid-level to higher end DSLR or mirrorless camera with a decent megapixel count. What’s more important is that you can adjust the camera’s shutter speed, aperture, and ISO, which we’ll cover below. See our lens recommendation below under the “Dial in Your Camera Settings” section.
- Tripod: Using a sturdy, stable tripod will help you avoid camera shake and dial in sharper focus. They will also give you a better chance at capturing consistent angles for a series.
- Lighting: The type of lighting you choose is limited only by what you have available and what you’re most comfortable using. Natural light, off-camera flash, and constant lights all work well for photographing jewelry.
- Light Modifiers: For jewelry photography, light modifiers impact the quality of light falling on the jewelry as well as the shape of light as seen in the jewelry’s reflective surface. Common light modifiers for jewelry photography include softboxes, umbrellas, v-flats, and more recently, Light Cones.
Other “Gear” Considerations
- Backdrop: Choosing the right backdrop for jewelry photography is important. There are a number of options to choose from, including foam boards, photo-realistic surfaces, and large sheets of paper that can be used to create a small-scale cyc wall.
- Glue Dots: Use these “pressure sensitive adhesives” on a number of different surfaces to help keep your jewelry in place. You can find them on Amazon, among other places.
- Props: Go-to props for jewelry photography include mannequins (full or partial), cardboard flats for necklaces & earrings, clear plastic watch holders, and other similar tools. When it comes to using props, the more purposeful and less distracting, the better.
Let’s get started!
1. Create or Prepare Your Studio Space
Before you break out the jewelry or adjust your camera settings, you’ll need to set up your shooting space. You don’t need a full scale studio to capture photos of jewelry. Because of the small size of your subjects, you can create a small shooting space to accommodate your needs.
Much of your setup will depend on the type of lighting you choose to use. For example, you might place a table near a window for natural lighting, or find a darker space when using off-camera flash or constant lights. Of course, a lifestyle shoot location will also depend heavily on the story you’re trying to tell.
A lot of the time, a jewelry photography setup will include the following:
- Table
- Foam boards or tabletop v-flats for a backdrop and surface, as well as for providing fill light
- Large paper used as a cyc wall, usually clipped to a backdrop stand
- Clamps to hold the paper to a backdrop stand if applicable
- Lights (see lighting tips below)
Because of the challenge jewelry presents with its highly reflective surface, you’ll also want to be mindful of what is being reflected in your given location. Perhaps surprisingly, lighting modifiers can help minimize distracting elements on-location. We’ll discuss that in more detail below as well.
Keep the Background Clean and Simple
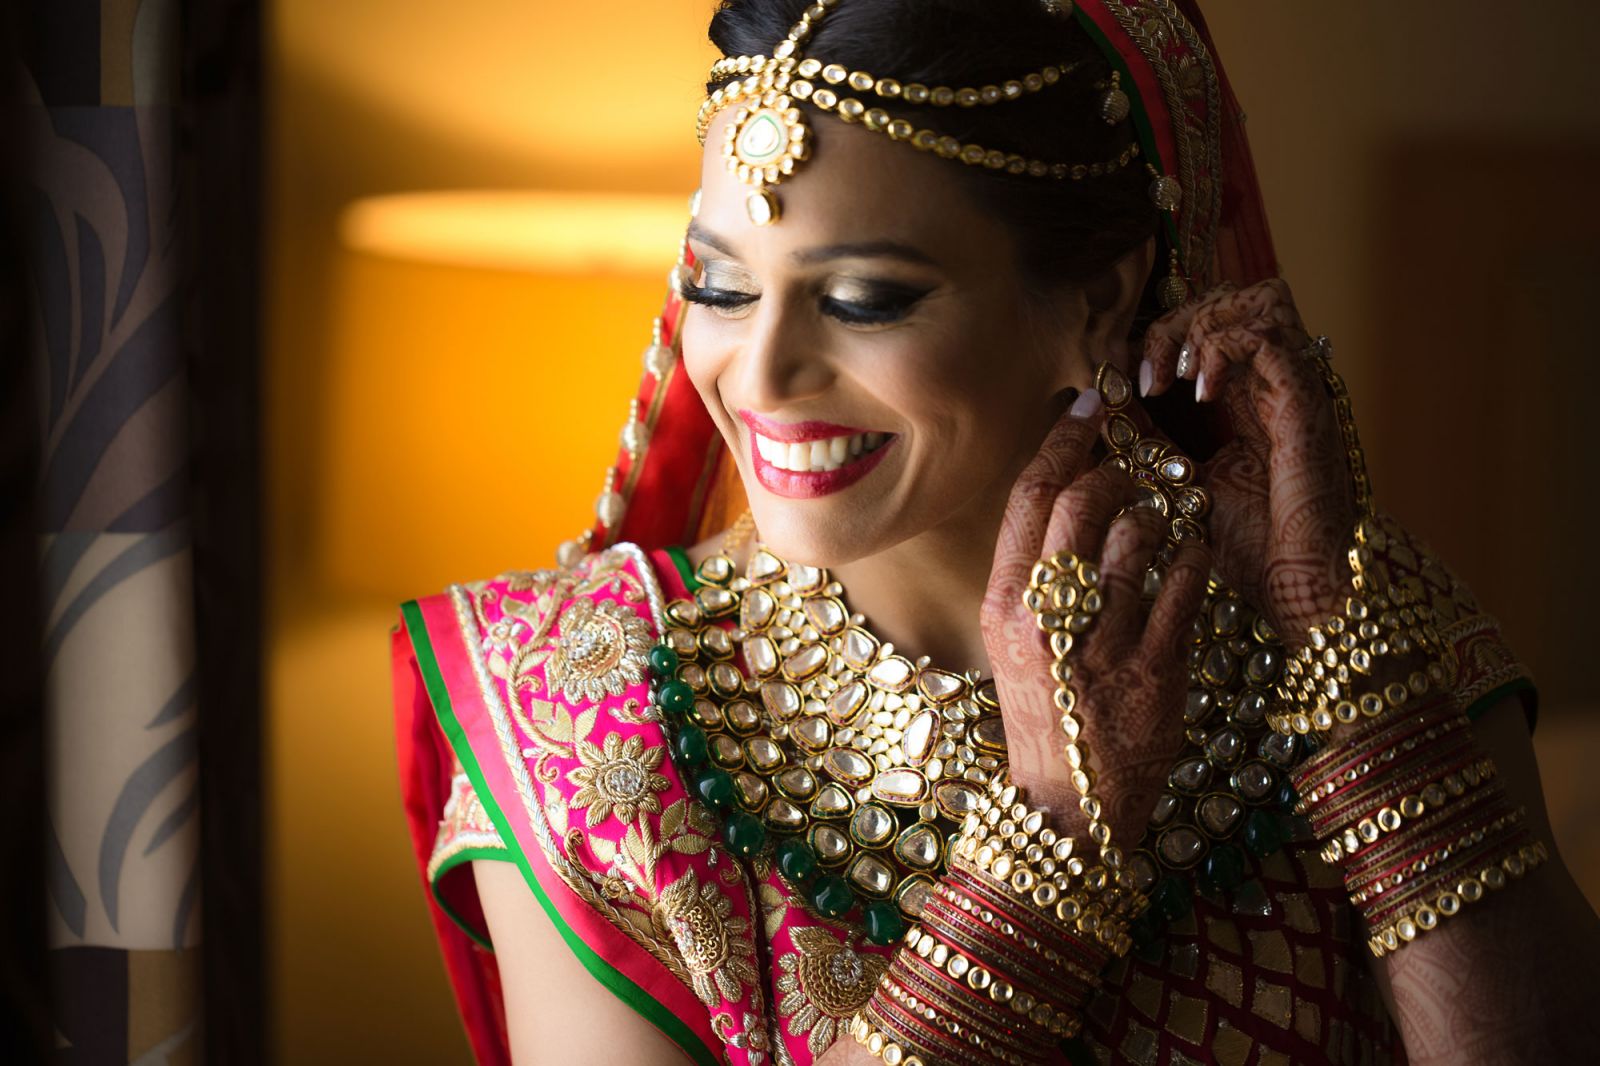
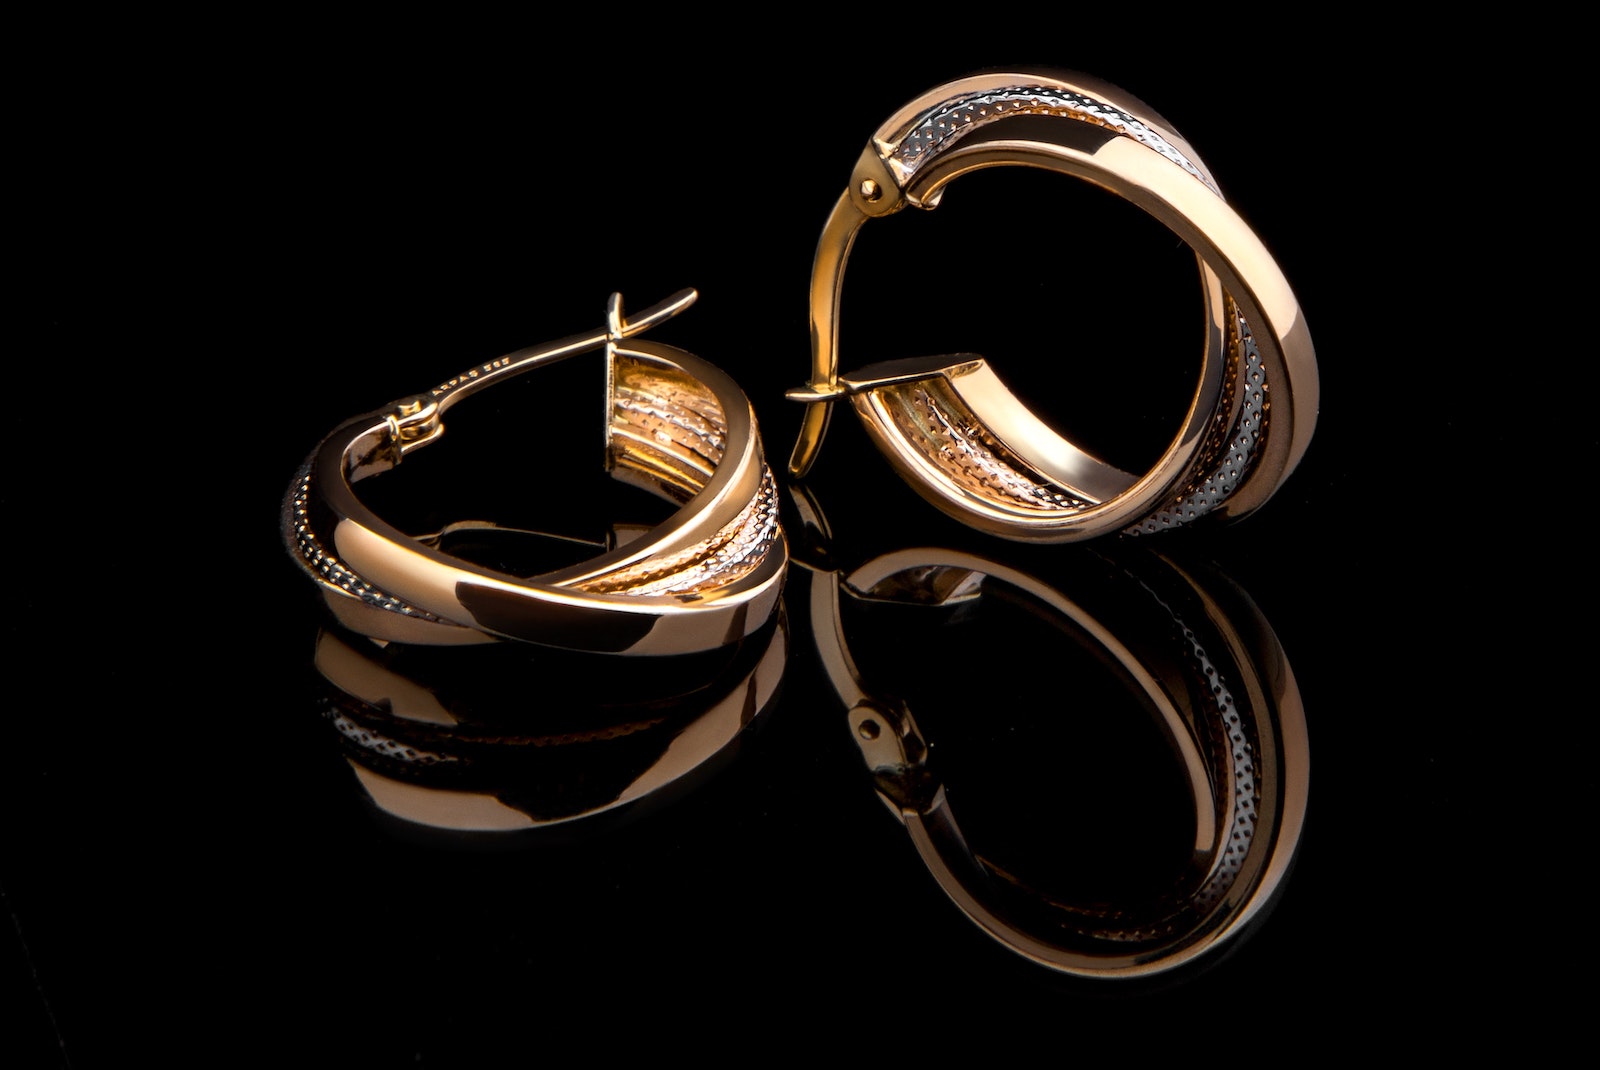
More often than not, your jewelry photography will benefit from a clean and clutter-free background. It doesn’t matter whether you’re using a white light tent, a photo-realistic backdrop, or even a model for a lifestyle shoot. Unless you’re photographing jewelry on a bride as a wedding photographer, chances are your photos will be used for commercial or retail purposes. If you look online, you’ll find that most examples of jewelry being sold online have very clean backgrounds, usually featuring a solid color like black or white. While you might be tempted to throw in colorful props to make the images more vibrant, the short answer is don’t do it. When in doubt, remember to keep the scene clean, know what I mean?
Use Props with Purpose
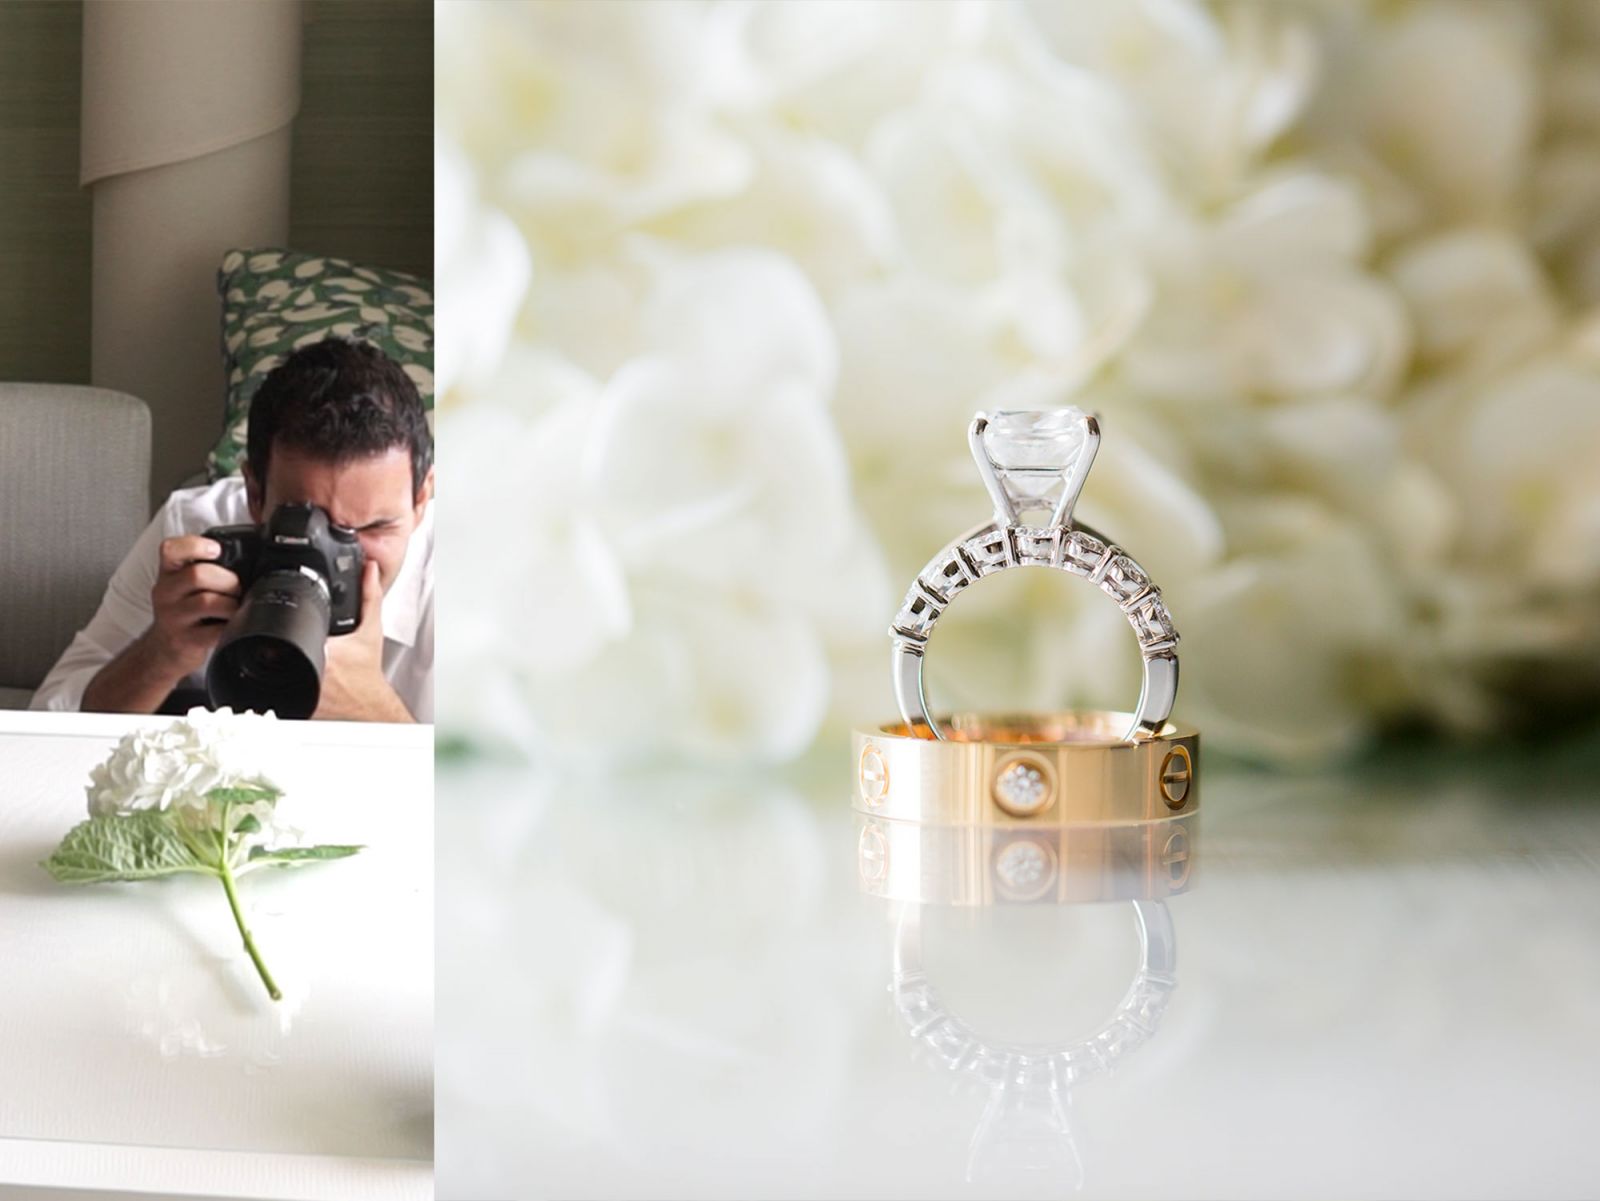
Props, while not an essential element for jewelry photography, can prove useful. Even then, try to use them sparingly and only for a specific purpose. For example, using a mannequin to showcase necklaces or bracelets would make sense. It can provide a sense of scale for the product. You don’t want the props to distract your viewer from the main subject, which of course is the jewelry itself. Issues with inconsistency can also arise if you use props for some bits of jewelry and not others.
[Related Reading: Wedding Ring Photography Tips and Inspiration For You To Try]
2. Clean the Jewelry
As is true with all forms of product photography, take time up front to clean the jewelry before you photograph it. You might not see them without careful inspection, but dust and smudges can ruin an otherwise great jewelry photo. These unwanted artifacts can add extra time retouching in post at the very least. Also, a good number of jewelry photography shots will be pretty close up. The closer up the image, the more detail that will be revealed, so stay alert and keep it clean.
When handling the jewelry both before and during the session, try wearing cotton gloves to help minimize the number of smudges you contribute to the jewelry’s shiny, reflective surface.
3. Dial in Your Camera Settings
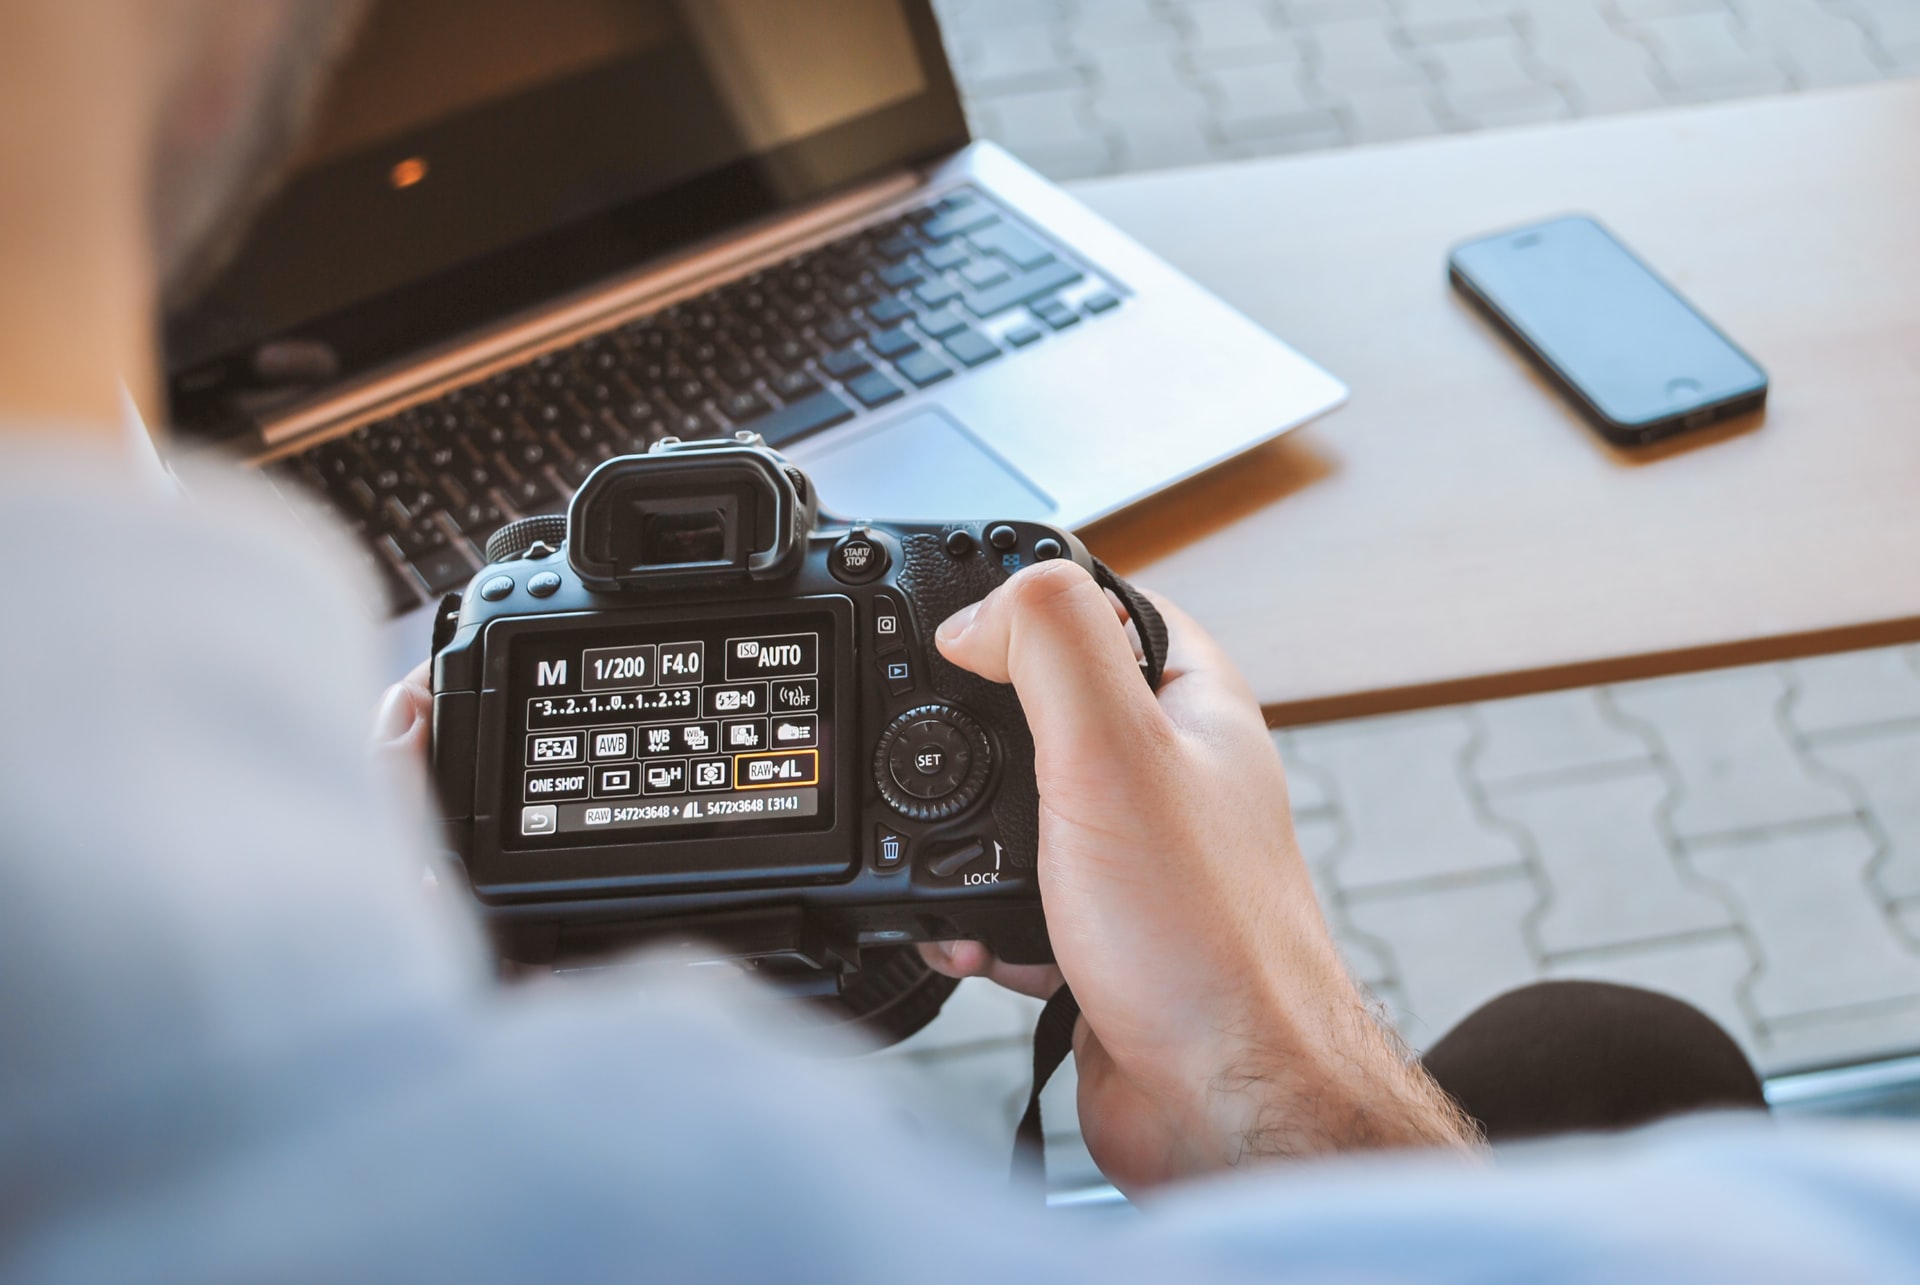
While most of us love to capture portraits with a super shallow depth of field for dreamy bokeh, it won’t serve us well for photographing jewelry. And depth of field is not the only setting we need to stay mindful of when shooting in this genre.
White Balance
People who shop online rely on the photos of the products they purchase to accurately reflect those products. One of the most important aspects of accurately portraying the products is correctly capturing the product’s color. To do this, you’ll need to manually adjust the white balance in-camera. I recommend using a gray card as well.
 Once you’ve set your scene, lighting, and other camera settings, snap a photo with a gray card in it for use in post. When you open up the photos in Lightroom, or whatever editing software you use, you can select the white balance dropper and click on the gray card to get a more accurate representation of the jewelry’s true color. It’s a cheap and easy way to save time in post and create a consistent look.
Aperture, ISO, and Shutter Speed
Of these three elements that form the exposure triangle, aperture and ISO are the most important for jewelry photography settings. Save the shallow depth of field for your people portraits and instead go with f/11 or wider to keep more of the jewelry in focus. You may even need to experiment with focus stacking to nail the level of focus you’re after. At the same time, keep the ISO as low as possible to minimize noise and grain in the images. This holds especially true if the images are destined for large scale prints. Shutter speed doesn’t matter much for product and e-commerce jewelry photography as there’s no movement to freeze or capture, unless of course you’re introducing movement for creative purposes.
Lens Recommendation for Jewelry Photography

It’s best to steer clear of wide angle lenses when photographing jewelry. Opt instead for a standard lens (50mm or 85mm) or macro lens, ideally in the 100mm range. We shoot jewelry from a fairly close distance, and a wide angle lens at such distances stands a good chance of distorting the shape and look of the jewelry. The longer focal length will also allow you to get up close while distancing yourself from the jewelry, thus reducing your chances of making a cameo in a surface reflection.
4. Choose a Lighting Style and Method
When it comes to lighting jewelry pictures, you have options.
Natural Light
If you choose to use natural light, your two biggest concerns will be the same as with most other genres. Do you have enough available light? Can you get the light direction you need based on the space you’re in?
Side lighting usually works well for both natural light (at 90-degrees) and off-camera flash (at 45-degrees), especially when using a tabletop v-flat or foam board to kick fill light back onto the jewelry. Top-down lighting also works well when shooting on a bright surface with foam boards off to the side to provide fill light.
Off-Camera Flash and Constant Lighting
When introducing off-camera flash or constant lights, the light specific light source doesn’t matter as much as the setup and the modifiers. Our goal with lighting as jewelry photographers will be to minimize harsh shadows and accurately portray the jewelry.
We can use lighting (and lighting modifiers) to help control the shape of our jewelry and minimize reflections as well. For example, the distance between the light source and the jewelry can impact how we see the shape of the jewelry. As you move the light closer to or farther away from the jewelry, the jewelry’s appearance will change due to the shape of the light in its reflection. And speaking of reflections, after setting your camera up at the angle you want to shoot from, use live view (or look through the viewfinder) as you move a light source around the jewelry. You’ll notice that as the light moves, the objects reflected on the surface change, too. After some trial and error, you should be able to find a spot for your light that works well for your shots.
Common Off-Camera Lighting Techniques for Jewelry Photography
We’ve already mentioned side lighting above for natural light jewelry photography. Off-camera flash or constant light techniques that jewelry photographers often turn to include a double overhead setup with umbrellas, as well as a classic 45-degree off-camera setup with a v-flat bounce for fill.
Double Overhead Lighting Setup
The double overhead setup with umbrellas basically calls for the use of a bright surface below, behind, and on the sides of the object. It can help to use a large piece of paper to create a mini cyc wall behind the jewelry. Then, position the two umbrellas over the jewelry in a top-down fashion, providing a soft light source as well as a plain white surface to minimize reflections. Using a light tent with lights positioned on the sides and overhead will render similar results.
45-Degree Angle Lighting Setup
The other technique, placing an off-camera light source at a 45-degree angle in relation to the subject and camera position and using a v-flat to bounce light back onto the subject, works equally well for both portraits and jewelry photography.
Lighting Modifiers for Photographing Jewelry
You might expect retouching the photos in Photoshop to be the only way to remove distracting reflections from your jewelry photos. The truth is, as noted above, certain tools and tricks of the trade can remove much of the problem in-camera. Photographers generally shoot reflective objects like jewelry by carefully positioning the jewelry and finding angles to shoot from that minimize the distracting elements reflecting in the object (including the photographers themselves). However, this can be difficult depending on the location. Fortunately, lighting modifiers can help.
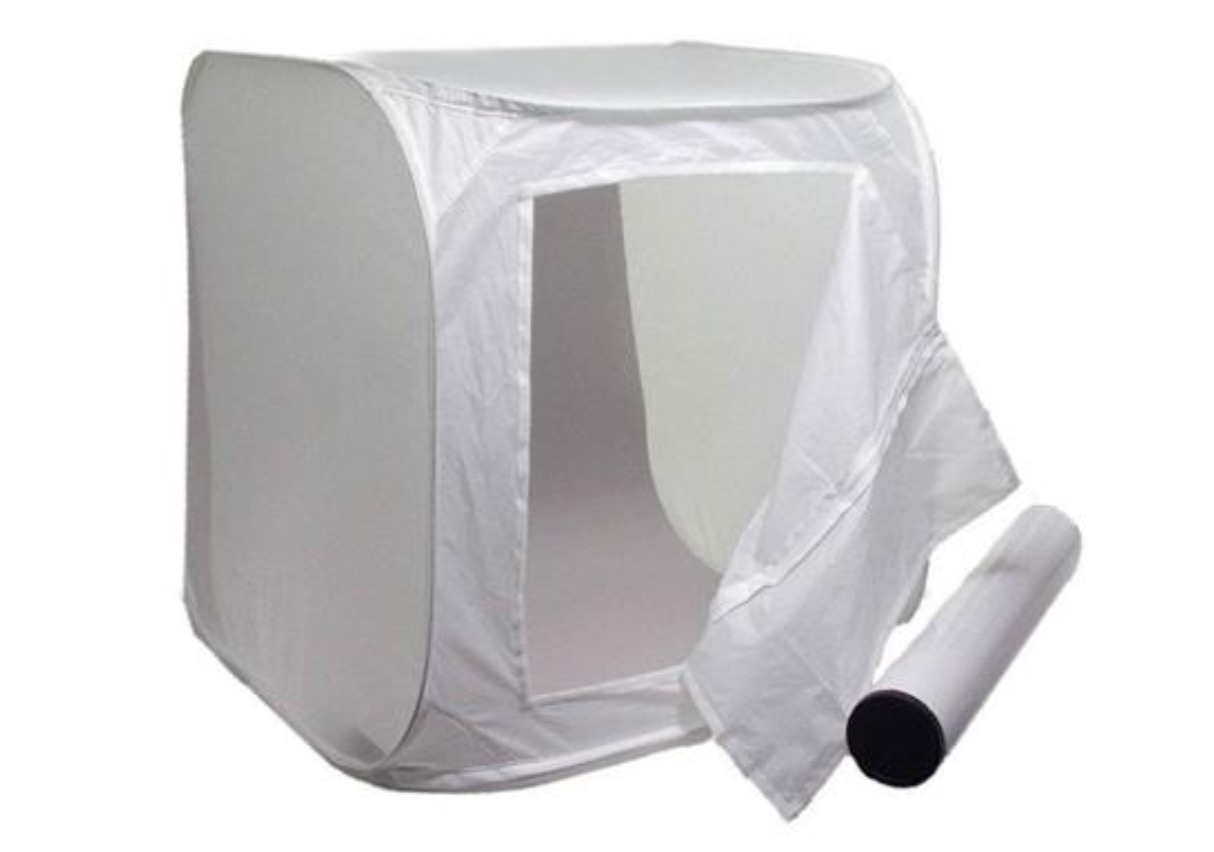
For smaller objects, many product photographers will use a small, specialized light tent (either purchased or self-made) to control the background, lighting, and reflections. You can find them on Amazon or in most camera shops (online or in brick & mortar shops). You can also make your own using white foam boards, positioning them below, on the sides, and over the jewelry (like a box).
If working in a larger space suited for jewelry photography, photographers often use softboxes or umbrellas with off-camera flash, either to backlight the jewelry or provide a soft key light, as discussed above.
The Light Cone
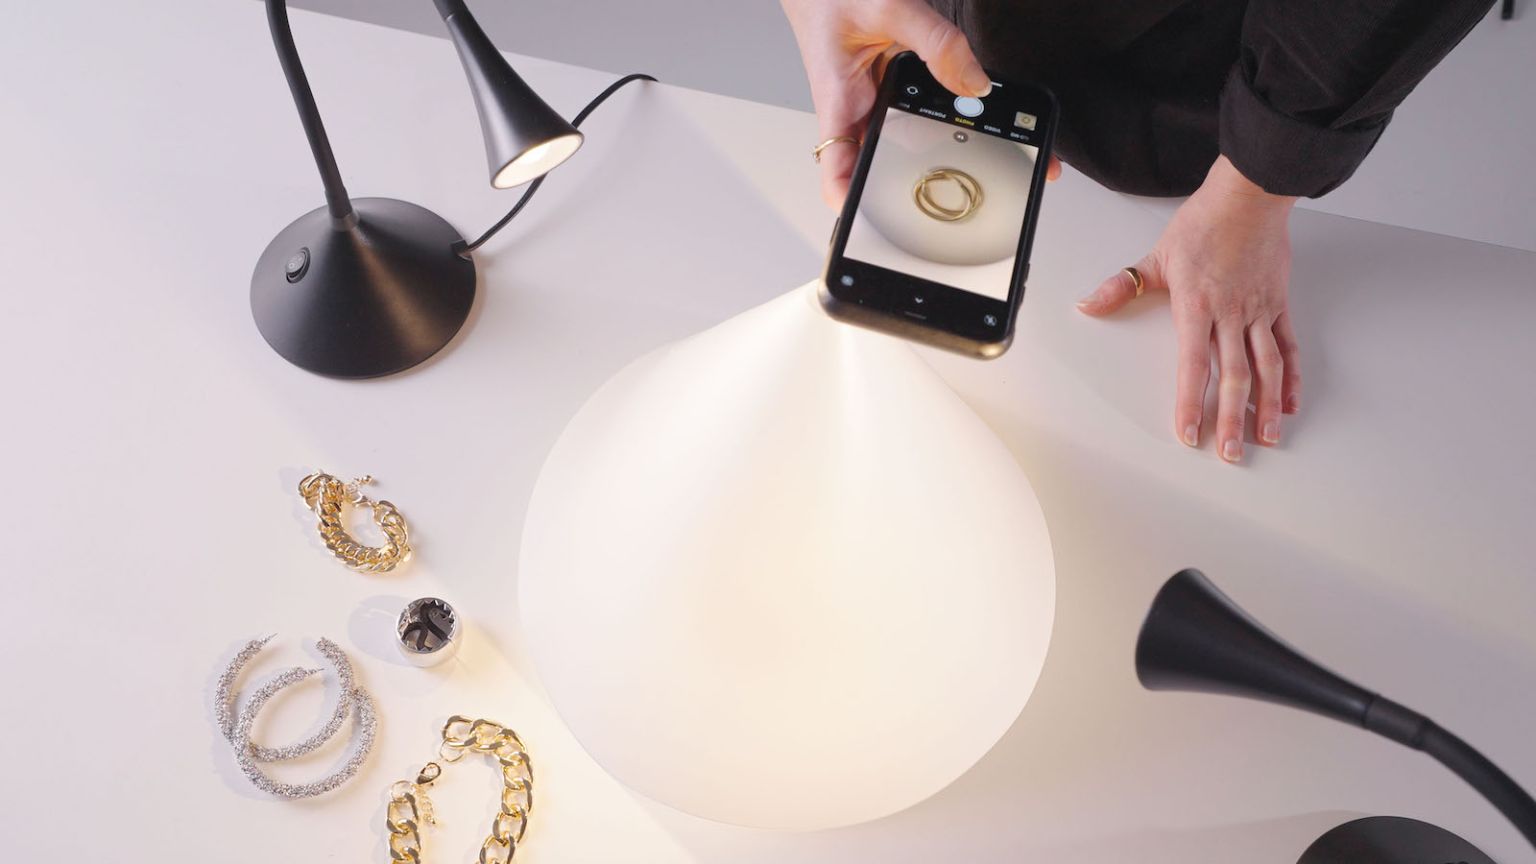
One solution, in particular, that has proven itself immensely useful for eliminating the challenge of photographing smaller reflective objects like jewelry in any location is the Light Cone from V-Flat World. It makes sense when you realize that famed product photographer Karl Taylor designed the modifier. The Light Cones are surprisingly affordable and quite effective. To use them, simply choose the best size cone for the job (available in three sizes, including one for use with phone cameras) and place it over the object, ideally on top of a white foam board or a similar surface. You can use any light source with the Light Cone, including natural light, lamps, flashes, or even flashlights. Check out these video tutorials from Karl Taylor and V-Flat World for more tips and ideas on how to use these clever modifiers for photographing jewelry.
5. Capture a Variety of Angles
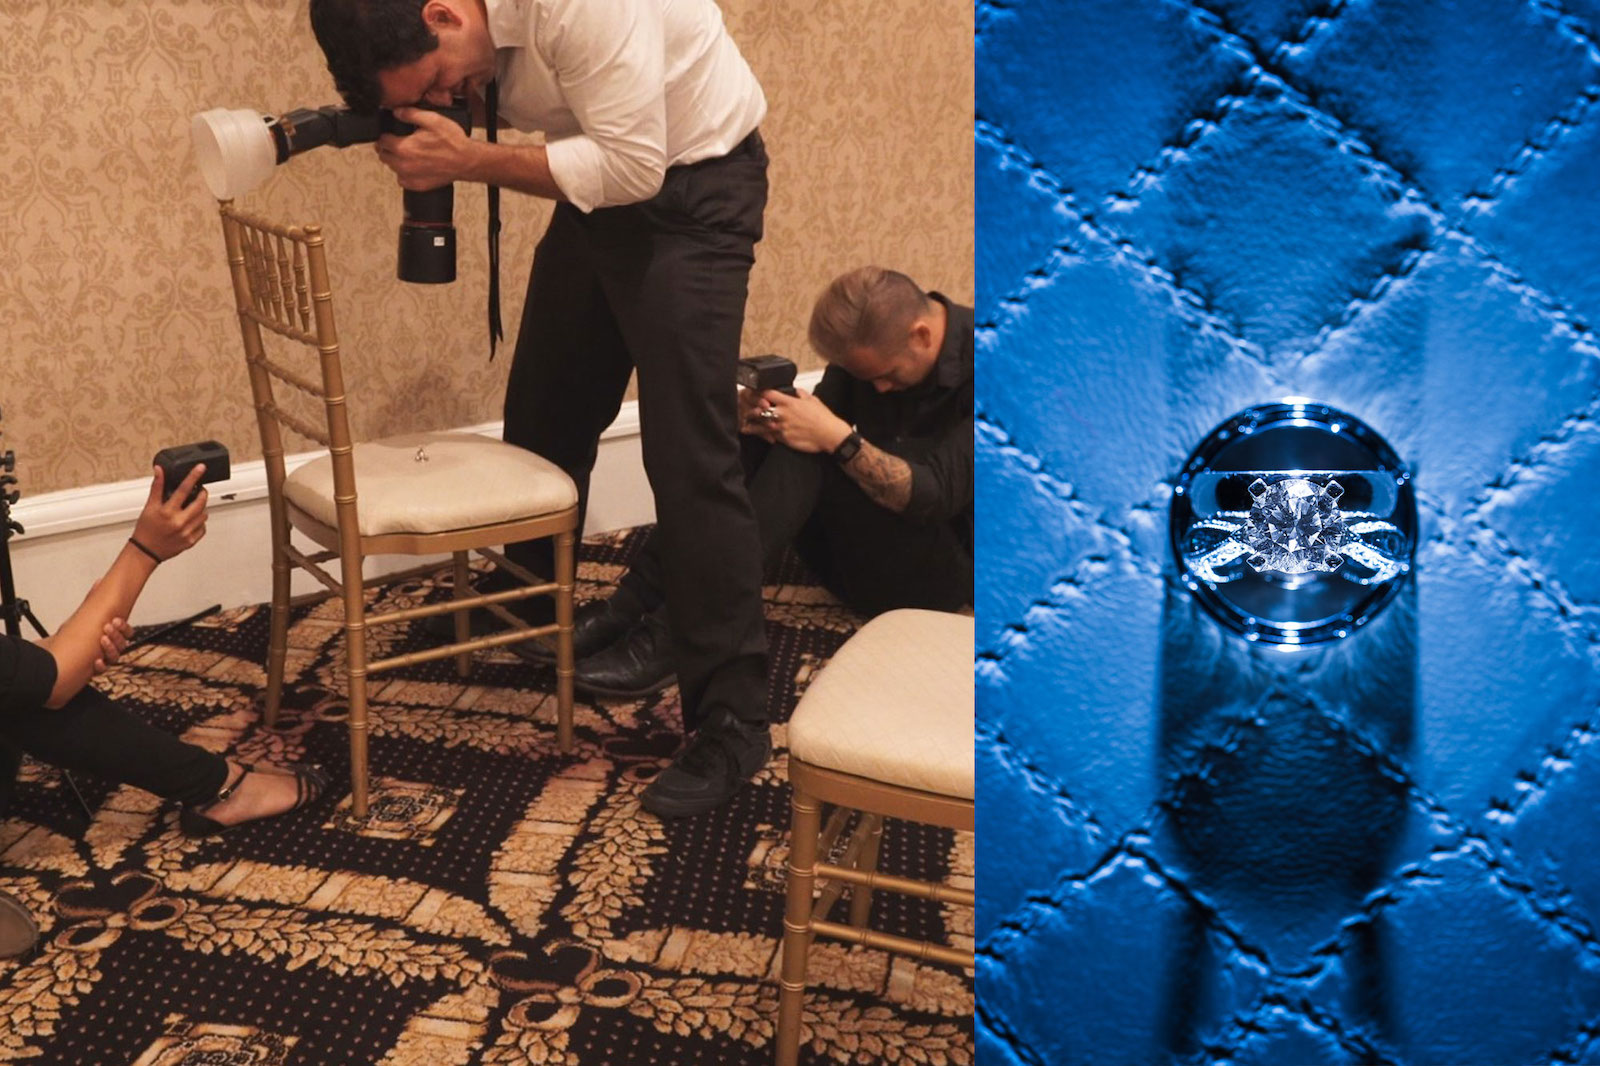
As the jewelry photos may be the only touchpoint customers have with the product before purchasing it, they’ll want to see a variety of angles. With jewelry, shooting from different angles can be difficult because of its reflective nature, but it’s not impossible. In fact, so long as you maintain the basic approach of shooting from slightly above (and away from) the jewelry, then it’s really just a matter of careful positioning of the jewelry to get the angle you need. This is where props and glue dots can come in handy.
It’s an old trick for wedding photographers with ring shots. Apply a glue dot in an inconspicuous spot on the jewelry and place the jewelry at whatever angle you want. Be sure that your lighting is still falling on the jewelry in a flattering manner. All that’s left after is to snap the photos. Be sure to capture photos of the front, back, and sides of the jewelry, not to mention detail shots of any notable features.
[Related Reading: How To Make A Unique Wedding Ring Detail Shot | 3 Wedding Rings, 2 Lights, 1 Photo]
6. Keep It Consistent

Whatever path you follow for photographing jewelry, keep the quality, look, and style of your jewelry photos consistent. This includes maintaining the same (or a very similar) backdrop, lighting, angles, and editing style. For wedding photographers, consistency when shooting jewelry and other details makes it easier to design albums after the shoot.
7. Edit for Perfection
Like most genres of photography, jewelry photos require a round of post-production before they can realize their full potential. To start, you’ll want to make sure the white balance and exposure are dialed in. You should’ve already taken steps to get this right in-camera, but it’s worth revisiting these details in post.
While you can take a number of precautionary steps to minimize distractions when photographing jewelry, you may still need to retouch the photos to remove any blemishes that snuck through, as well as unwanted objects that appear in the reflection. Photoshop offers an effective means of handling this task, but use whatever software you prefer or have access to.
Conclusion
Professional product photography has grown considerably in both scope and demand over the last decade as online marketplaces have literally reshaped the shopping landscape. Because customers have a limited means of interacting with products online before purchasing them, product shots can make or break a sale. Following the jewelry photography tips outlined above should help you on your way to working in this specialized genre.
What are some additional tips you can share that we didn’t include? Leave your answers in the comments below.


