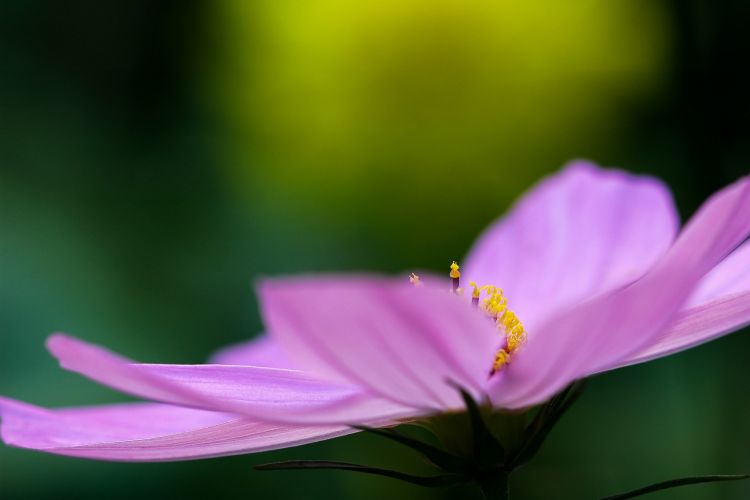
Flowers present interesting creative opportunities for photographers. The colors, textures, patterns, shapes, and other natural elements make flowers, as a subject matter, interesting and visually appealing. In addition, flowers are accessible to anyone, available in your grocery stores and backyard gardens. So whether you’re a stuck-at-home professional looking for a creative outlet or a beginner learning the basics, photographing flowers is a great way to exercise your creative muscles and create timeless artwork.
Looking for fresh floral photography ideas? Check out these tips to get creative on your next flower shoot.
1. Macro It Up
Yes, we know macro lenses are expensive, but getting up close and personal with that flower will give you a far more interesting perspective.
The good news is that you don’t have to buy a macro lens to do it. Some smartphone cameras come with a macro setting you can play with. For an interchangeable lens camera, you can get around the minimum focusing distance either with extension tubes or a magnifying filter, both of which can be relatively inexpensive.

Try pairing a magnifying filter with a basic nifty-fifty and you’ll be impressed with the results! See these Macro Flower Photography Tips for more information.
2. Play with the Depth of Field
You can take a crisp photo with the whole flower in focus or you can highlight aspects of the flower by using a shallow depth of field.

Focus on just the stamen and give the rest of the flower an out-of-focus soft look. Alternatively, you can focus on an ant or ladybug against the lovely backdrop of that soft flower.
3. Look for a New Angle
Everybody’s seen that flower from straight on a million times, but what if you changed up the angle a little? Shoot from below, above, or behind — experiment with slightly different angles until you get something unique and stunning. This is one of the most important tips for floral photography.

4. Consider Using a Tripod
Getting a crisp photo can be a challenge, particularly when shooting macro. Because of the short distances and small apertures, even the slightest movement — such as you breathing — can throw the image out of focus.
Set your camera up on a tripod with a remote trigger to eliminate camera shake altogether. If you don’t have a remote trigger, use the timer on your shutter. Remember, if you’re shooting outside, wind could be a factor. If the day is too breezy, you may have to set up a windbreak or bring the flowers indoors.
5. Isolate with Negative Space
The beauty and simplicity of a single, isolated subject applies to floral photography as well. If you’re going for a bright look, use a colorful or white background. If you’re going for a darker look, try isolating against a black backdrop and using light direction to create shadows.

6. Get a Plamp
Frustrated by your inability to get the right angle? Maybe you can’t maneuver your tripod into the right position or you have to stand on your head to get the shot you want.
 Solve your problems with a plamp — a plant clamp. You can buy a fancy one on Amazon or make your own from a few items at the hardware store. Essentially, it’s a flexible, yet rigid cable or wire with clamps at either end.
Clamp one end to a stiff tree branch or your tripod’s leg and the other end to the flower’s stem. Now you can position the flower however you like in relation to your camera and it will stay firmly in place.
You can also use plamps to move other elements out of the way, position the flower in front of a better background, or even hold a diffuser or reflector where you want it. Get creative, there are a lot of uses for it!
7. Use the Wind
So far, we’ve mainly talked about minimizing movement to get sharp images. However, you can also go in the other direction. Use the wind and a slow shutter speed to capture movement. By leaving the shutter open for a second or two, the gently swaying flower will leave interesting blurry trails across the photo.
Done well, it creates a fun artistic effect.

8. Incorporate Insects
Don’t be afraid to blend flower photography with insect photography for some incredible results! These shots can require more patience, but the results are well worth it.

9. Use the Sun
The conventional advice is to shoot flowers on an overcast day to avoid the harsh shadows and blown out petals caused by the sun. However, you can also use the sun to your advantage and seek different effects.
Backlight the flower by putting the sun behind it and using a very small aperture. Or shoot at sunset or sunrise for a more interesting sky behind your flower.
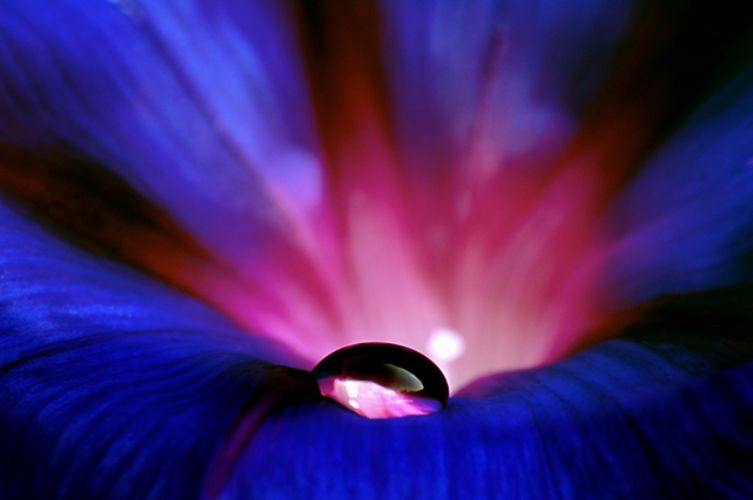
10. Add Your Own Moisture
Using a spray bottle to add your own moisture can add interesting texture and reflections to the flowers, as you can see in the example below.

Flower Photography at Its Finest
Excited to get out there and try out these tips? Go for it! It’ll be fun to see what you come up with!


Get Connected!