Welcome to the live series we’re doing every two weeks on Profoto’s Instagram called “Slice of Pye”. We’ll be covering a myriad of topics, discussing lighting principles, and showcasing a ton of Profoto gear in action over the course of the next year so please join us over on IG Live!
Tune in to our next episode: December 16th at 11 AM PST!
For this tutorial, I asked my friend David Suh to act as my male model. You might recognize him from his viral videos on TikTok and YouTube where he is known for providing women with confidence through his beautiful portraiture and photography experience. I wanted to switch it up and make him the model and feature him in this portrait while still showcasing our environment. As always, I’m going to start with the C.A.M.P framework:
- Composition: What do we want our scene to look like? Where do we want the camera to be? What’s the angle? What do we want our subjects to be doing?
- Ambient Light Exposure: Choose the intention of the scene. Do we want a dramatic image (darkening the ambient light and using more flash) or do we want a softer image (brightening the ambient light and using a more natural power of flash)?
- Modify/Add Light: Are your subjects visible in the frame or do they need to be chiseled out? Do you need to add an additional light source?
- Pose & Photograph: Take your shot!
Rewind: What You Should Check Before Taking a Photograph | The C.A.M.P Framework
Gear Used for This Tutorial
- Profoto B10
- OCF II Grid System
- Canon EOS R 6
- Sigma Art 24mm f/1.4
- Rokinon 14mm
- Manfrotto Nano Stand
Composition
 We were out in Santa Monica by the pier and I came across this staircase with palm trees in the background. I wanted to feature the palm trees so I had David take a seat on the stairs. I’m going to move down my position so that the trees are featured in the top third of the frame and then David’s body takes over most of the rest of the frame. The perk of using a lens like the 24mm is that I get to play around with composition and subject placement to exaggerate and elongate the body. But I soon realized that the 14mm would be a better option and swapped out the Sigma for the Rokinon. What this is gonna do is really exaggerate the limbs and anything that’s coming forward towards the camera is going to get a lot of distortion which is referred to as foreshortening.
Ambient Light Exposure
I know that I want to use high-speed sync which means we need to adjust the ambient exposure accordingly. I am going to lower the ISO to 100 and that’ll let me bring the shutter speed down to 1/200th of a second which will be better if I’m using high-speed sync. Because I am using a 14mm lens and am positioned this close to my subject, there isn’t going to be too much depth in my shot. For that reason, I am going to stop down to f/7.1.
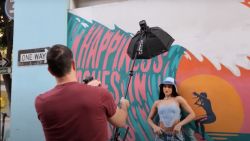
Modify or Add Light
 It was overcast on this day which means that there’s no way that we can modify the ambient light without an additional light source. I am adding in a Profoto B10 which is 250 w/s at full power. I am going to pair the strobe with the OCF II Grid System kit to funnel in the light towards David’s face. I want to kind of keep everything around David in the shadows. I’m going to set the B10 to fire at full power and then we can adjust from there. Once I tested the light I decided to stop down my aperture to f/9 to compensate for the added light. Now we’re ready to photograph!
Pose & Photography
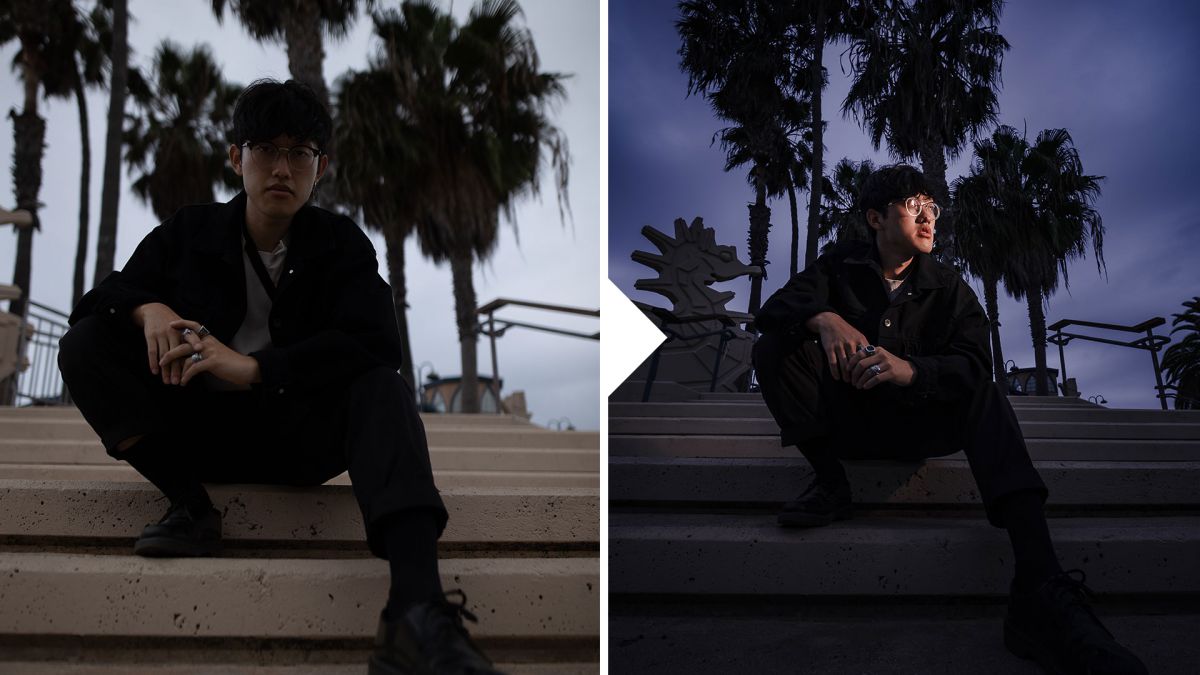
I had David lean forward a little bit into the camera to even out the foreshortening from the lens and used his foot to exaggerate that distortion. This is the final image edited with the Visual Flow Presets Crush Pack:
 We hope you enjoyed this episode of Slice of Pye, please feel free to share or re-watch the IGTV video at any time to reference the material we’ve covered! For more tutorials and lessons on the fundamentals of lighting, check out our Flash Photography Training System!