As you progress in photography, you become increasingly aware of the importance of focusing on the details. These are the finer aspects of the process that you previously left unattended because you either didn’t know they mattered or, if you did, didn’t know how to address them.
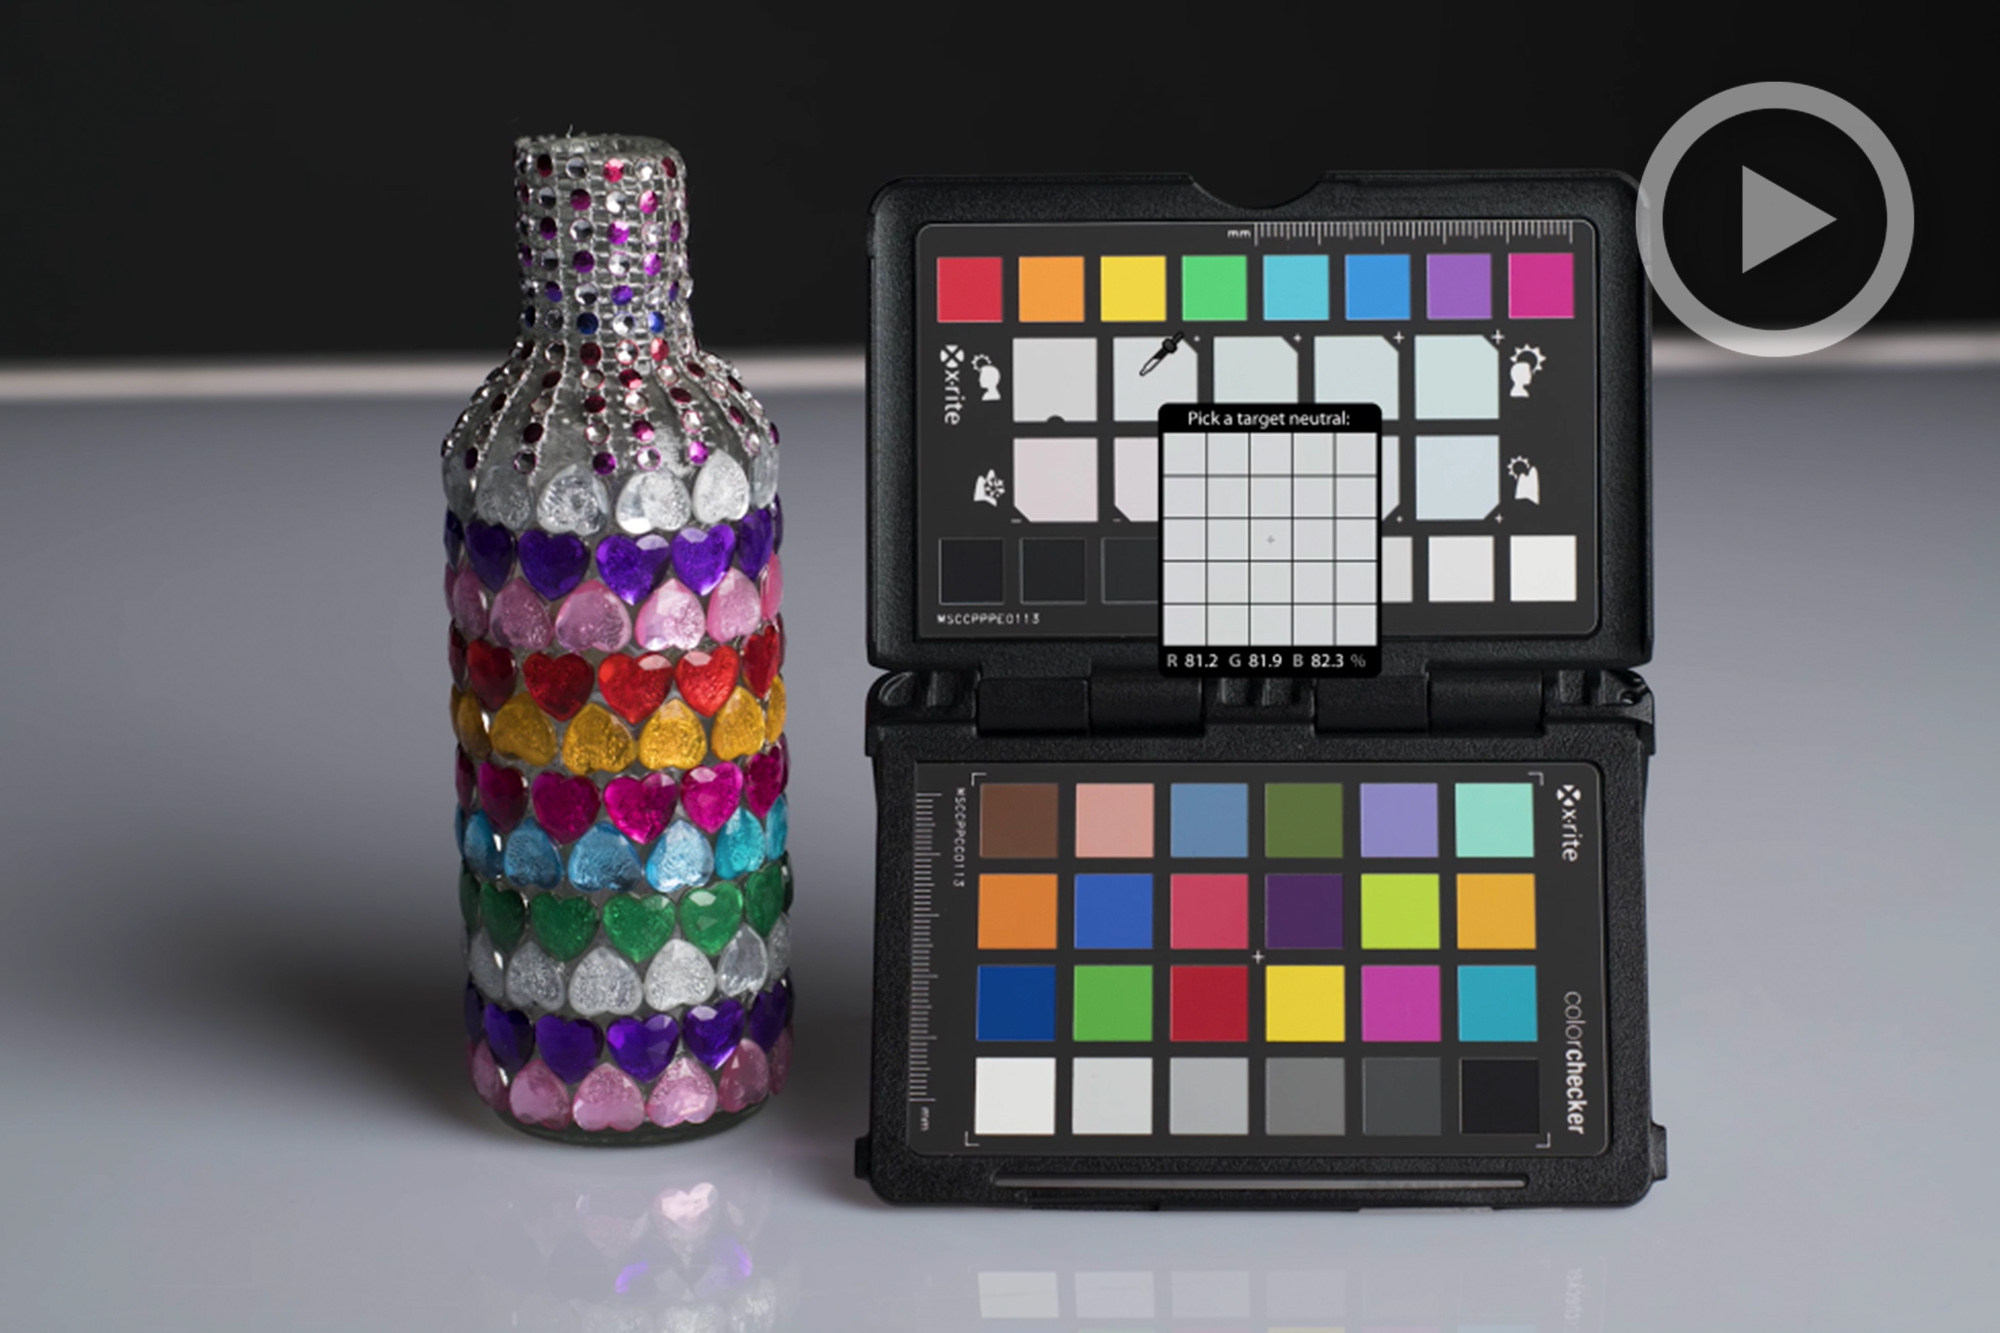
When you bring your images into an editing software, one of the first things you begin to notice is that the color from shot to shot can vary. This isn’t a problem in many cases but, in some genres, there is a need for greater control of all the variables of the shoot. One box to check in your quest for color control is calibrating the color in your camera and if this has been a challenge for you in the past, Radhakrishnan Chakyat from Pixel Village provides an inside look at the process.
In-Camera Settings
- Choose your camera’s uncompressed RAW format
- Choose the highest bit-depth your camera offers
- Set Color Space to Adobe RGB
- Use Auto White-Balance
Next, you’ll create a color profile to make adjustments to your images.
Using the Color Checker
X-Rite ColorChecker Passport – $92.79
The Color Checker has industry standard pigments that provide a frame of reference to which the colors captured in camera can be compared. You’ll take a test shot to create a color profile in Lightroom and, once you capture images, you can use the profile you create from the Color Checker to correct the color in your images.
I should also note that along with your camera, you should calibrate your monitor as well. Color accuracy requires a comprehensive approach that demands consideration of multiple factors; good lighting, camera calibration, and screen calibration. Check out the articles below to find out more about screen calibration.
Datacolor Spyder5STUDIO Color Calibration Bundle – $499.00
Datacolor Spyder5Express – $120.50
The Problem With Your Workflow You May Not Know You Have | Calibration
Lightroom Better: Use & Benefit From The Camera Calibration Tab


Get Connected!