We’ve teamed up with Adorama to bring you a series of photography tutorials called “Master Your Craft” to be featured on their Youtube Channel. Subscribe to see more of our videos on their channel that covers all things photography-related from lighting and posing to editing to help you hone your skills and master your craft and don’t forget to check out our playlist to watch the entire series! In this video, I’ll demonstrate mobile photography tips and techniques that can translate to your dedicated camera and improve your skills as a photographer.
Video: Become a Better Photographer With These Mobile Photography Tips and Techniques
Mobile phone technology has made leaps and bounds over the past several years. Nowadays, our phone cameras are comparable in quality to that of full size consumer cameras. I’ve long advocated for taking advantage of the minimalistic aspect of mobile photography. Without the hassle of excessive gear, mobile photography can be a great way to practice the fundamental techniques. In this article/video, I’ll be showing you how mobile photography can make you a better photographer. I’ll be walking through a scene on the phone and then translating the technique over to my main camera. My camera of choice today is the Canon EOS R5 with the 28-70mm f/2L lens.
For a full course dedicated entirely to mobile photography, check out Creative Photography 101 from SLR Lounge Premium. Let’s dive in.
Scene #1: Getting Close to Your Subject

Let’s begin with this flower bush. Our initial instinct may be to take a basic walk-up shot like this.

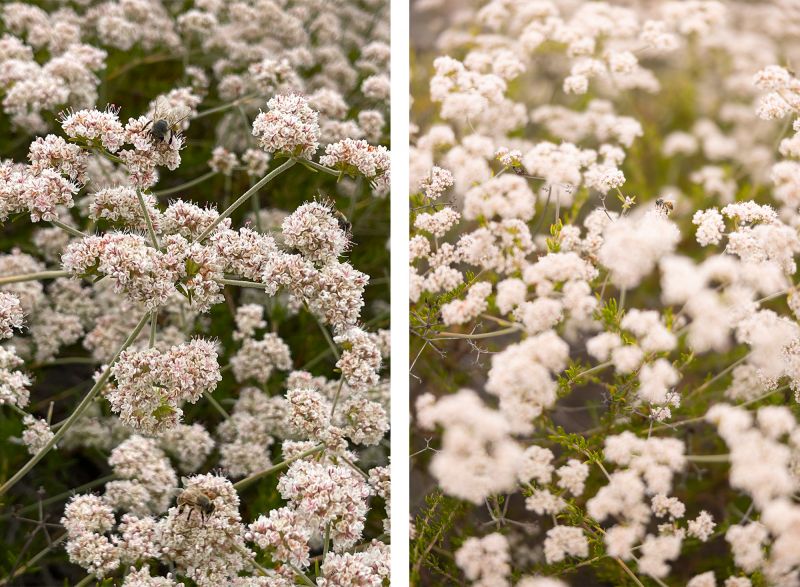
One of the biggest advantages of the phone is its size. Due to the small size, you can get much closer to your subject than you would with a full size camera. Therefore, I decided to get very close and focus on the bees as my subject. I zoomed in with the attached telephoto lens and got right up against the bush. Then, I filled the background with the flowers, waited for the perfect moment, and got this shot.
Even with the phone, I got a natural shallow depth of field without using portrait mode. This is due to how close we were to the subject as well as our telephoto lens.

Now, let’s switch over to the Canon EOS R5 with the 28-70mm f/2L. I’m using this camera set-up due to its versatility and range in focal length that mirrors what’s available on the phone. Here’s the walk-up shot with the R5 compared with the one taken with the phone.
Related Reading: My Favorite Minimal Camera Setup: Canon EOS R5 and RF 28-70 f/2

Following the same principles using the R5, I captured the close up images of the bees. When compared side by side, we can see how similar the images are. By getting close to our subject, we leveled up the images on both devices. The main difference will be the quality of the image files themselves. Let’s move on to our next scene.
Scene #2: Framing a Landscape

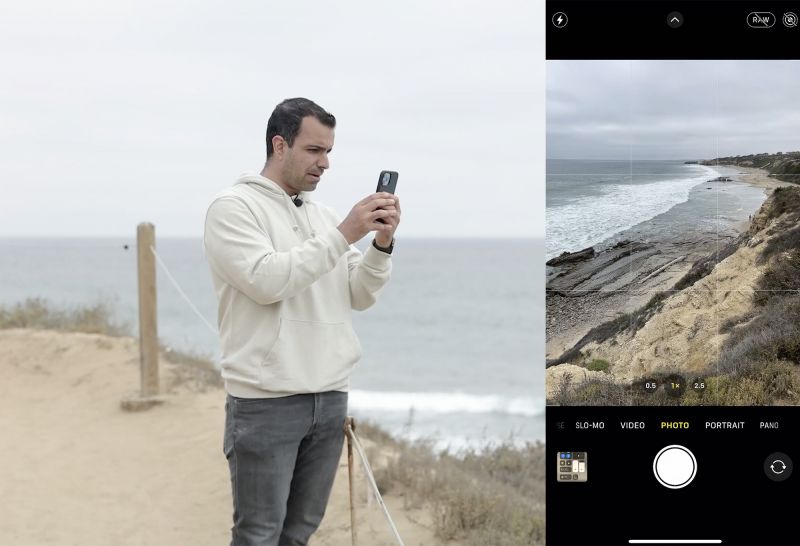
Unlike our first scene where we zoomed in close, our next scene is a large landscape. Large landscapes can be tricky to frame as our instinct is to try and capture the vastness of the scene. However, our eyes can be deceptive as they see the panorama differently than a lens. You can see that a simple wide angle shot with my phone is a bit lackluster. With the R5, it’s still lackluster, just higher in quality.

My first tip is to change our vantage point. My second tip is to find a more interesting point of focus. With vast landscapes, the key is to focus in on a specific section rather than the entire place. I decided to take a photo of this curving shoreline.

First, I got down low by rotating the phone in order to capture a bit of foreground. Then, I lowered the exposure to focus on the highlights in the water.

Switching over to the R5, we can capture the same image wide open with a fast shutter speed. However, I want to include more foreground in focus. To do this, I closed my aperture a bit to f/5.6.

Both images from the phone and camera are stunning in quality and are huge improvements from our first vantage point.
Scene #3: Selective Composition with Grids

When most of us walk up to a scene like this, we tend to capture this bullseye shot. We jump to the widest angle lens and center the horizon. The result is, like our previous image, a lackluster composition.

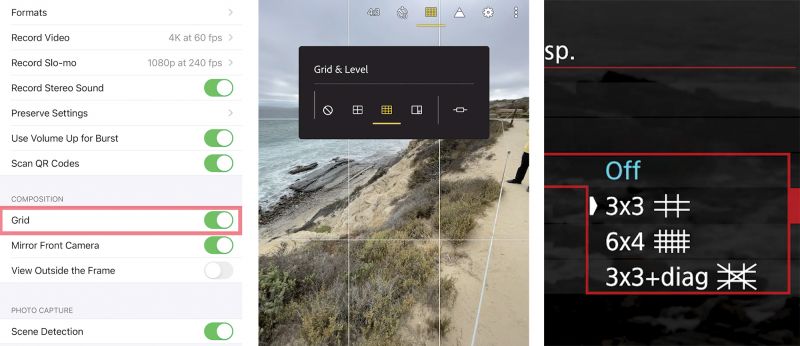
First, turn on your grid. Your “Camera App” settings will have this option. You can also find various grid choices in Adobe Lightroom Mobile. You can find this setting on any DSLR or mirrorless camera as well.

Then, place the horizon line on either the top or bottom third line. You’ll end up with an image that focuses on the incredible landscape or the dramatic sky. Decide which element is most interesting and let that guide your composition.

I found the texture in the rocks to be much more interesting and decided to make that the focus of the image. With the Ultra-Wide lens, I exaggerated the downward angle a touch to include more of the rocks.

Next, I switched over to the R5 and had the lens as wide as possible. I captured the trifecta of images: The bullseye, the sky, and the rocks. Compare all three above.

I closed down the aperture a touch to include more foreground and waited for the perfect wave. This is the final image. Compare this with the image taken with the phone.
Conclusion
I hope you enjoyed this article/video. I encourage you to try photographing with your phone more often. Not only can you capture great images, it helps you focus on the most important elements of a photograph. Then, translate these mobile photography tips and techniques over to a dedicated camera and watch your photography game improve drastically. For a full course on mobile photography, be sure to check out Creative Photography 101 from SLR Lounge Premium. There, we teach the fundamentals and techniques behind mobile phone photography and the incredible images they’re capable of capturing.
Don’t miss our next episode of Mastering Your Craft on Adorama’s YouTube channel next week! If you want to catch up on all the episodes, make sure you check out our playlist!


Get Connected!