If you live near a coastline or beach, then seascape photography can be both rewarding and beautiful. In this article, we’ll provide you with some essential beach landscape photography to get you started or help elevate your imagery to the next level!
Before we get into actual photography tips, there’s one thing you must remember because it could actually save your life: Tip number one is going to be, never turn your back on the waves! Whether you’re on a rocky coastline or a sandy beach, there are “rogue waves” that can be significantly larger than the average waves for any given day’s surf.
Never Turn Your Back On The Waves (Safety First!)

If you think this first tip is “cheating” and won’t actually help you take better seascape photos, well, it could save your life someday, and hopefully you’ll be taking better photos in the future, so, …you’re welcome!
OK, seriously: during any seascape or beach landscape photography time, always keep one eye on the waves. Don’t just look at the one next wave that is a few feet away; look far out across the water so that you can notice the overall rhythym of the sea, and sometimes, if a much larger wave coming. You might need 1-3 minutes or more to get away from danger if the incoming wave looks big.

Waves come in sets, too, so don’t be fooled by an apparent lull in wave activity; larger waves could return within a minute or two! I personally try to keep track of the next 3-5 waves, basically all the way out until the “wave” is just a faint shadow on the water. You’ll notice when one of those shadows is a LOT bigger than all the previous ones… If you’re right down by the water, on some rocks maybe, and the current waves are crashing right up to you, then that faint shadow of a “sneaker” wave out there is telling you, TIME TO GO!
Unfortunately, rogue waves and riptides are responsible for quite a few deaths every year; visitors to the beach who are unaware of the real dangers. Don’t be a statistic.
Alright, with that potentially life-saving precaution out of the way, let’s talk about photography!
Bring A Tripod

This is an obvious one. Especially if you’re hoping to get perfectly sharp images at sunrise or sunset, you’ll want to have a solid, sturdy tripod.
But, let’s take this advice one step further, and give some truly practical, real-world recommendations: First, if there’s any possibility of your tripod legs getting splashed by saltwater, or sunken into sand, then always extend your lowest tripod legs at least a few inches or even all the way, before you extend your upper (stronger) tripod legs. Why use your potentially weaker, slightly more “wobbly” tripod leg extension first? Because it will protect your leg joints from excessive saltwater or sand ingestion.
Some photographers recommend using old CDs under your tripod feet to help stabilize your tripod on wet sand, and this is worth a shot, however, if you don’t have 3 old CDs lying around that you’re willing to destroy, just be sure to sink your tripod legs into the sand pretty deeply before you start shooting.
On that note, the best tripod for landscape photography on the beach isn’t just a sturdy one, but also, one that you don’t mind getting pretty dirty, and one that you’re comfortable washing off afterward. For regular seascape work, personally, we’d rather have an affordable yet robust tripod such as the Slik 700DX ($99 for the legs) that has a very basic yet durable design which can simply be rinsed off in the shower after every trip to the beach. Or, if you have a “fancy” tripod, just remember to fully disassemble, clean, and reassemble your tripod leg joints every few months, or once a year.
Bring an ND Filter (And Know When To Use It!)

Neutral Density filters are one of the most fun accessories to have whenever you’re photographing moving water. The amount of blur you can create depends on the number of stops that your ND filter darkens the image, and of course the time of day.

If you mostly shoot seascapes at sunset or sunrise, then a 3-6-stop ND filter will be more than enough to give you nice long shutter speeds. However, if you’d like to create ultra-long exposures even in broad daylight, you’ll need a 10-13-stop ND filter.
Sometimes, the “glassy” look can be beautiful, and for that you’ll want to achieve a shutter speed of 15-30 seconds or longer. However, sometimes it’s more interesting to actually see crashing waves’ motion, in which case you might opt for a shutter speed in the range of 1-2 seconds.
[Related Reading: PolarPro Quartzline ND And ND Polarizer Filter Review]
Bring a Polarizer Filter (And Know When To Use It!)

Like an ND filter, a Circular Polarizer Filter can be an essential creative tool when photographing water of any kind. To see the gorgeous colors and even details underneath the surface can be beautiful.

Then again, don’t make the common mistake of trying to use a polarizer on every single image that includes a reflection on water, either. Sometimes, the look of a reflection can be beautiful, too!
Look For Reflections

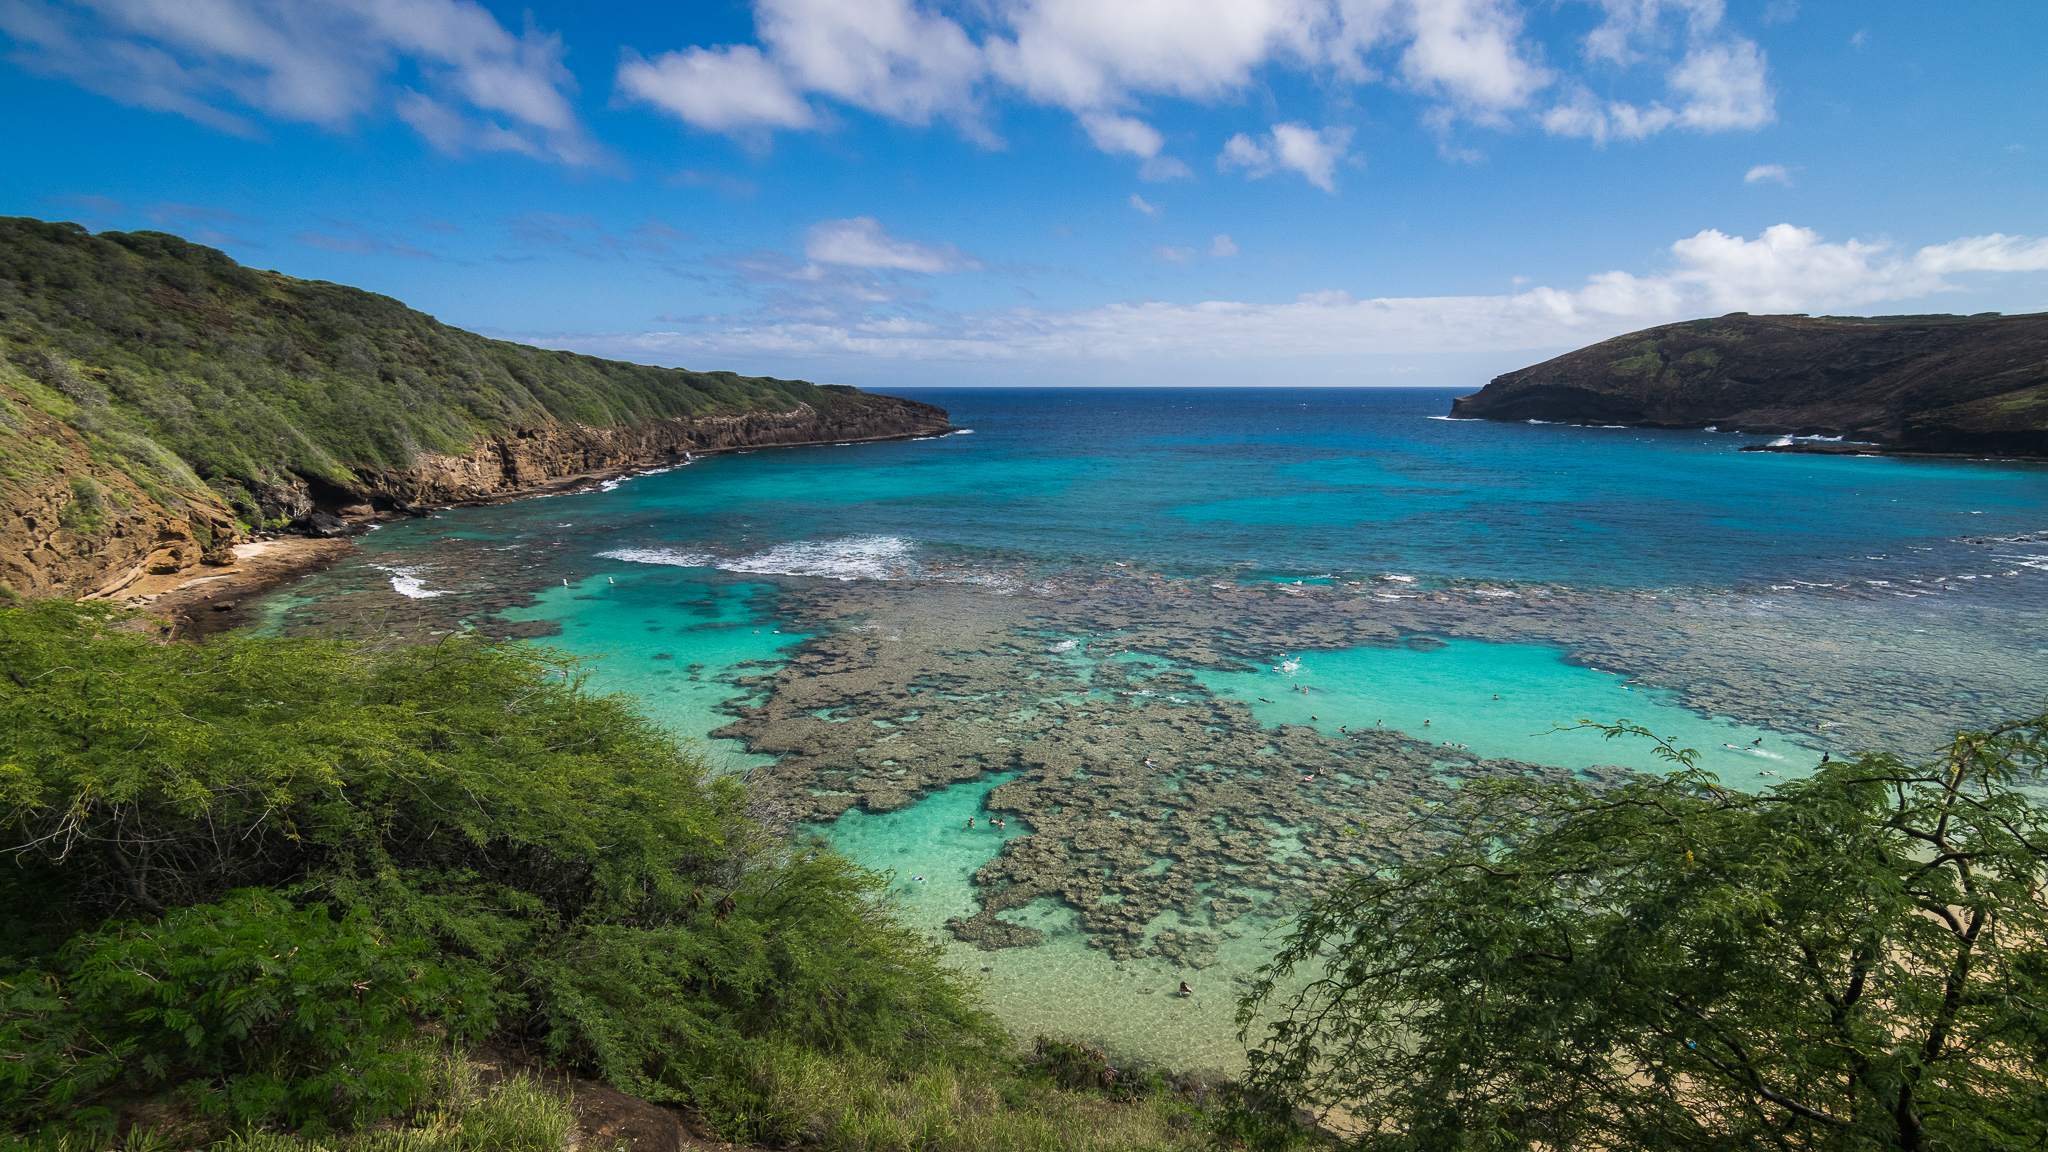
Even though the ocean isn’t usually perfectly smooth and flat, as you might see on a calm pond or small lake, you can still find many beautiful opportunities for reflections in your seascape photography.

Whether it’s the wet sand itself, or tiny little tide pools, there can be beautiful reflections everywhere. Keep an eye out for any wet or shiny surface! Another great tip is that even if you can’t see much of a reflection from a distance or a higher vantage point, many reflections look their best when you get down low.
Know When (And Where) Sunset/Sunrise Is

These days, you can effortlessly predict exactly where and when the sun or moon will rise and set, either along the coast, or over the water. All you need is an app on your phone! Many apps are free, however, the ones that cost around $10 (Sun Surveyor, for example, is one of our favorites) are well worth the investment if you’re serious about any type of landscape (or nightscape) photography!
Check The Tides & Surf Predictions

Speaking of preparation, checking the tide and the surf is a habit you absolutely must get into, both for safety reasons and for creative opportunities. For one, if there is an extremely high tide, and/or extremely high surf, then you simply must be cautious when going anywhere near the beach. High surf, surprise waves, and riptides can be deadly. Prioritize your physical safety and the safety of your gear during your beach landscape photography.

Creatively speaking, of course, what is known as a “mega-low” tide will afford many beautiful opportunities, such as exposing beautiful tide pools, or creating beautiful reflections on more sandy beaches.
Keep Your Lens Clean

Here’s a practical tip that even the most experienced beach landscape photographers can neglect sometimes: If you’re working anywhere around splashing water, then you should regularly check your lens’ front element for water drops and/or smudges. You might not notice it on the back of the camera, but when you get home you may kick yourself when you see a big blob or hazy part of your favorite shots!
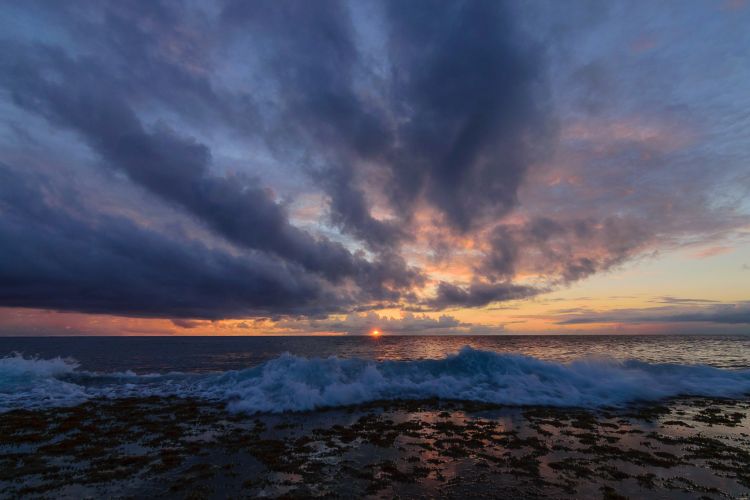
Bad Weather Can Equal Great Photos!

As long as you’re safety-conscious regarding the surf, tide, and potential rogue waves, being at the beach just after a storm passes through can be a beautiful sight. Not only are the beach landscape photography conditions potentially gorgeous, but you may have the added bonus of the beach being relatively empty of other visitors! These days, an empty beach is a rare sight throughout most of the modern world, but a good bout of bad weather can help.
Just remember, you won’t always succeed. As any experienced landscape photographer will tell you, for every gorgeous photo of a clearing storm and epic light, there are probably 5-10 failed attempts that didn’t result in any photos at all.
Don’t Hurt Marine Life!

Last but certainly not least, please remember to protect and preserve the subjects you’re photographing so that future generations can appreciate them with their own two eyes, and not just through your beach landscape photography.
In fact, on many coastlines of the USA where there are tide pools, photographers are actually not allowed to place tripod legs/feet in tide pools, or on any rocky surface that has living things on it. In a “marine wildlife refuge”, you could actually be given a ticket for doing so.
With this in mind, just be extremely careful where you step while exploring your beach landscape photography, where you place your tripod, and in some cases, consider hand-holding your close-up tidepool images if you can. These days with advanced stabilization systems, you can easily capture images with shutter speeds as slow as 1/2 sec or 1 whole second, hand-held!