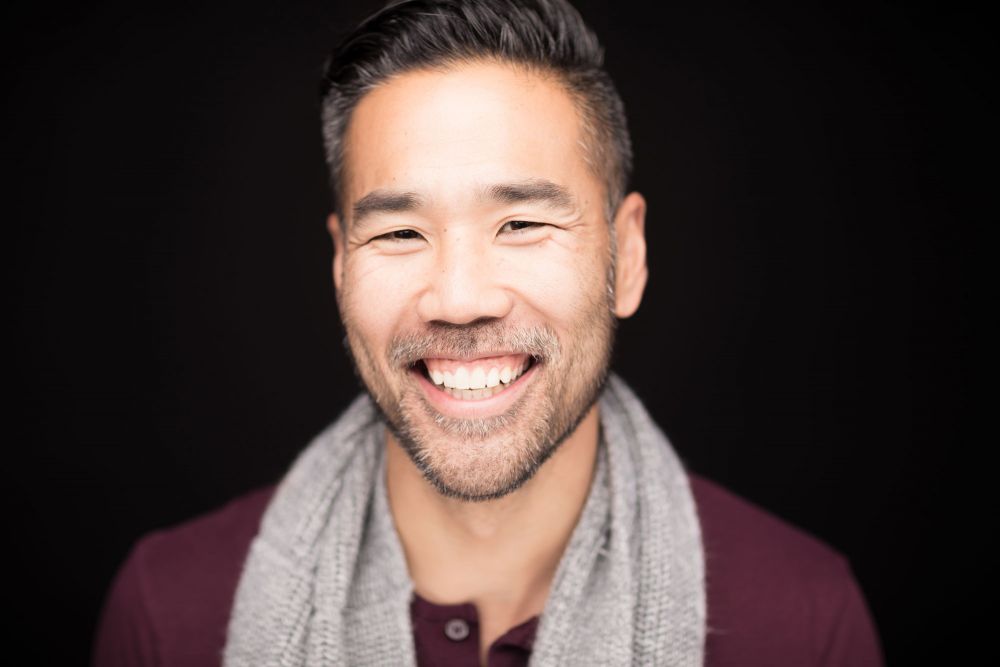
Choose Your Genre of Photography
Make sure that the genre of photography is suitable for an at-home studio. Home studios are perfect for the following genres of photography:
- Headshot photography
- Newborn photography
- Product photography
- Fine Art Portrait Photography

On the other hand, home studios may not work if you have more than two subjects, so family photography might present space issues. Maybe you’re looking to do something with lots of movement like dancer portraits. Or you might need a large space for a top-down perspective. In any of these situations, you might opt for renting a larger studio space or exploring your outdoor options.
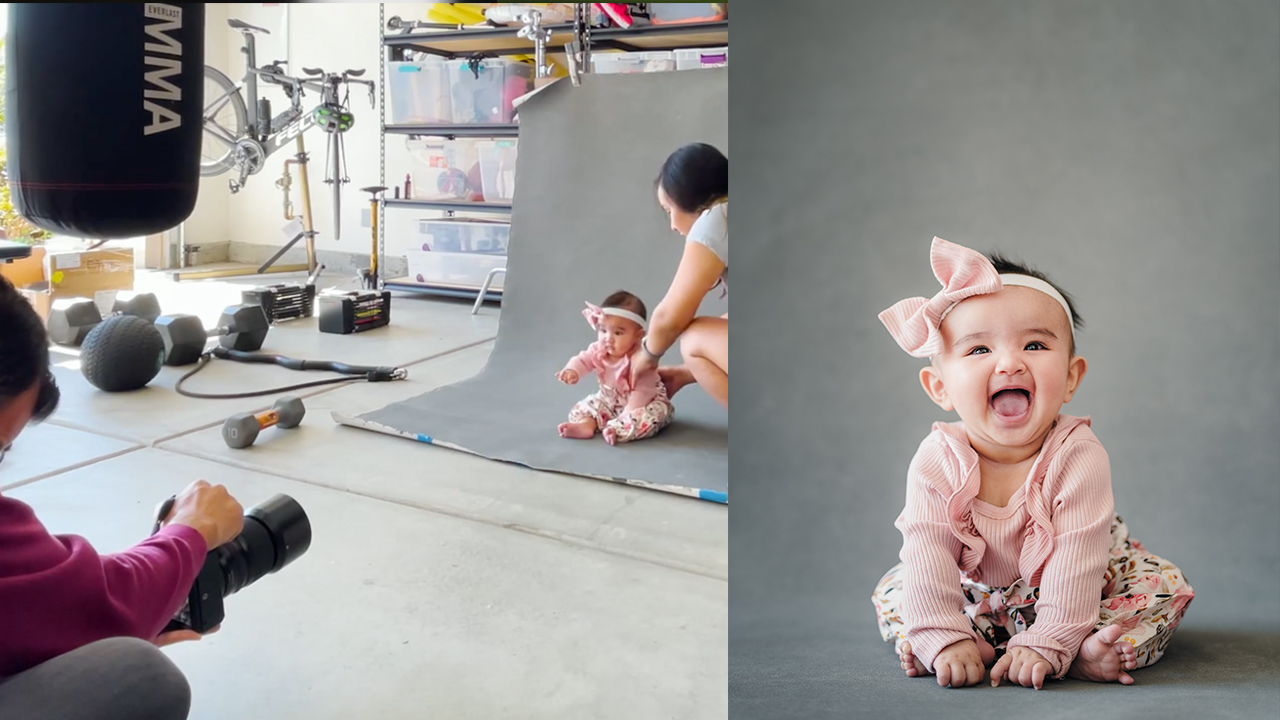
Find The Ideal Space in Your Home
The ideal space in your home for a photography studio has the following characteristics:
- The room gives you full control the light
- The room is large enough to accommodate versatile needs
- The room is dedicated and isolated (as much as possible)
A good default location might be your garage. This gives you the option to open the garage for natural light. A Garage also typically does not have a lot of windows, so you will have full control over the light. Lastly, the garage is usually an area of the home that your kids won’t run through in the middle of a shoot!
Purchase Versatile Backdrops
Backgrounds can cost upwards of $100 to well over $1,000 for the likes of an Oliphant which adds up fast, and that doesn’t even include the background stand. The backdrop doesn’t have to break the bank. It simply has to work for its intended purpose and this is a very creative and inexpensive way to transform your own home into an in-home studio. Consider portrait backdrops like the one in the image below from Kate Backdrop. These are affordable, versatile, and durable.

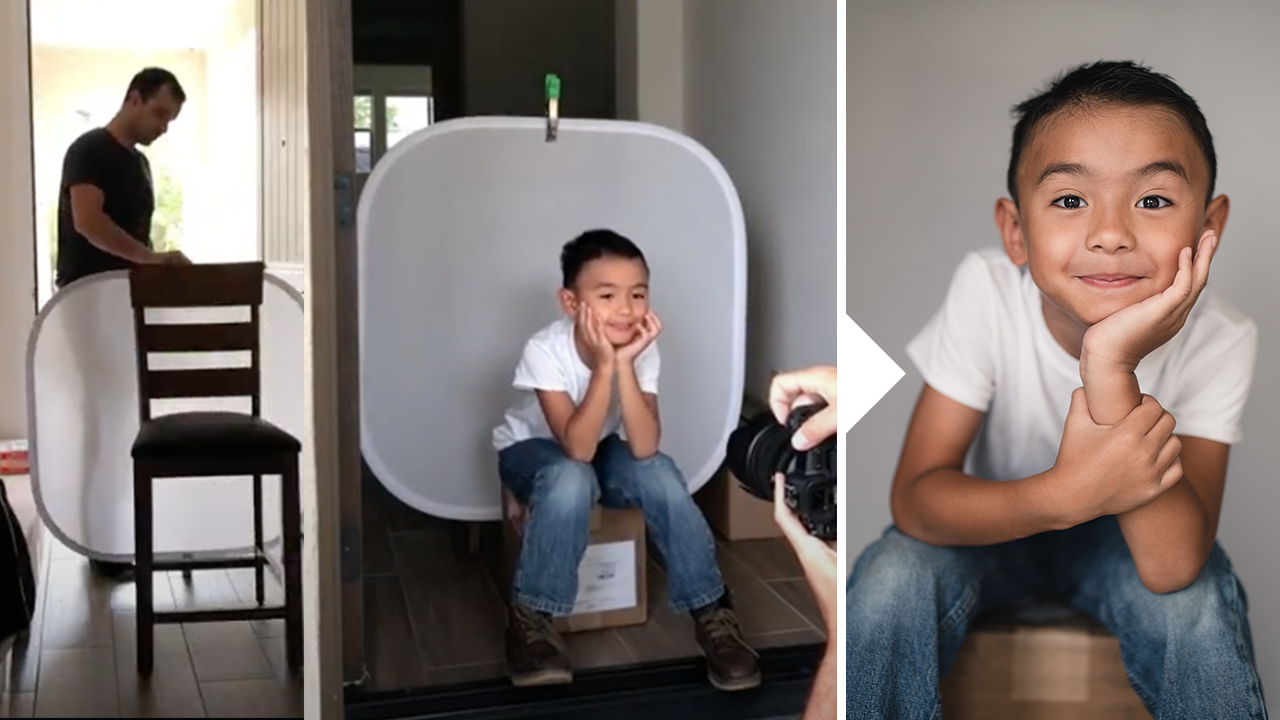
You might also consider using reflectors, sheets, or other DIY backdrops like you see in the image below.
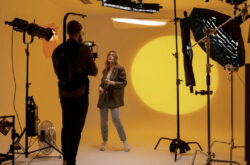
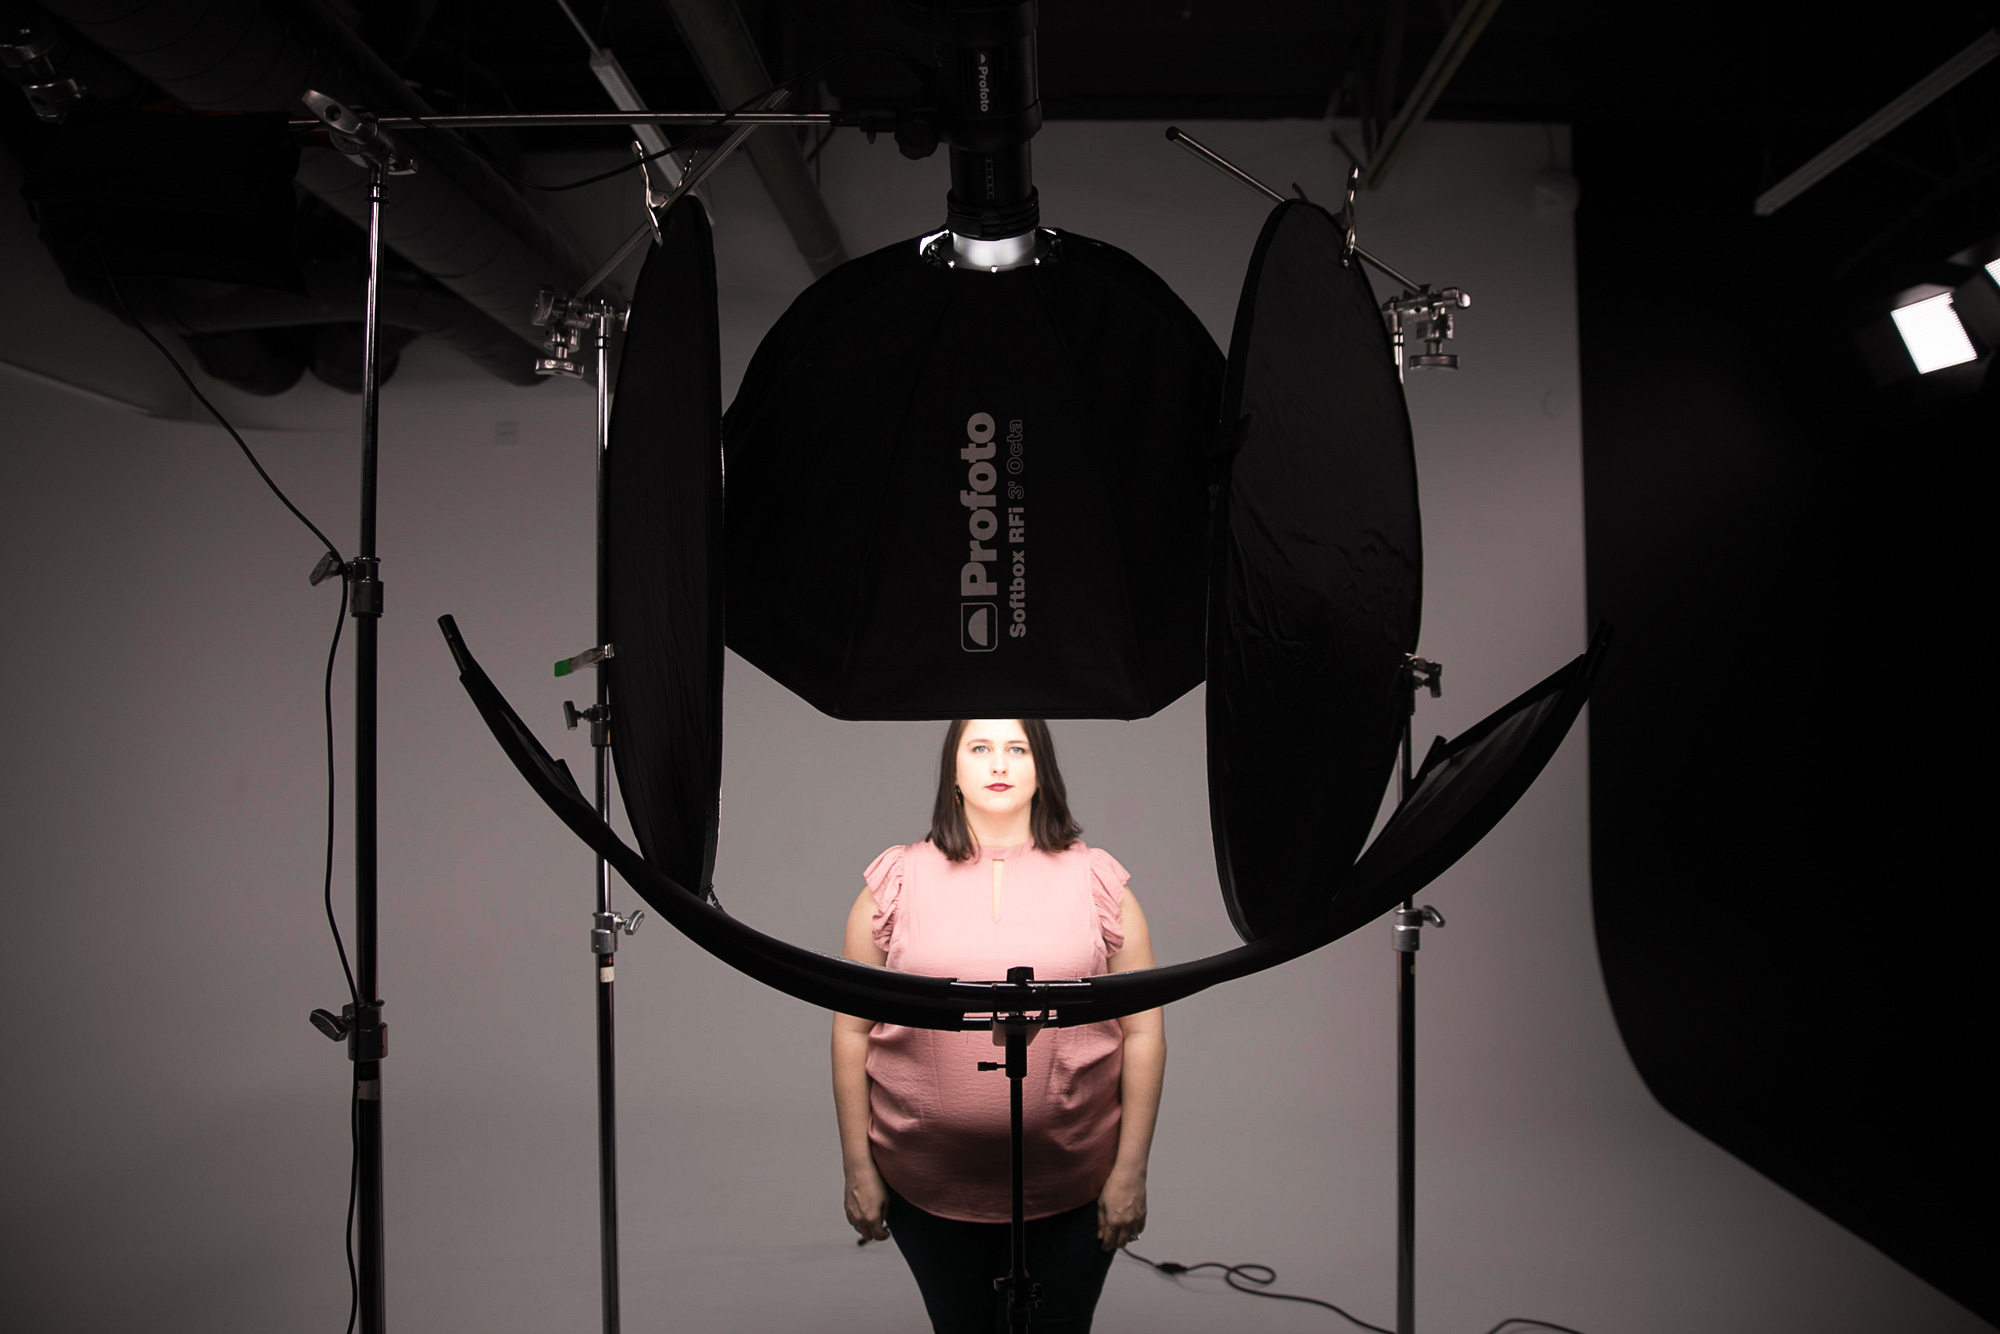
Get the Right Lighting Gear
You don’t have to invest in top of the line gear such as Broncolor or Profoto when starting out. Paul C. Buff produces strobes and modifiers that are wallet friendly and their customer service is top notch. Here’s a list of the lighting gear you should have for your home portrait studio:
- Primary Full Strobe (Main or Key Light)
- Secondary Full Strobe (backlight)
- 5-in-1 Reflector
- Softbox + Modifiers (to control Light)
- Gels (for creative effects)
Of course the gear you need depends on your genre of photography and your style of photography. Maybe natural light is all you need. Or maybe you need multiple lights, gels and modifiers to get the creative look you’re going for. The choice is yours!
Use Creative Props and Objects
Get creative! It’s always fun and inspirational to see how other photographers use DIY setups. See how Jessica Kobeissi transforms uses these cheap materials to create incredible images in the following video:
In the video, she liberally poured the paint onto the sponge and applied it directly to the table cover by either blotting it or smearing it. She then tapped the jump rope onto the wall to serve as a background stand and then clipped the painted backdrop to the jump rope. This can all be found at the local Dollar Store.
- Sponge
- Plastic Table Covers
- Jump Rope
- Tape
- Binder Clips
- Washable Kids Paint
Bring Professional Touches to Your Home Studio

Just because you’re shooting at your home, it doesn’t mean you have to be “low end” or “budget friendly.” To help add legitimacy, make your home studio feel like a lifestyle choice and not a cost necessity. And to increase your overall presentation, look for ways to add professional touches to your home studio. Here are a few ideas and tips:
- Keep everything organized and clean
- Hang professional photos on the walls your clients will see
- Remove personal items from areas clients will see. In other words, keep your client space dedicated to clients.
- Create a great initial impression with small amenities like bottled water, snacks and other nice little touches