Added in 2013 to Lightroom 5, the radial filter may not be on the radar of users who developed their workflow prior to this release. It can be useful for quick edits, though, and photographer and YouTube Lightroom educator Anthony Morganti has created a video in his Lightroom Quick Tips series with some tips that can help newcomers, as well as those who are familiar with the radial filter, pick up some useful tips.
[RELATED: Lightroom’s Dark Knight | The Transformative Alt/Opt Key [Part 2]]
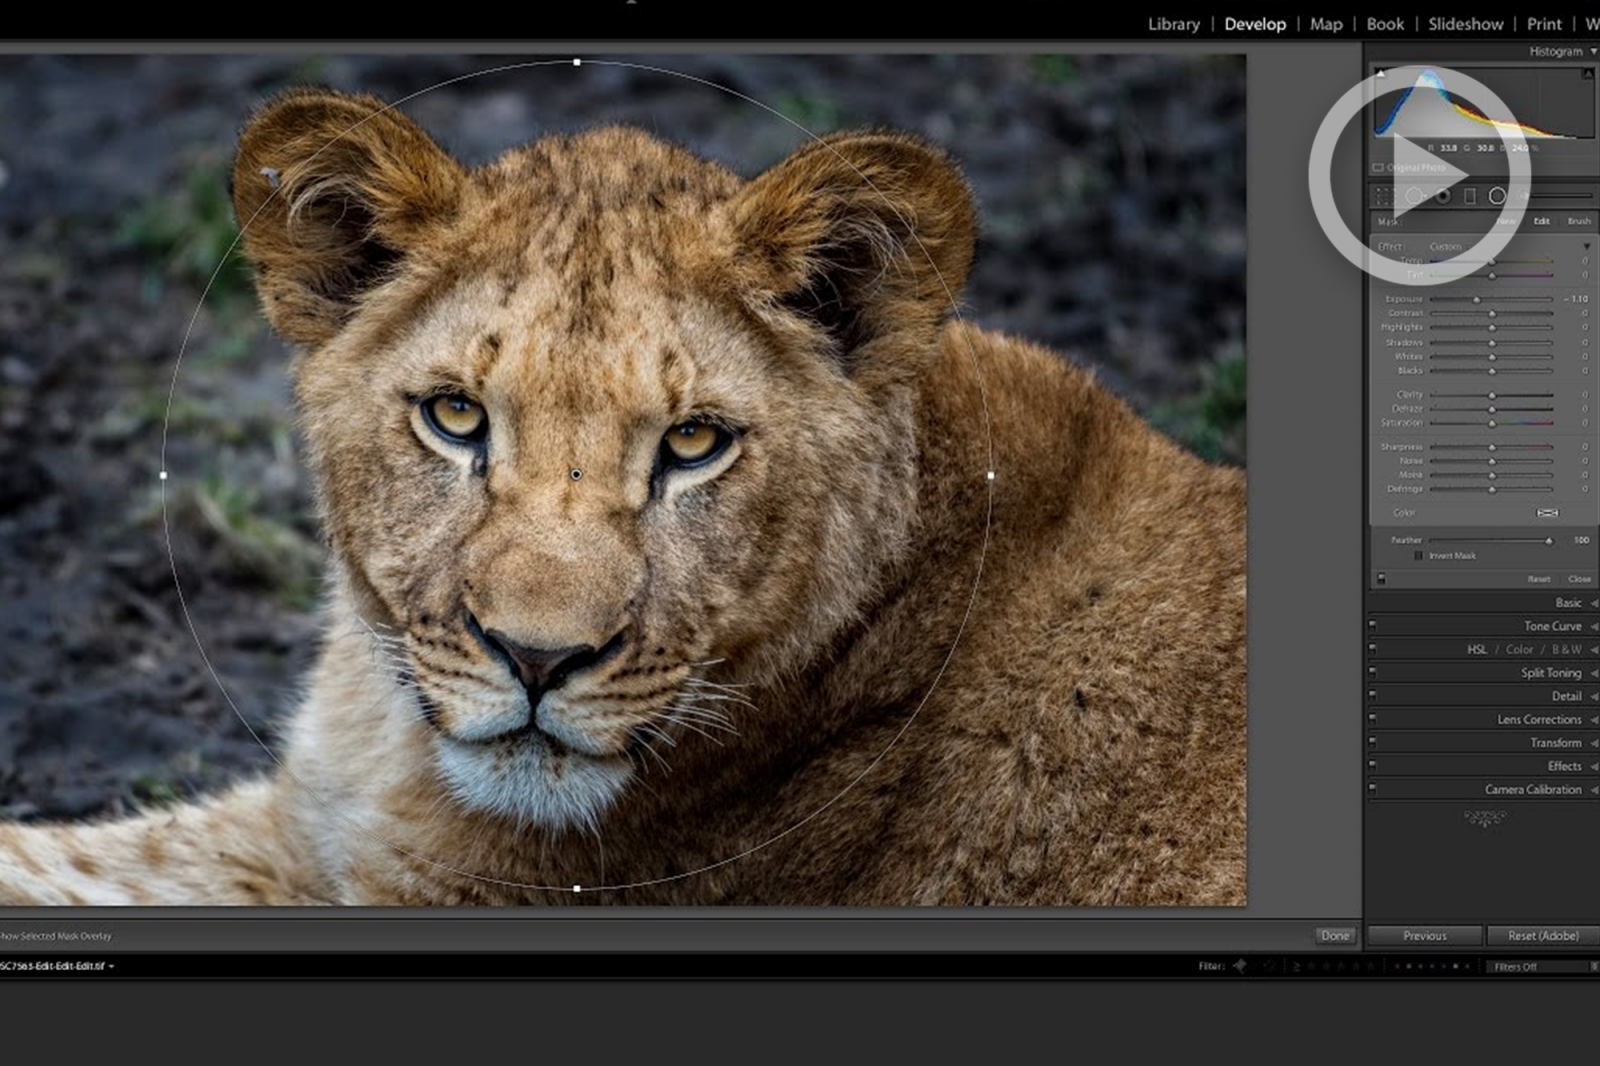
The radial filter is one of the main tools in Lightroom, located in line with the crop, heal, red eye removal, gradient, and brush tools in the top right corner. The radial tool allows you to draw elliptical shapes over your photo to selectively apply adjustments. By default, the adjustment is applied outside of the ellipse. Don’t miss the “invert mask” checkbox at the bottom of the tool panel for a quick way to apply the adjustment inside the ellipse instead.

If you need to see exactly where your mask is applied, Lightroom can show you a color overlay of the mask. There are multiple ways to go about this: simply hovering your cursor over the filter causes the overlay to show in the default red color, using the keyboard shortcut “o” will toggle the overlay on and off, and there is also a checkbox in the toolbar beneath the image labeled “show selected mask overlay.” To change the overlay’s color, use the keyboard shortcut, “shift + o” to cycle through different colors.

[REWIND:] LIGHTROOM’S DARK KNIGHT |THE ALT/OPT KEY TRANSFORMS LIGHTROOM IN WAYS YOU LIKELY DON’T KNOW [PART 1]
If you’ve ever tried to make your radial filter larger than the image, you’ll be interested to know that you can zoom out further in Lightroom in order to adjust the shape beyond the borders of the image. In the “Navigator” tab on the left of the screen, choose a ratio of 1:8 or smaller (more options can be accessed via the small double arrow icon to the right.) With the image zoomed out, you can use the handles on the edges of the filter outside of the image. Use “Fit” or “Fill” in the navigator to return to a full view of the image.

For a fast vignette, hold the command/control key (varies of course by which operating system you use) and double click within the image.

Check out Anthony’s video for a few more tips and check out his YouTube channel if you’re looking for more Lightroom how-to’s.
What are your favorite ways to use the radial filter? Let us know in the comments!
Via: fstoppers


