
We’re teaming up with Adorama to bring you a new series of photography tutorials called “Master Your Craft” to be featured on their YouTube Channel. Subscribe to see more of our videos on their channel throughout the next couple of months that will cover photography, lighting, posing, and editing education to help you hone your skills and master your craft.
In this video, we’ll give you a short introduction and guide on how to use your radio remotes to control your off-camera flashes. We’ll also dive into channels, groups, high-speed sync, and all of the basic functionality that is universal to these devices no matter which brand of remote you own.
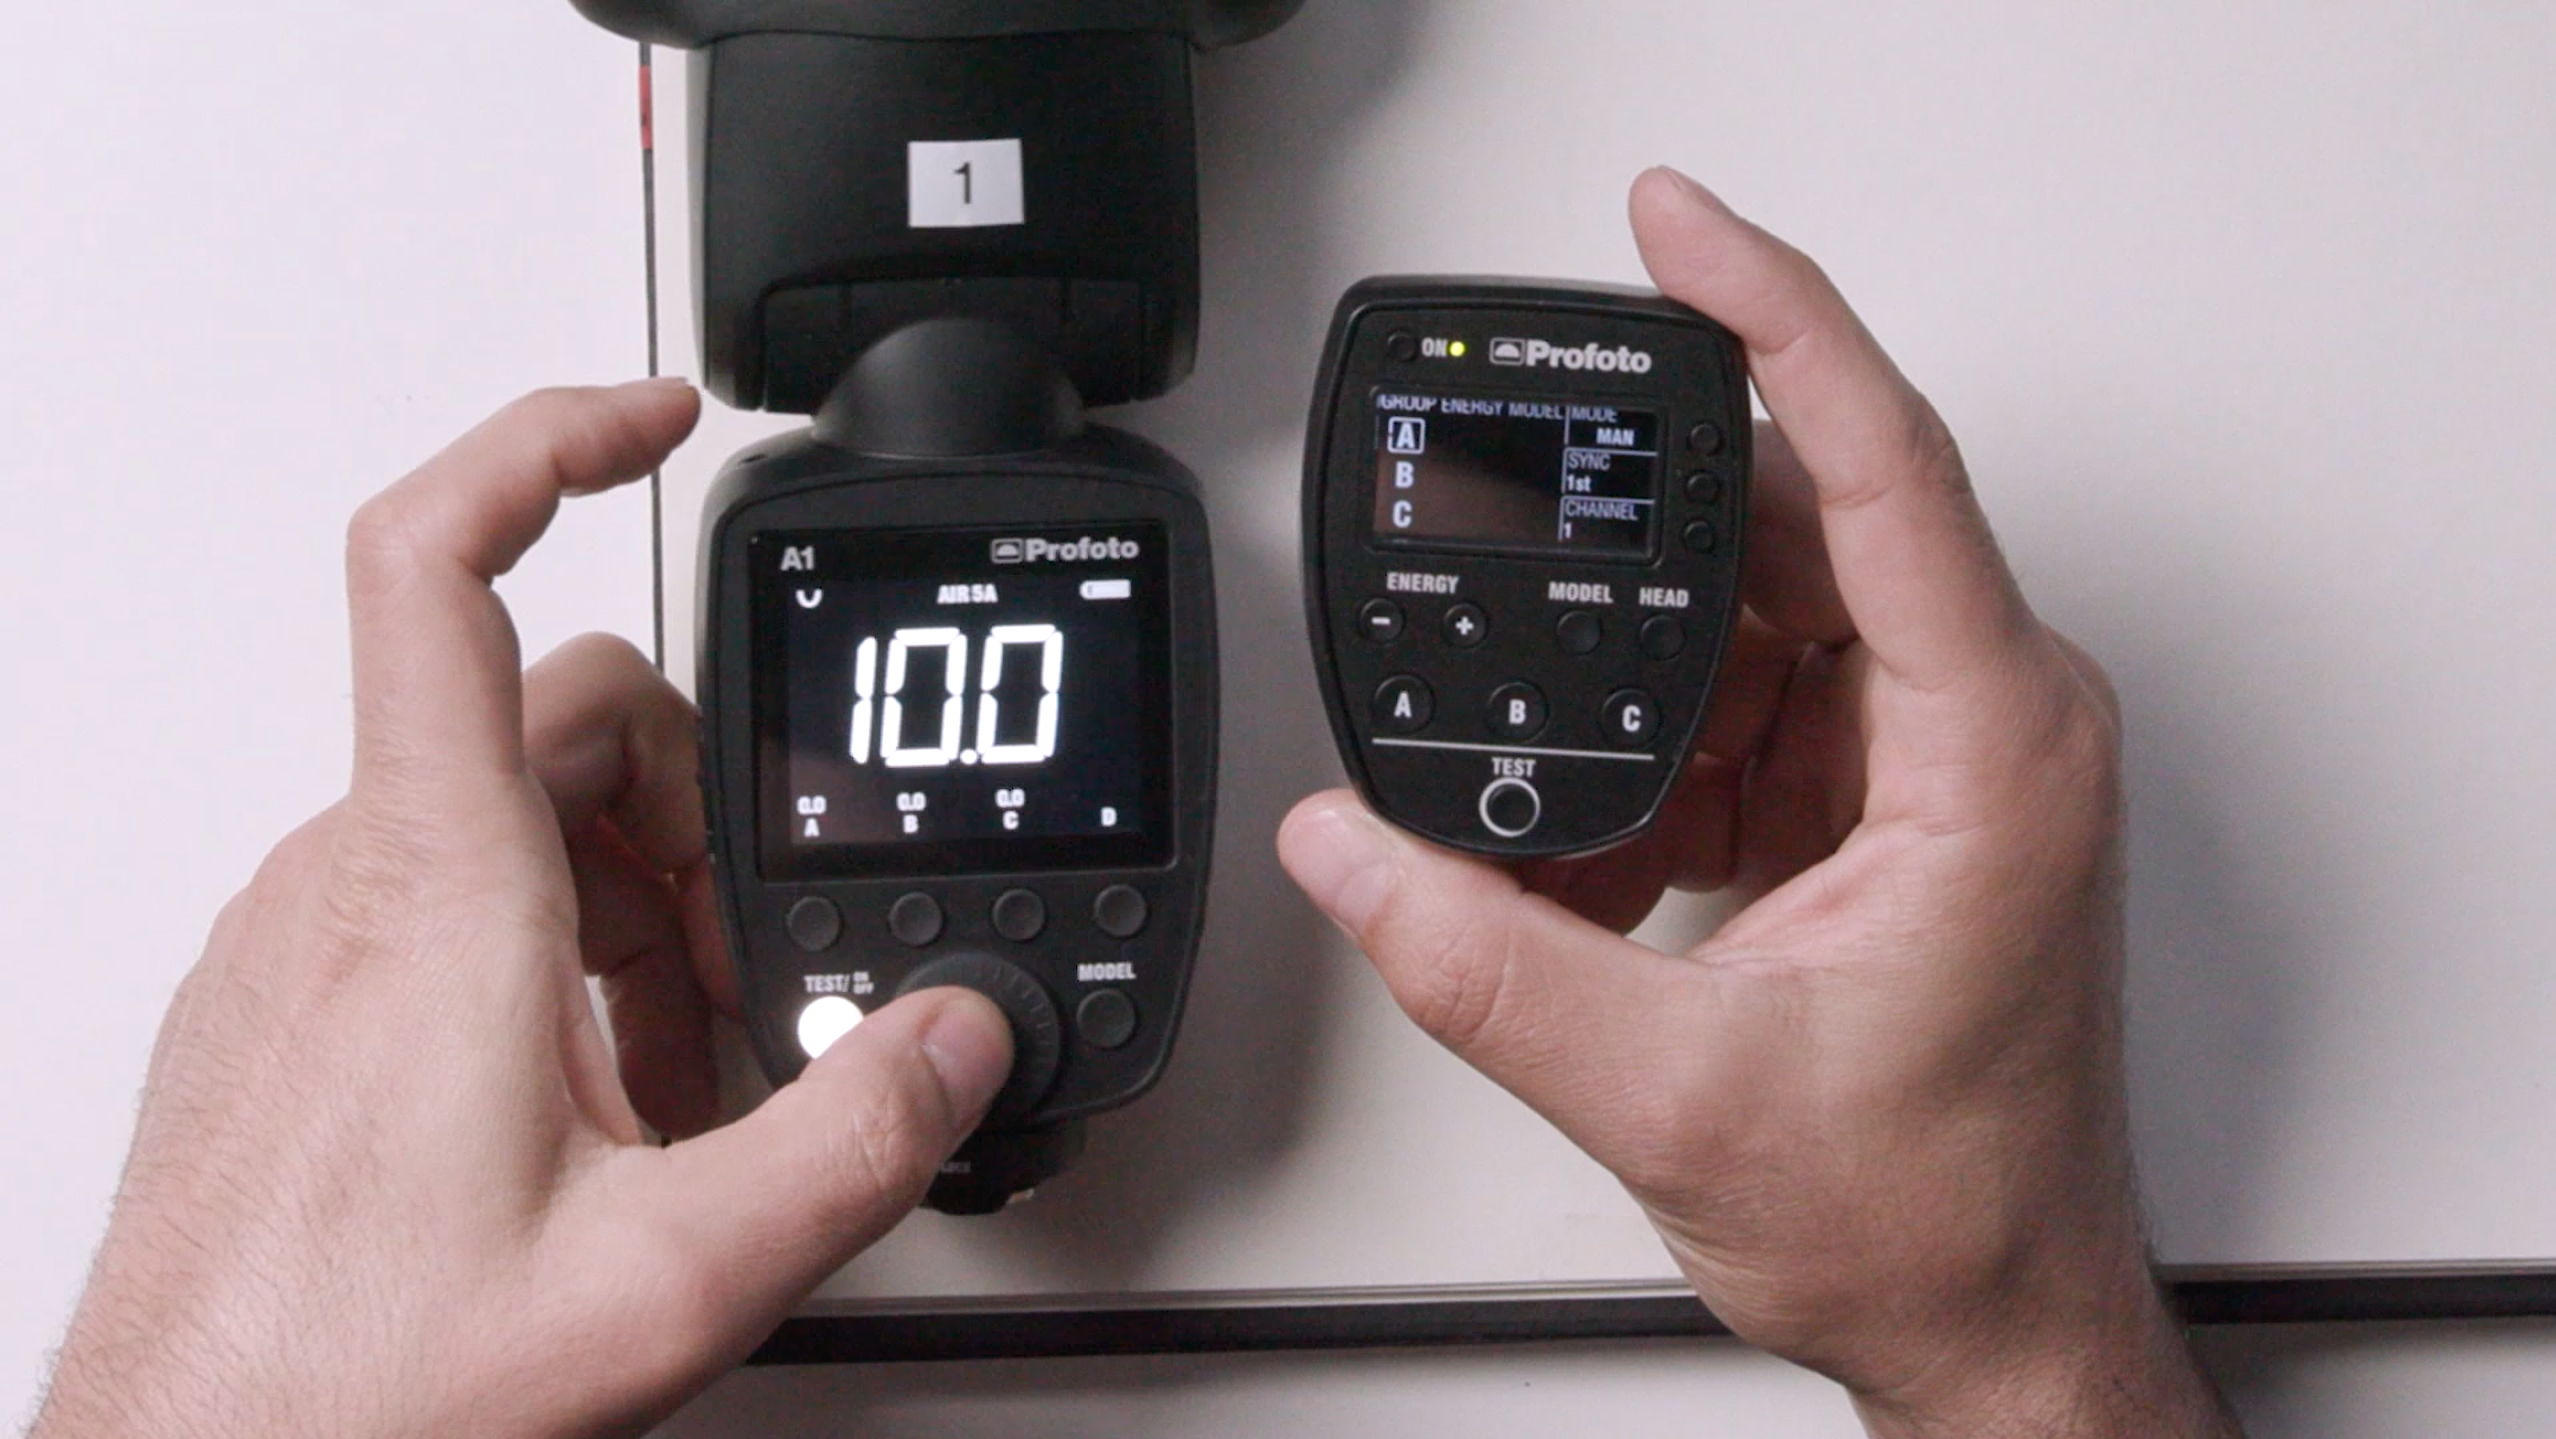
You’ll find that most remote systems work the same way, though each one will have its own interface design, some a little more intuitive than others. Either way, everything you’re about to learn applies to all of them. For demonstration purposes, I am using the Profoto Air TTL Remote with a Profoto A1x.
Stick around to the end of the video, cause I’ll talk about the olden days and wireless vs radios, ya know, back when I was a youngin. Before that, let’s just start with the how-to.
1. Set the Remote and Flashes to the Same Channel

In order to communicate with one another, the remote and flash must be set to the same channel. Think of this as a classroom. Think of each channel as a different room, and if you are standing in a different room, you can’t really talk to each other. So for the flash to communicate to the remote, it has to be on the same channel.
2. Assign a Group to Each Flash Being Used
 You can think of groups like seat assignments within the same classroom. While students can talk to each other, they are separated by different groups, which allows us to give each group a different task. In terms of flashes, we can say for example assign our main light to Group A, while our fill light is set to Group B. This allows us to independently adjust power settings for each group without affecting other flashes on differing groups. From there, you should be good to go. Simply pop a test shot, or press the test button on the remote to make sure your flashes are synced to your remote, dial in your power settings.
3. Set Your Flash Power

When it comes to power, 1/1 is full power on your specific flash. This power will vary depending on the make and model of your flash. It’s measured in watt-seconds, and while each manufacturer has its own way of measuring this output, in general, higher watt-second output means the flash has more power. Standard speedlights come in around 50 watt-seconds, while larger speedlights might be between 200 to 250 watt-seconds. When you dial the flash to ½ you are getting half of the flash power, ¼ gets you one quarter, and so forth. Cutting the light in half, or doubling the light is referred to as a stop of power. So if someone says, lower the flash by 1 stop, that means cut the power in half from where it currently is. If they say, I need more power, raise the flash power by a stop, that means double the power. Set the power as needed, and fire away!
In the olden days (we’re talking like a few years ago) you had to have a separate radio system to control off-camera flashes. Some of you might remember the Pocket Wizard days. It was cumbersome, annoying, and filled with cables and troubleshooting.
But, why did we want radio remotes versus wireless infrared systems? Well, for quite a while flashes have had infrared or optical triggering available. Problem is, these systems were not that reliable and unusable at average distances or when you didn’t have a line of sight with the off-camera flashes. It’s not important, what’s important is that you want to get flashes now that have a built-in radio! Radio systems are far more reliable, they don’t require line of sight, and they can work at long distances, we’re talking hundreds of feet away. Fortunately, most full-featured flashes now have built-in radios.
We hope you enjoyed this video and lesson on composition photography. Catch our next episode of Mastering Your Craft on Adorama’s YouTube channel next Friday!










