

We have all seen the sporting images that use a sequence of photographs stitched together to create an image that is able to show an entire movement, trick or stunt. In this article I will do a step by step tutorial of how to create such an image using a combination of Photoshop and Lightroom.
These composites are usually taken close to perpendicular to the movement making the post work much easier. In the example I will be using, I was more “head on” to the movement which results with more overlapping on each image when compositing.
Compositing Tips to Remember
When taking the images you plan use in the composite, you need to make sure of the following things:
- Make use of a tripod! While you can do this handheld, best results will come from images that are aligned before bringing it into Photoshop
- Plan your shot. Try filling the frame from the left to the right with the sequence. Having a sequence that does not use the frame effectively can be less impressive.
- Manual focus. Set the focus point on where the action is going to happen and leave it in manual. You don’t want the camera to suddenly change the focus to a foreground object just before the action happens.
- Fast Shutter Speed. To capture the action sharply making the images more impressive and making the post work easier, a fast shutter speed is critical. You should work on a min of 1/500sec but preferably faster.
- Small aperture. A small aperture will result in a greater depth of field. This means more of the image will be in focus allowing more of the movement to be captured in focus.
- Continuous shooting mode. This is necessary in order to capture the different frames quickly enough. I was working on 6 fps (frames per second) which is plenty. If you feel that your fps is not high enough, most DSLRs have the ability to lower the resolution of the image. By doing this, you allow the processor to handle the images quicker giving you a higher fps but at the loss of resolution.
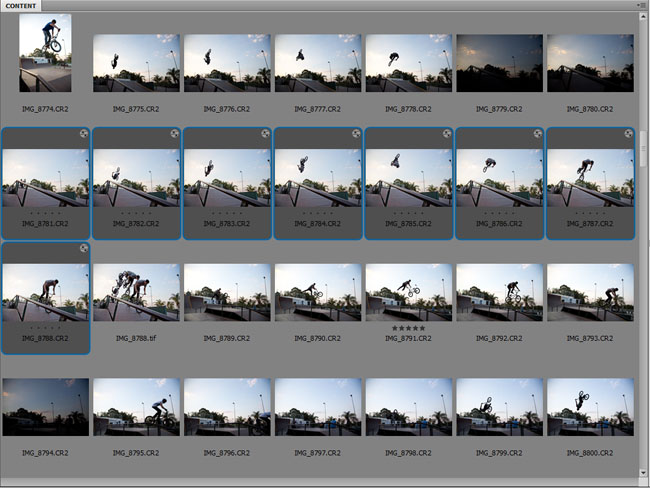
To start off, we are going to open up Adobe Bridge, which comes with Photoshop and find the files on our computer. We will then need to select the sequence of images. In my case I took 8 images which I will use in the sequence.
Next, we need to bring these images into Photoshop and align them at the same time. To do this, in the menu bar of Bridge with the images selected, select Tools > Photoshop > Photomerge…
Photoshop will then proceed to open and show this window:
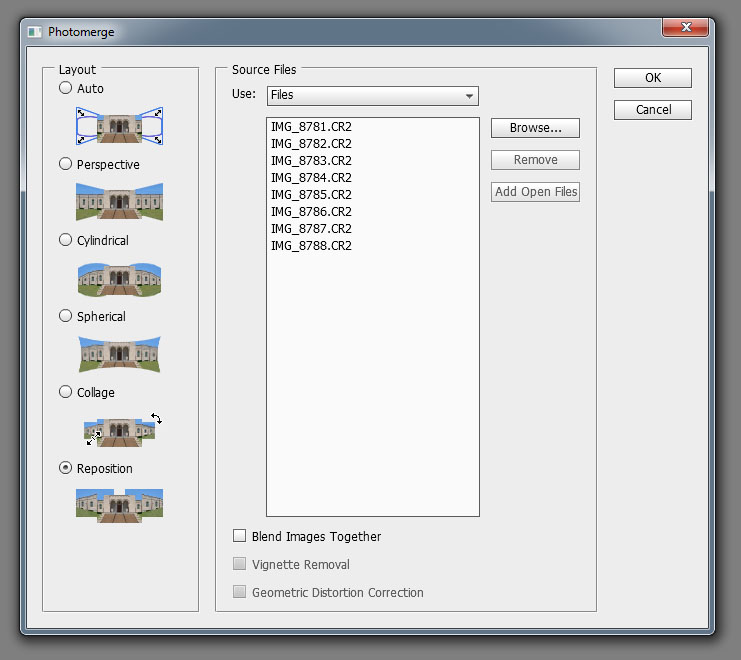
The key points here are to make sure the Layout is selected as Reposition and under Source Files, make sure that Blend Images Together is not checked. We can then press ok and Photoshop should then open the images into layers and align them.
If there was movement between the different images when shot, you will notice the alpha checkerboard pattern on the edges. Simply crop the image so that it no longer shows.
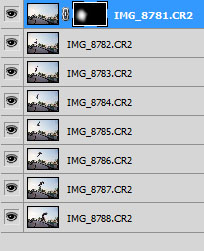
We now have all the images together as layers. All that is left to do is mask out the parts of the different layers we do not want to see. To create a mask for a layer, select the layer, go to the menu bar and select Layer > Layer Mask > From Transparency. Making sure the new mask on the layer is selected, use a brush and select black as the brush color. As you paint onto the image, this will allow this image behind to appear.
We will start with a large soft brush to mask around the first image.
Once we have masked out most of the image, we can use a smaller harder brush to mask out the necessary edges of the subject that overlap with the next image.
We will repeat this masking step for each image layer except the last one. As you are masking you may feel that some images overlap too much. You can remove these by just turning off the visibility on the layer or deleting the layer. It is not necessary to use every frame. In my composite, I started with 8 images and only ended up using 6.
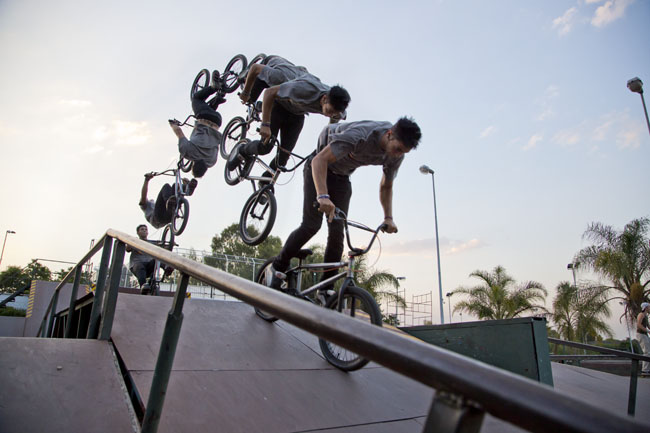
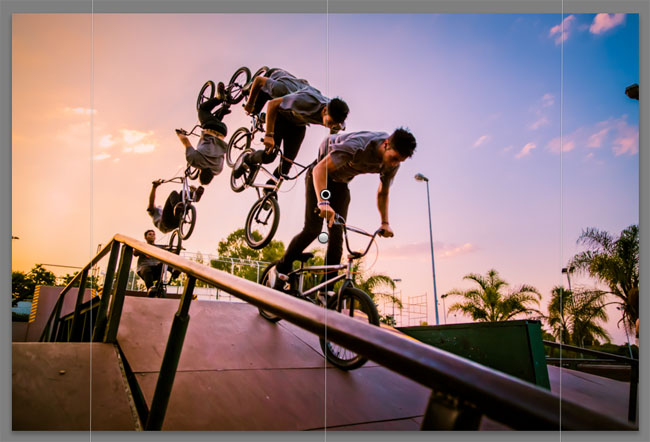
Once you have finished compositing the images together you should have something like this:
We can now save this as a single image. All that is left to do is some post processing. You can use whatever software you like to do the final touches. I will be importing it into Adobe Lightroom.
Once imported into Lightroom, under the Basic panel I pushed the exposure and decreased the highlights and whites to bring out some more detail in the sky and tweaked the shadows and blacks until I got a nice balance. I then just pushed up the vibrance to make the colours “pop” a bit more.
I also played around with the Spilt Toning and Effects panels (settings below) and finally enabled the lens corrections under the Lens Corrections panel.
To get the yellow to blue sky gradient, I used the Lightroom gradient tool found just below the histogram. I created two gradients overlapping in the center and adjusted the Temp of the gradient to the right for the yellow and to the left for the blue.
Conclusion
And there you have it, simple and easy. The biggest tip I can give you is to follow the setup advice at the beginning of the article which will make the post work much easier.
Please feel free to leave any questions you have in the comment section below.







Get Connected!