
As we practice the art of photography, we’re always looking for ways to add visual interest to our photos, to capture our subjects in unexpected ways. One of the ways we can do this is to consider the role that texture plays in our photography. For example, we can use textures as a leading line, a focal point, or even a background element. Incorporating texture into our shots like this will enhance our composition skills and add depth and interest to our images. We can also use textures, which includes everything from brick walls to tree bark and metal surfaces as subjects in our photos. Graphic and gaming designers often use textures from stock photography sites to add dimension to various design projects. Photographing textures can be a challenging and rewarding experience for photographers of all levels. To that end, we’ve put together some texture photography tips, ideas, and examples to help you get started.
Texture Photography Tips, Ideas and Examples
- Choose the Right Camera and Lens
- Find Textures Worth Photographing
- Pay Attention to Lighting
- Experiment with Different Angles
- Use Manual Focus
- Adjust Your Aperture
- Use a Tripod
- Edit Your Textures
- Create Texture with Motion
- Share Your Work Online
Tip 1: Choose the Right Camera and Lens
When it comes to photographing textures, you can really use any lens and camera (such as a smartphone), but some options will serve you better. Any DSLR or mirrorless camera with a decent sensor size for higher resolution and a macro lens, for instance, can help you get up close and capture the intricate details of textures without having to sacrifice image quality with unnecessary cropping. If you’re using the texture as a backdrop, you’ll likely want a lens with a wide enough aperture to separate the subject from the background with a nice amount of bokeh.
Here are some versatile gear recommendations to consider for texture photography. Take a look at the specs for gear below and find comparable gear from other brands if necessary/preferred. Again, most cameras will work, including your phone. The following lenses and other gear-related items are also just suggestions.
Cameras
- DSLR: Canon 5D Mark IV
- DSLR: Nikon D850
- Mirrorless: Sony A7 IV
Lenses
- Canon EF 100mm f/2.8L IS USM Macro (great for portraits as well)
- Tamron SP 24-70mm f/2.8 Di VC USD G2 for Canon EF
Off-Camera Flash, Light Stand, & Modifiers
- Godox V1 for Canon
- Godox XProC TTL Wireless Flash Trigger for Canon
- Manfrotto 5001B Nano Light Stand
- Westcott Optical White Satin Diffusion Umbrella
- 5-in-1 Reflector
Tripod
Tip 2: Find Textures Worth Photographing
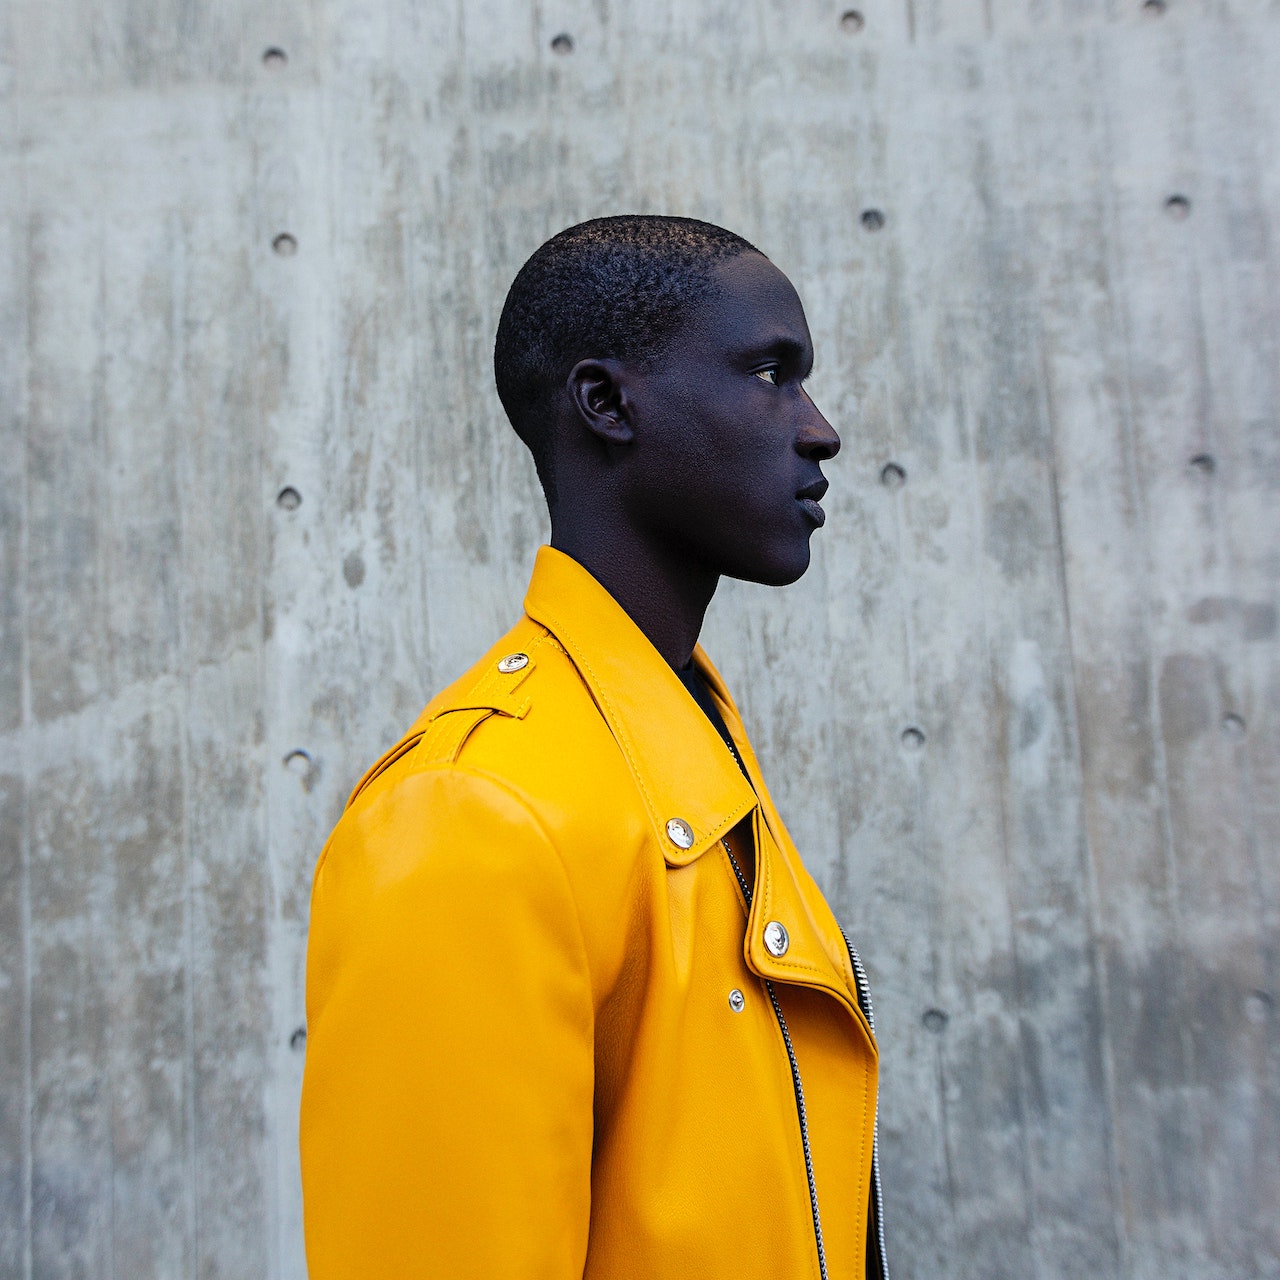
Textures exist all around us, in nature, in cities, in the clothes we wear, and even in our own skin. When we’re considering which textures we should photograph, it helps to think about who might use these textures and how they’ll be applied. For example, we could photograph crinkled paper that a graphic designer might use as a blending layer to add texture to a poster. Or, maybe we want to use a grungy looking backdrop for a portrait session to give it an urban feel. We can use any number of textures to achieve similar goals.
Texture Photography Examples
To help kick off your texture photography scavenger hunt, we’ve included some examples of different types of textures to consider capturing.
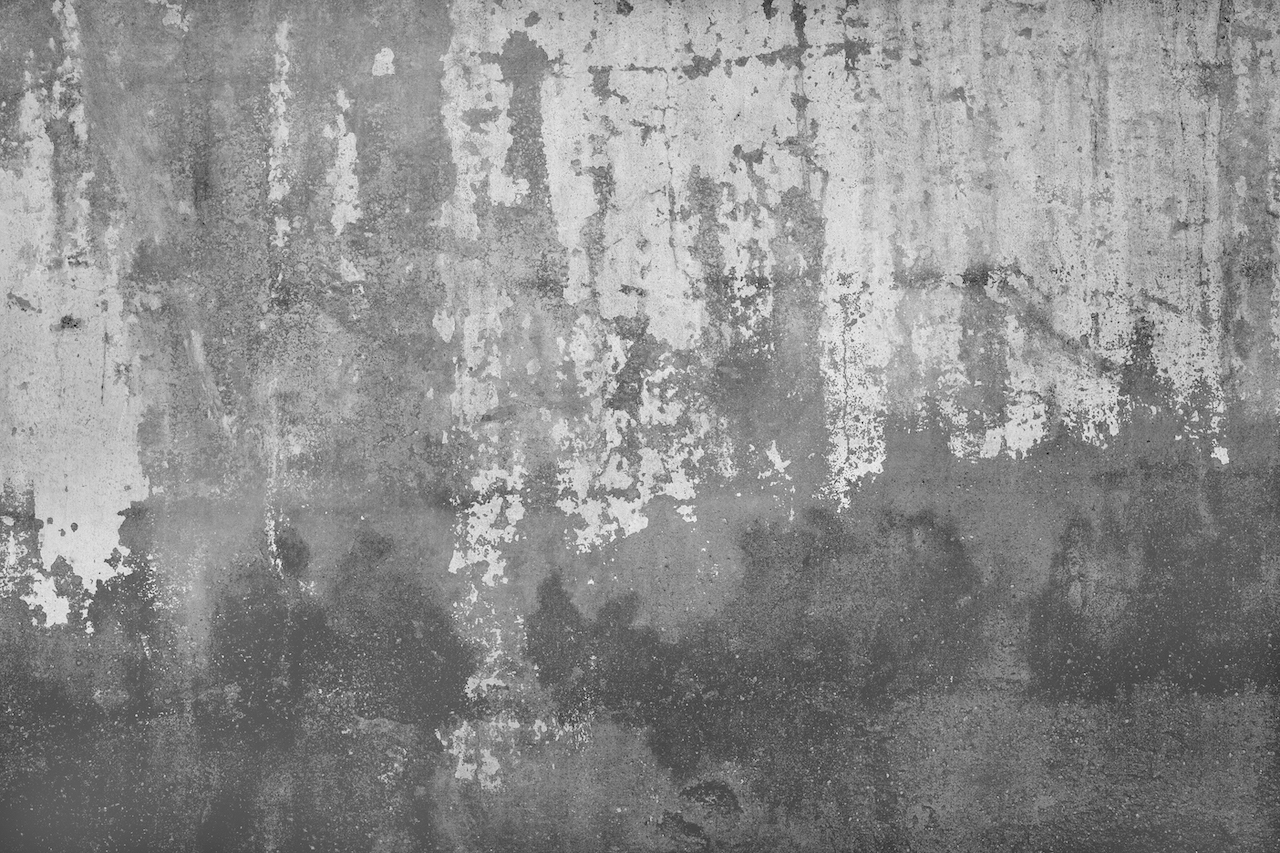
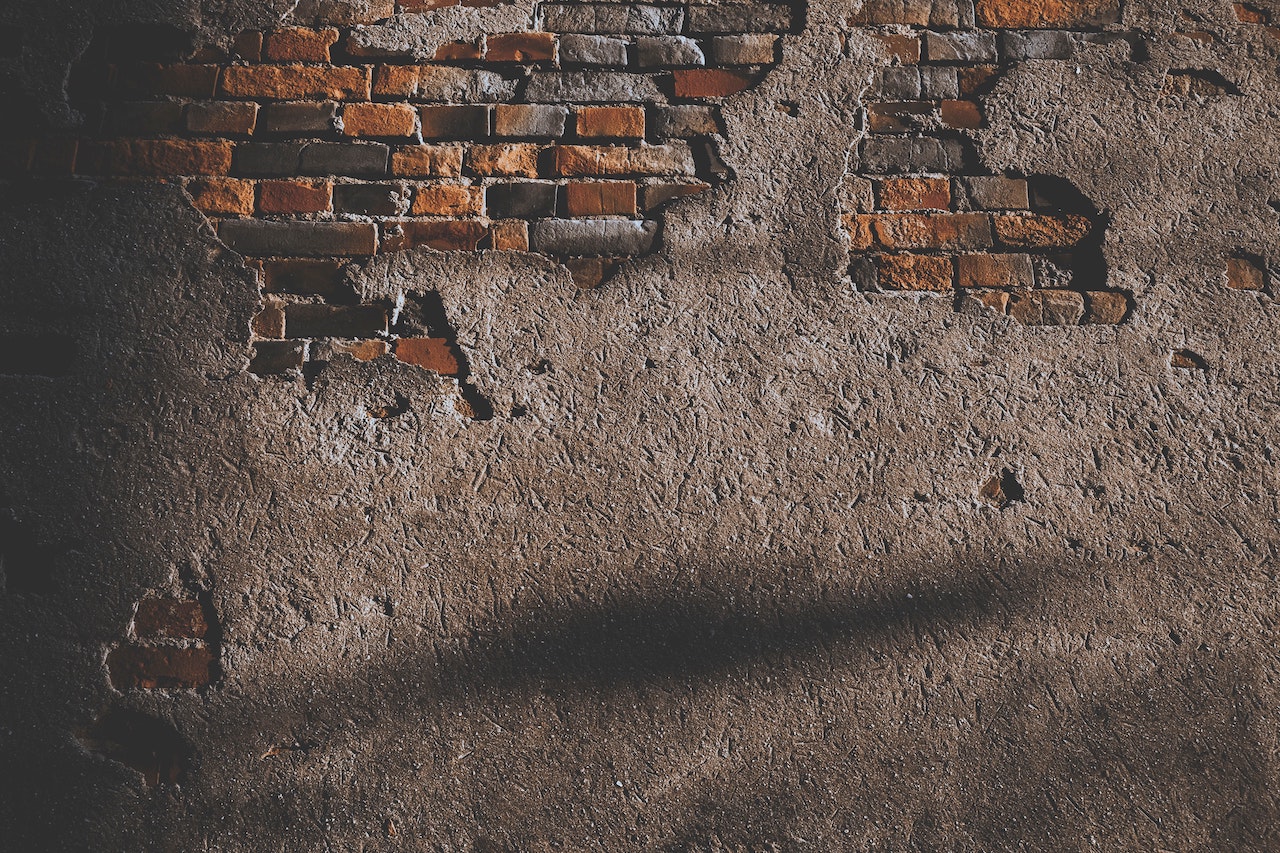
Concrete

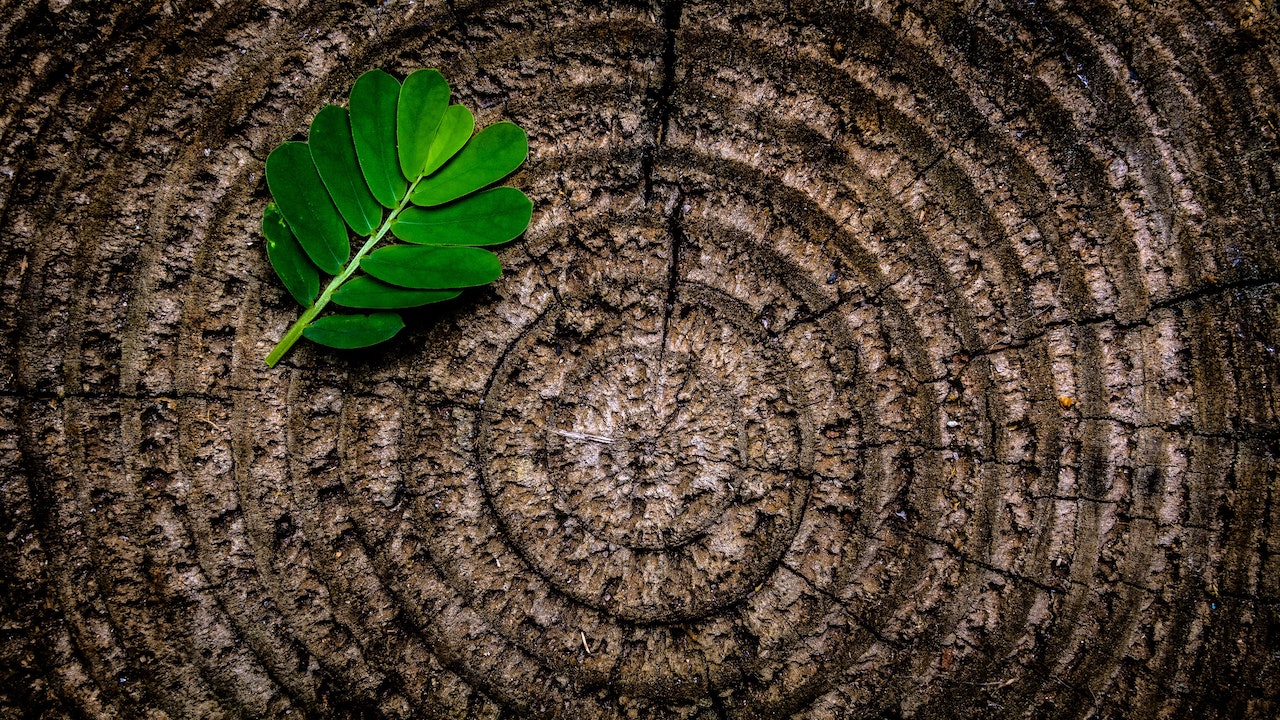
Wood


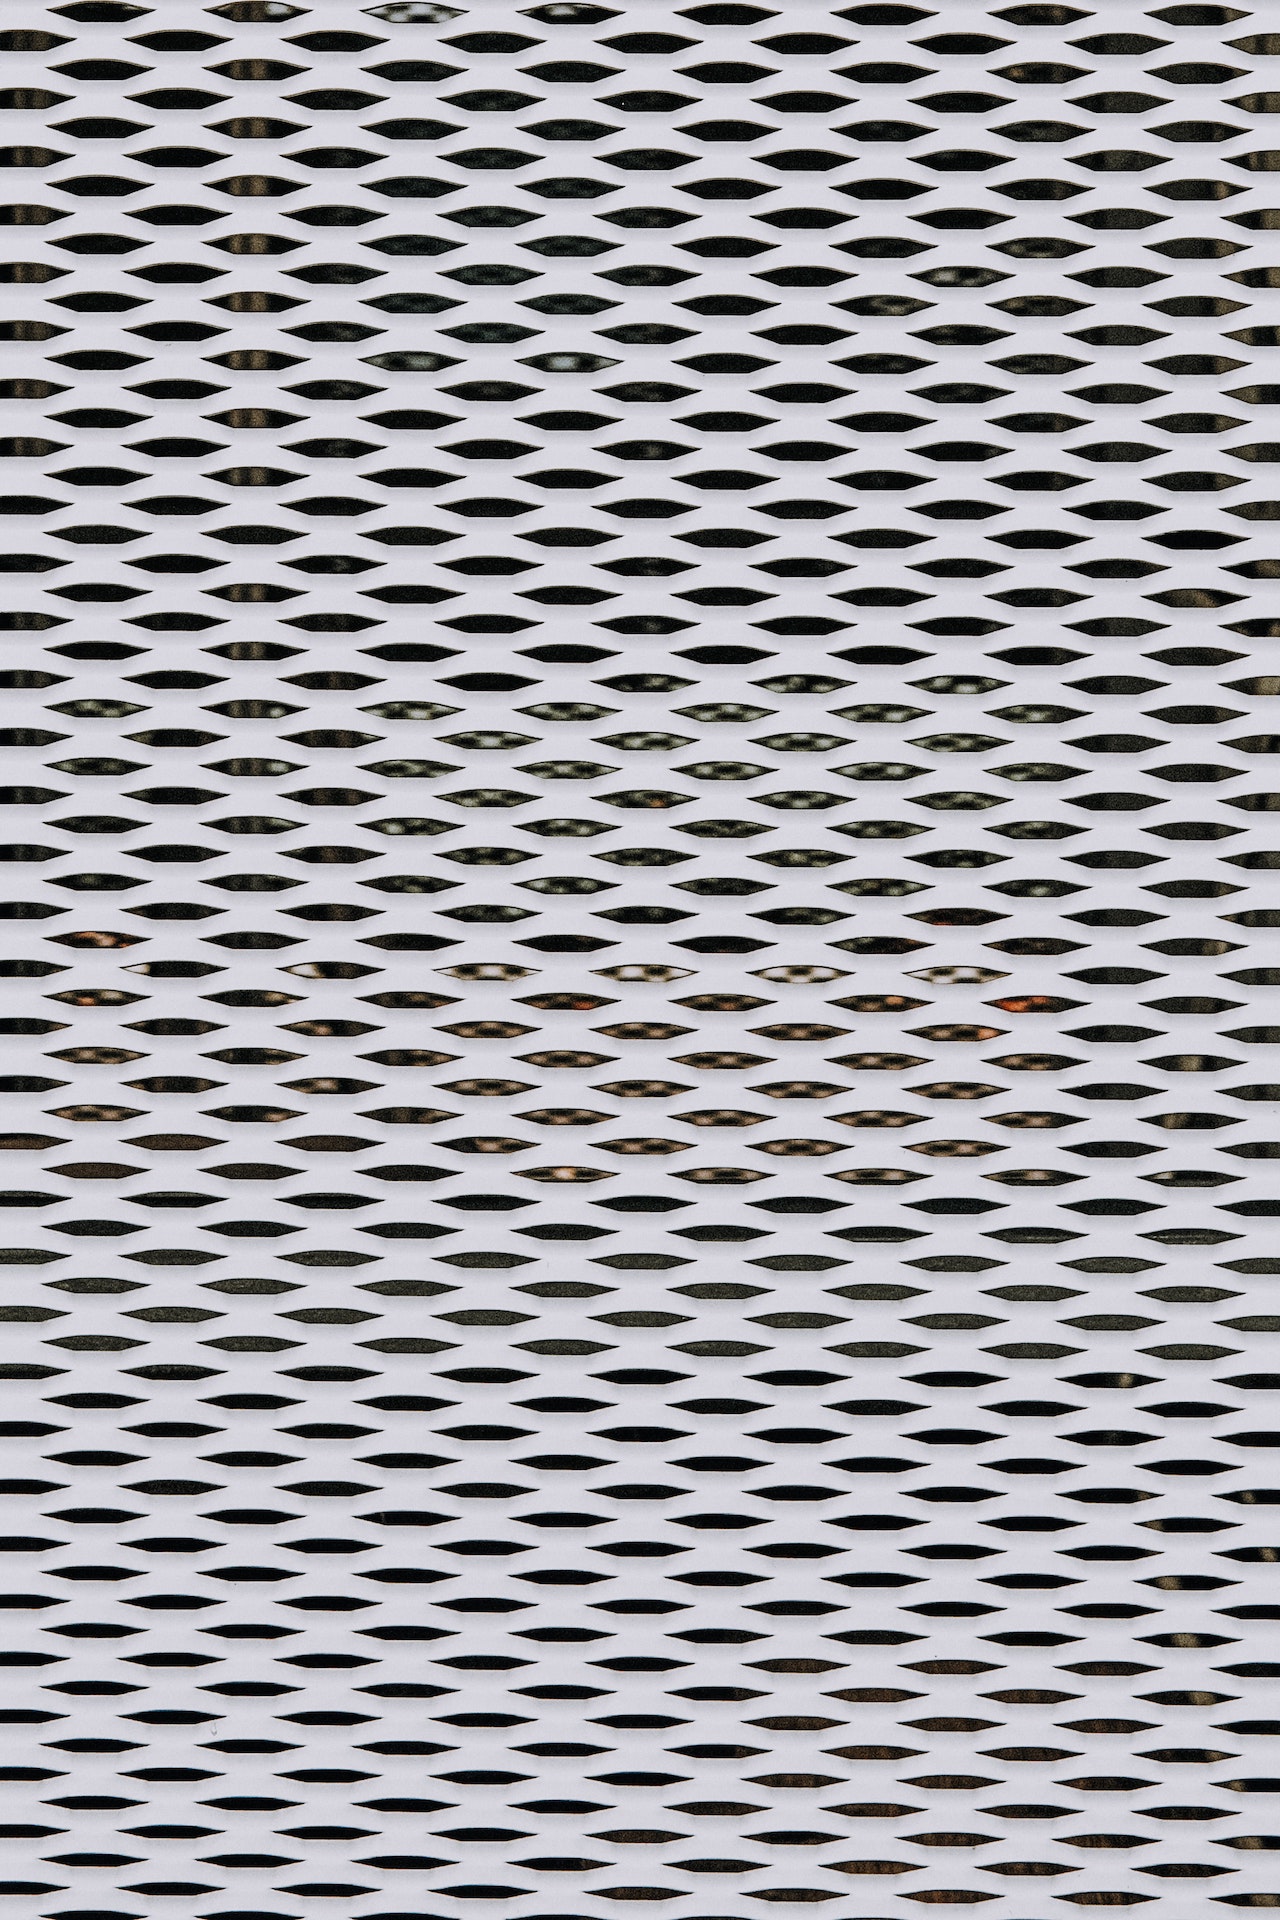
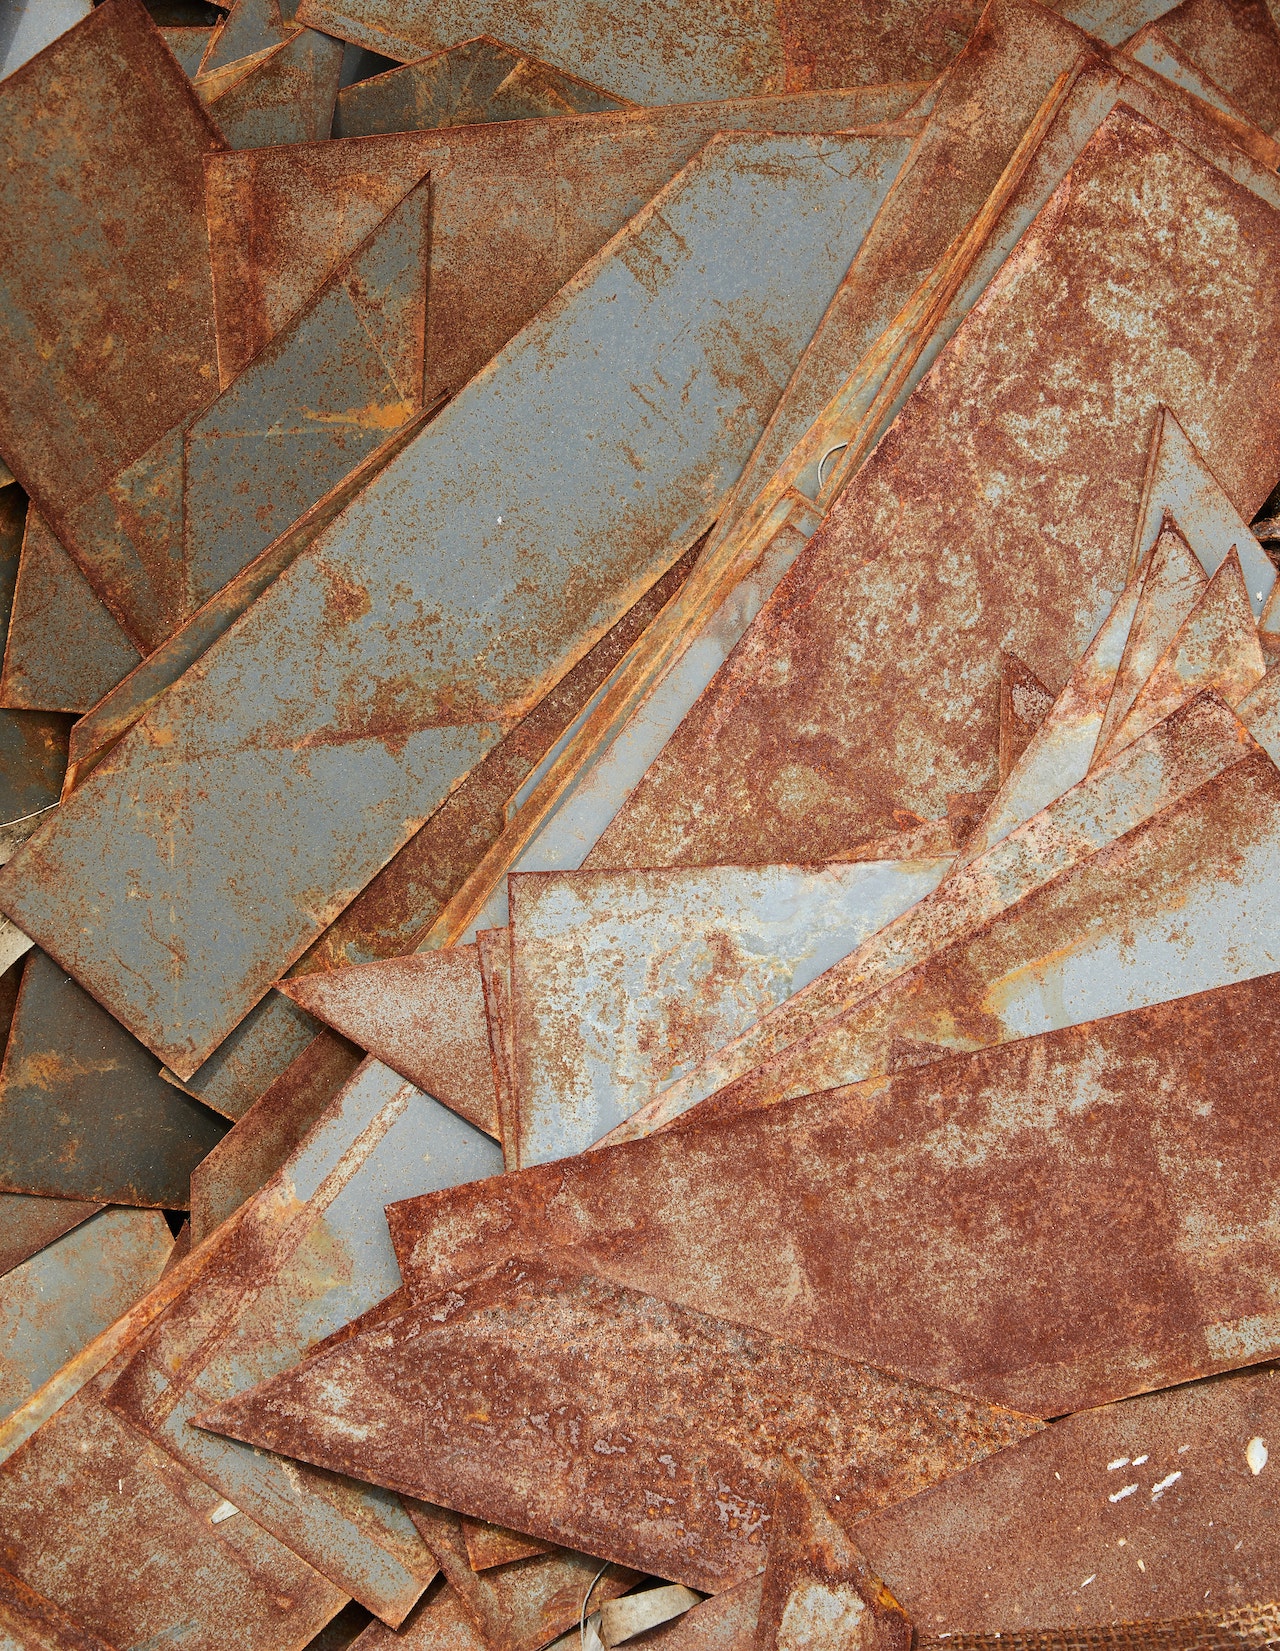
Metal Surfaces

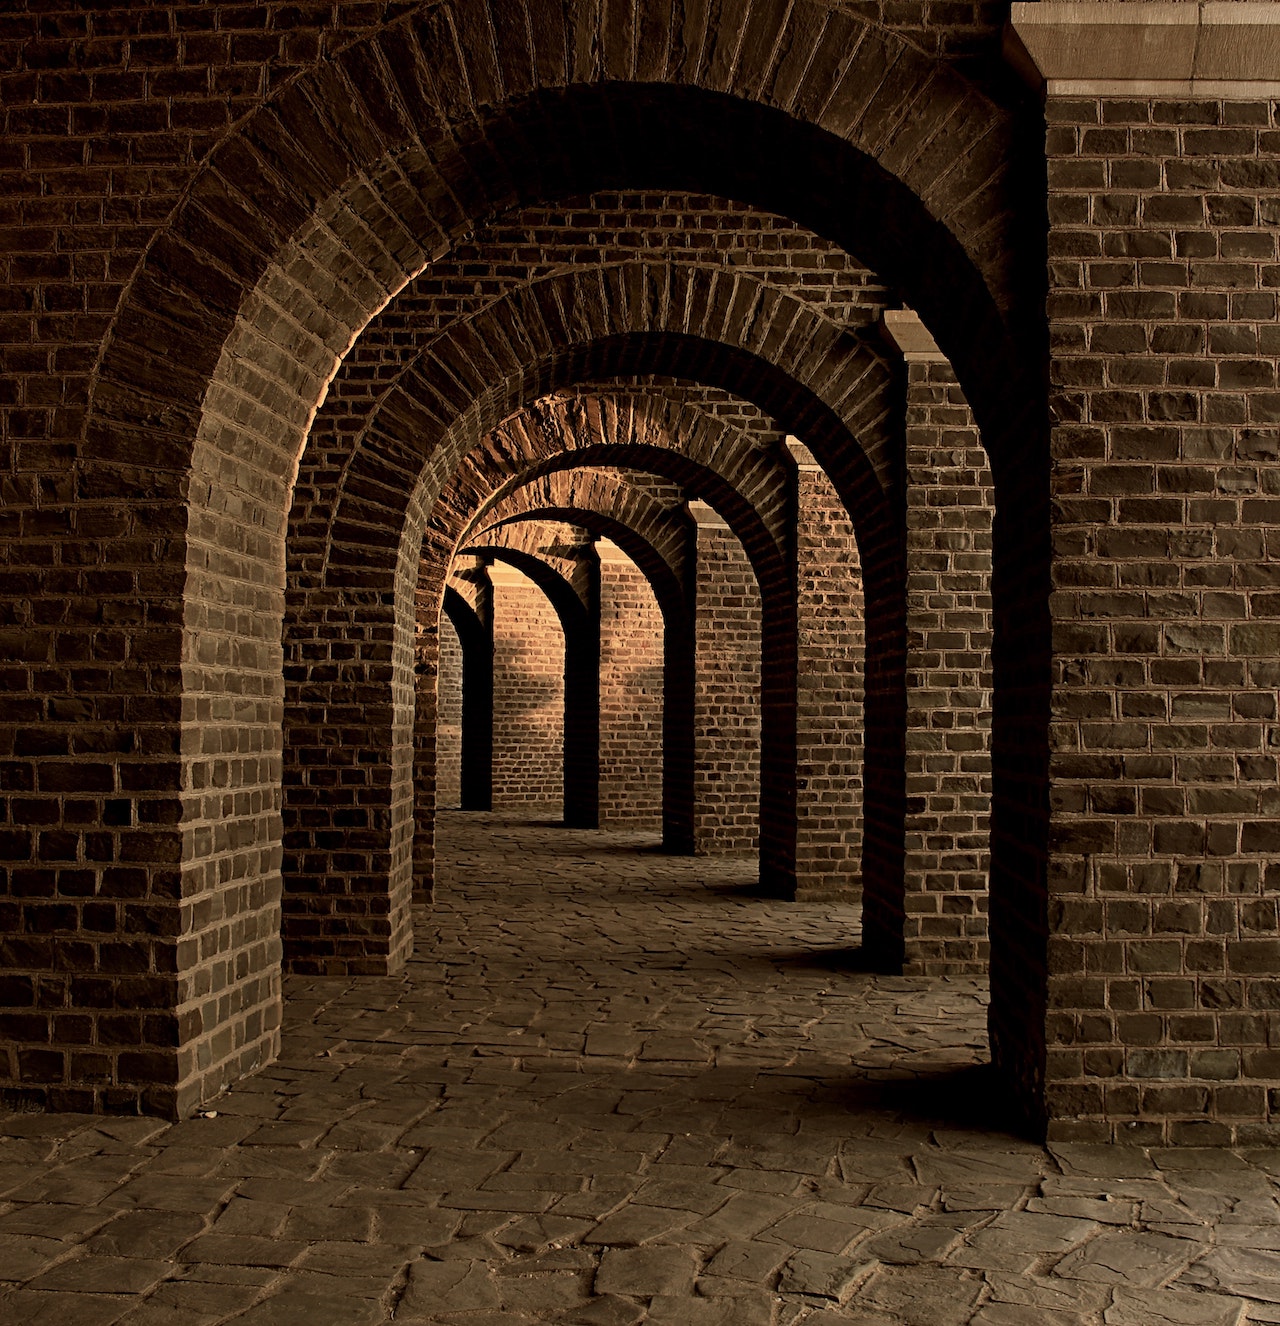
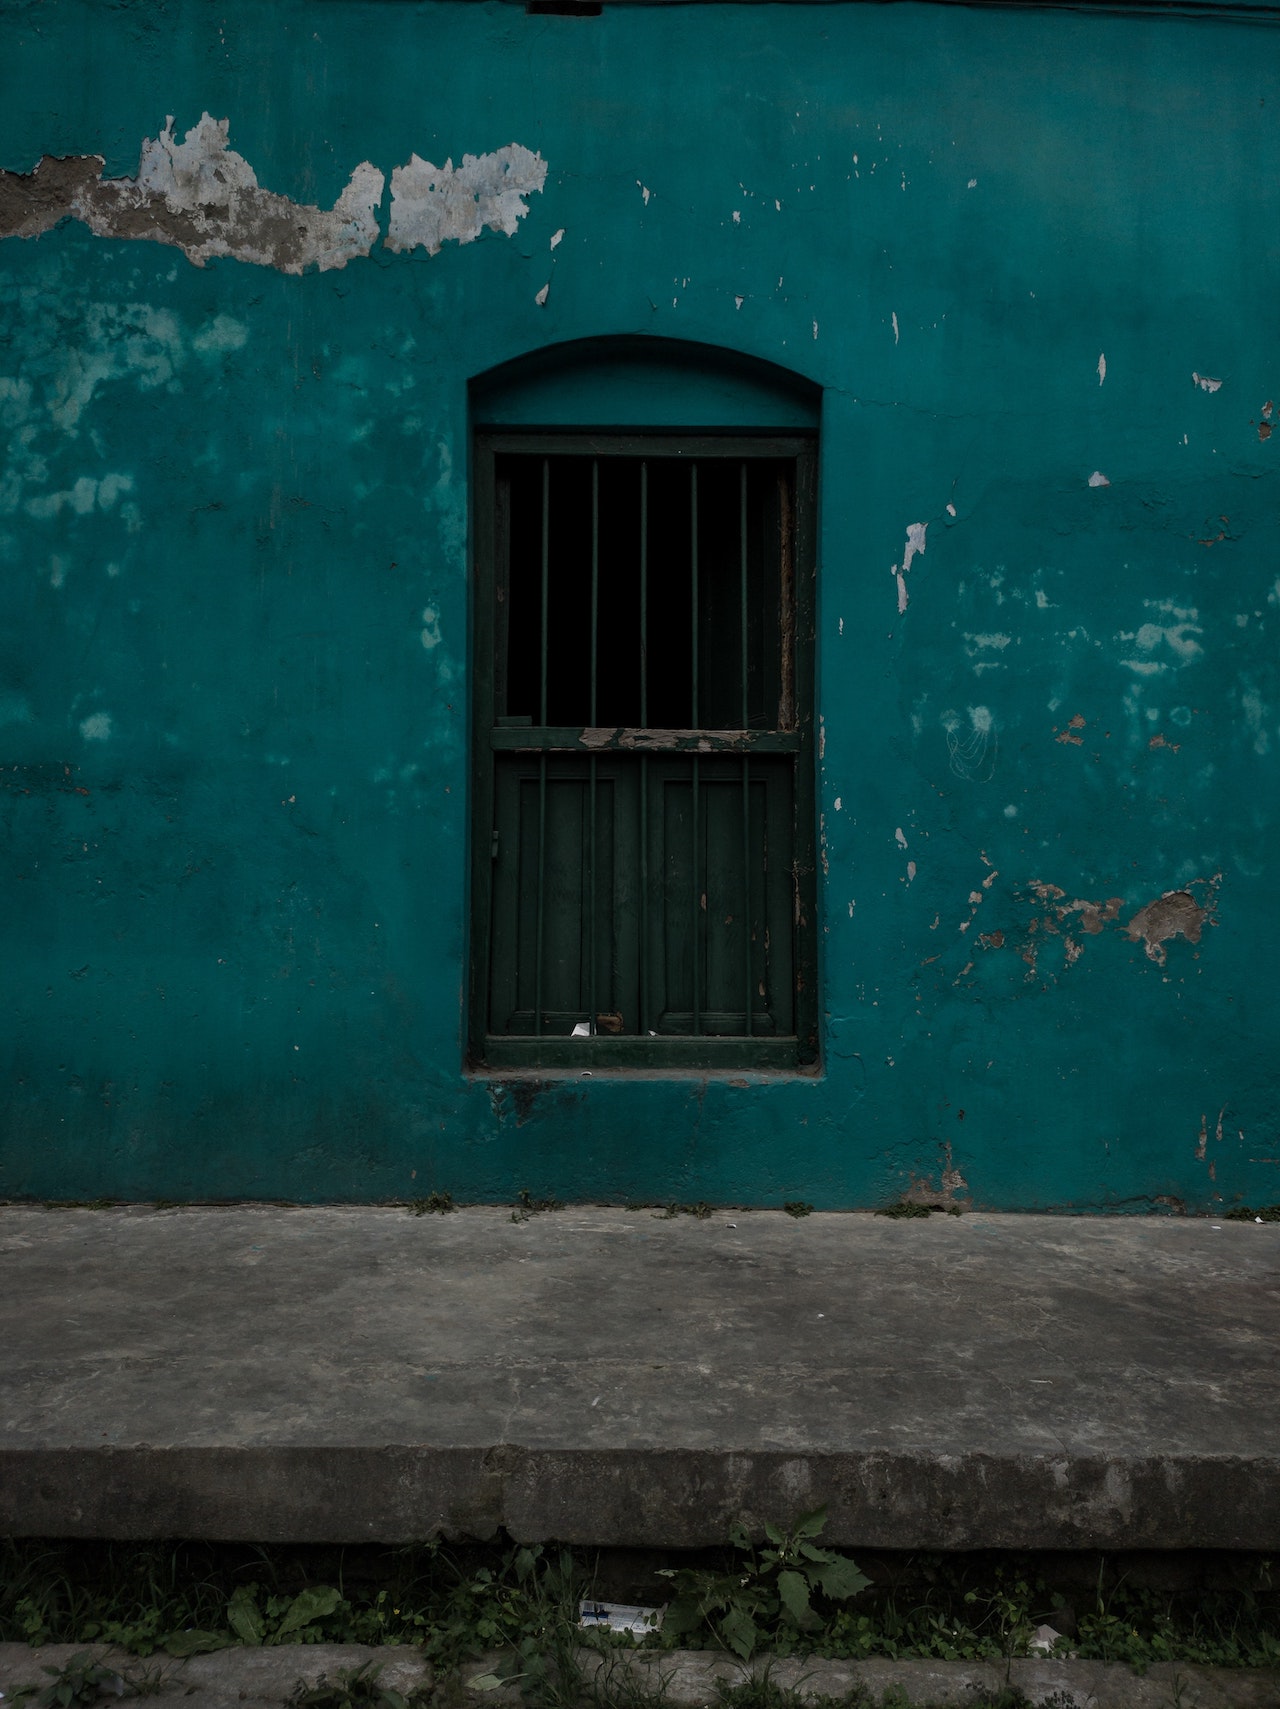
Buildings
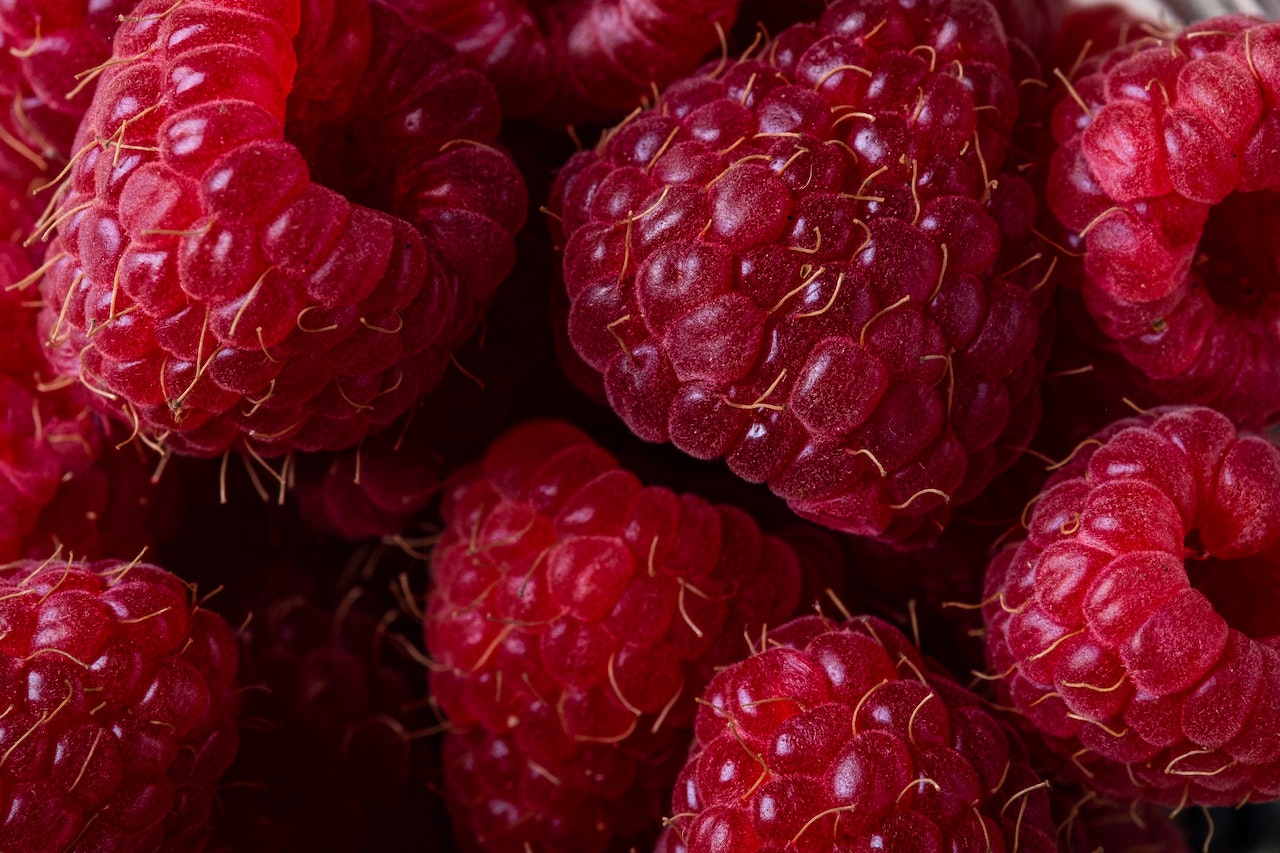
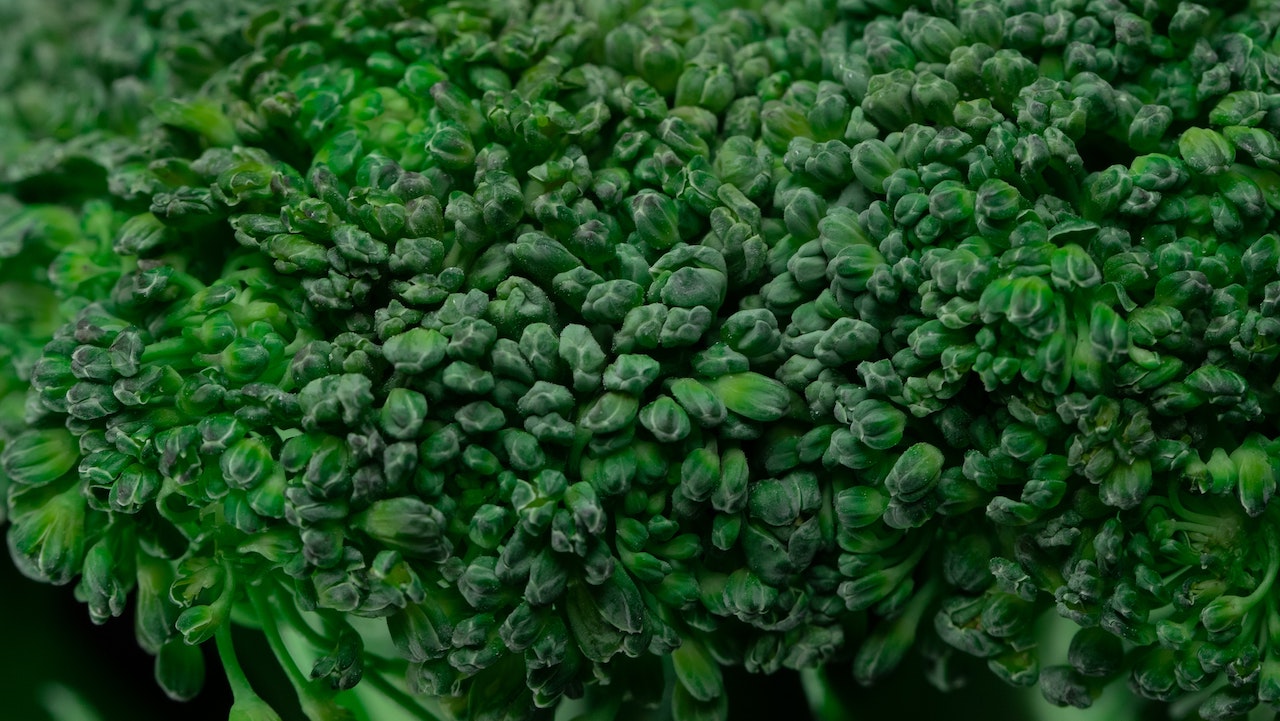
Food

Additional Texture Photography Ideas
Here are some other textures to look for:
- Paper
- Stone and rocks
- Sand and pebbles
- Fabrics such as wool, linen or silk
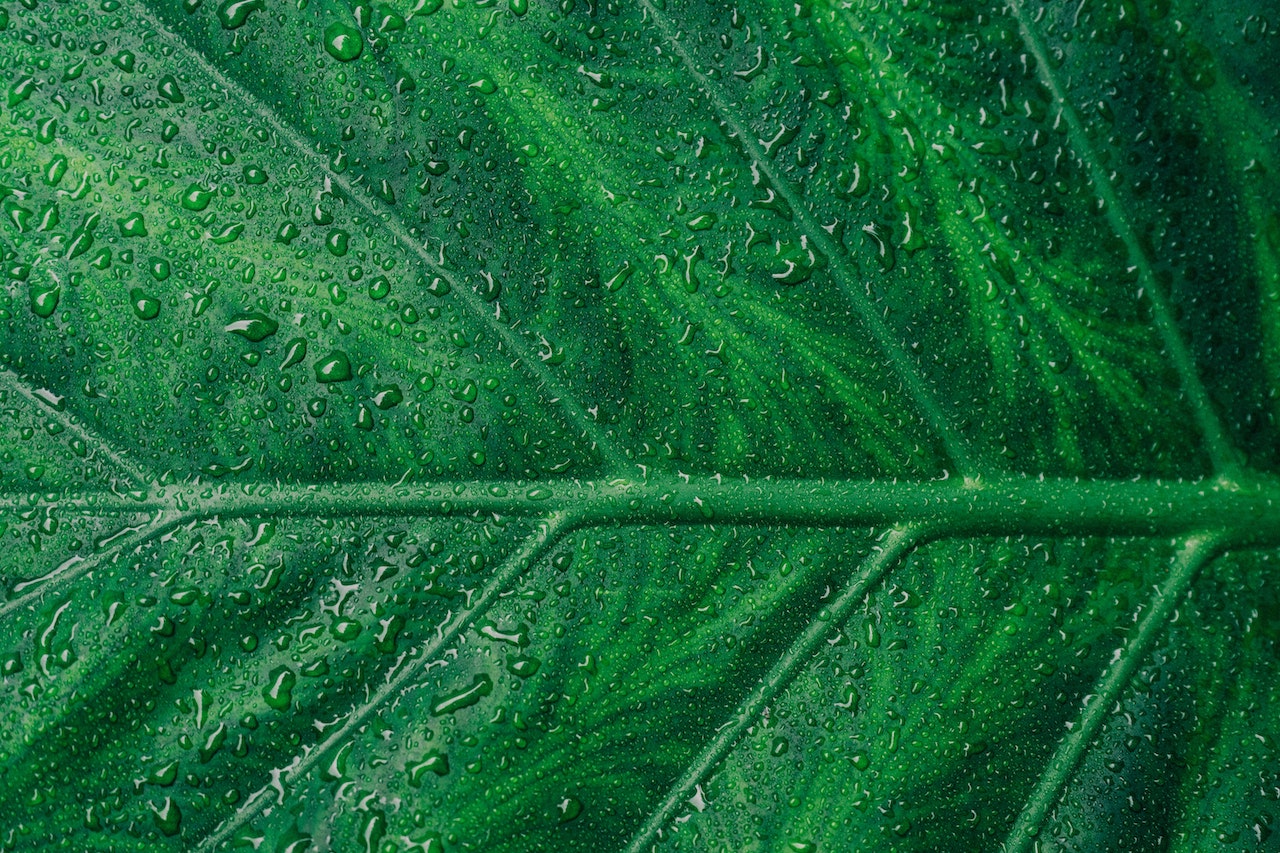
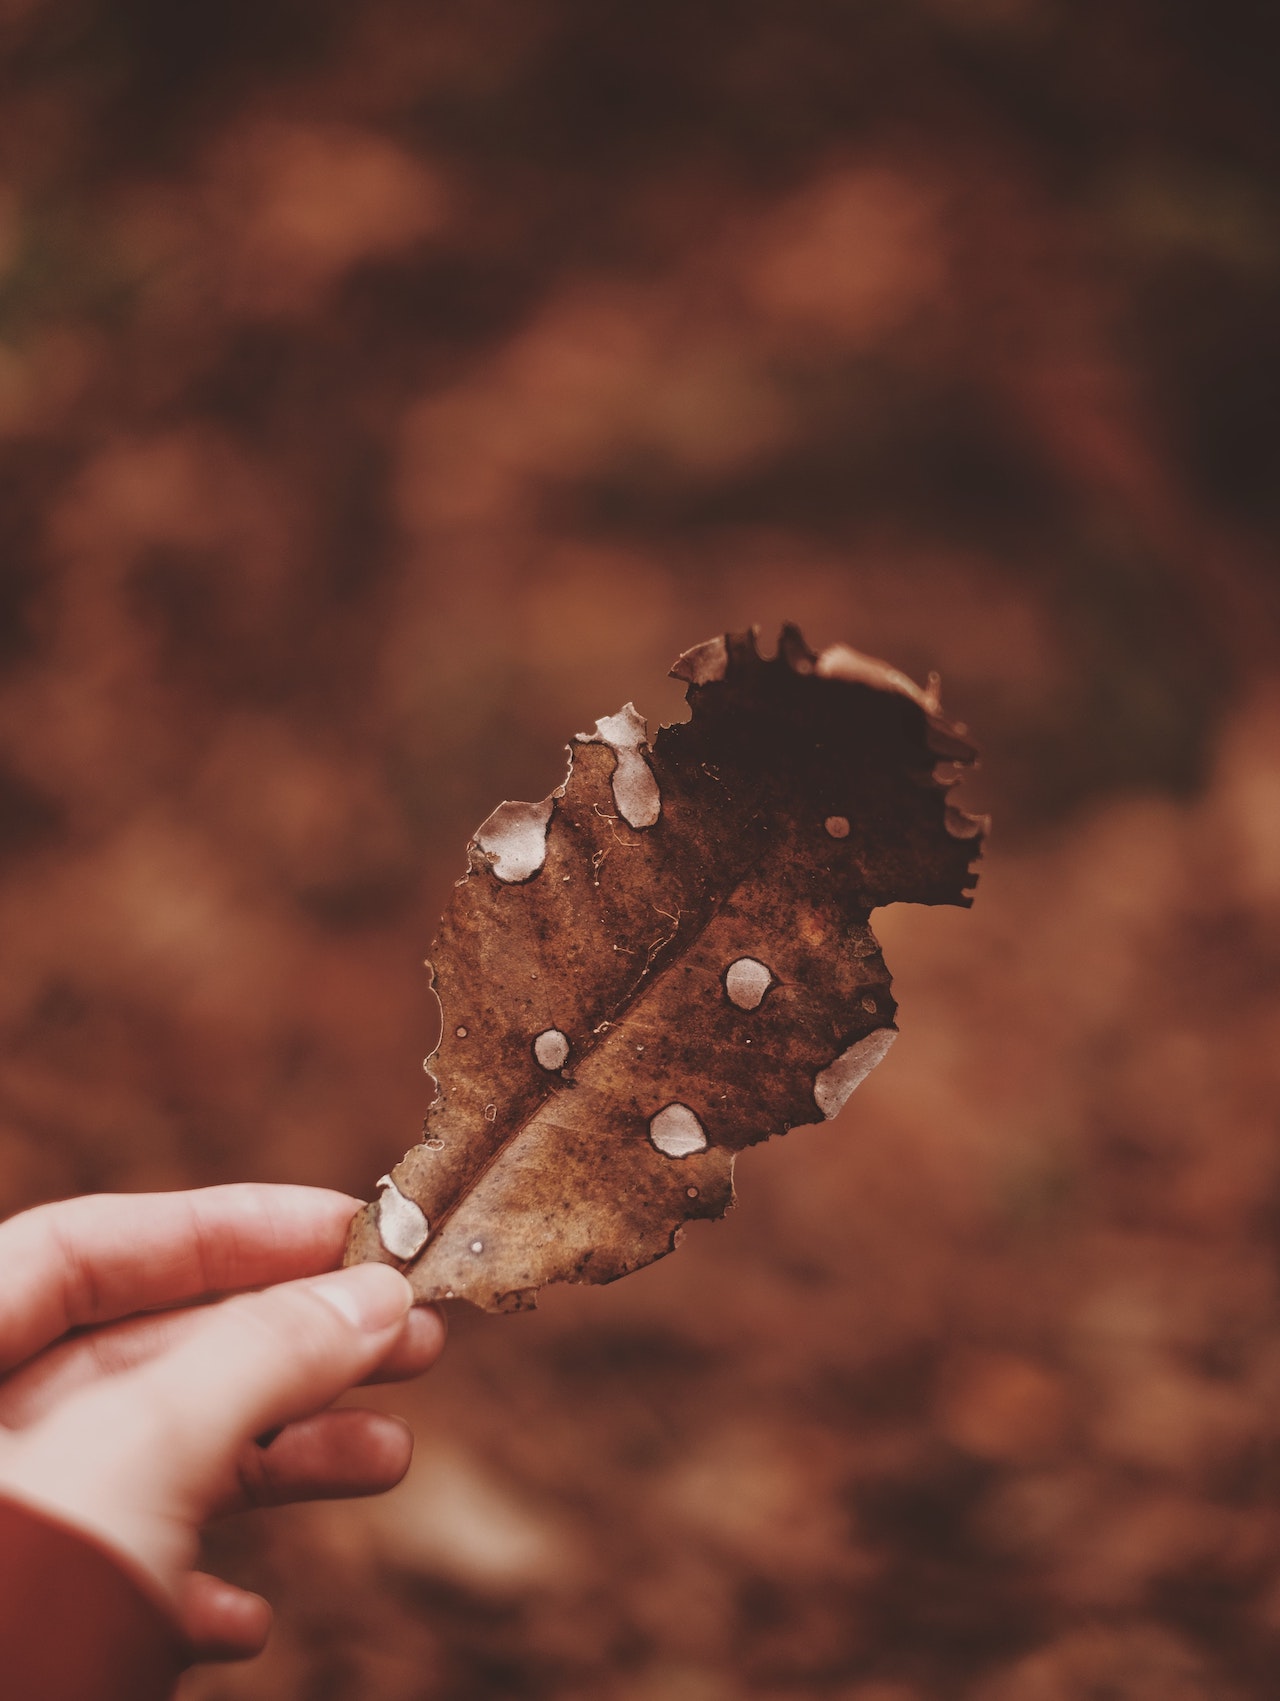
- Leaves and foliage
- Water and ice
- Skin or fur
- Corrugated surfaces
- Glass or plastic
Texture Photography, Tip 3: Pay Attention to Lighting
Now that you have the right gear and a texture in mind to feature in your texture photography, it’s time to pay attention to lighting. Lighting can greatly affect the way textures are displayed in an image. Soft, diffused lighting is best for capturing fine details, while stronger, directional lighting can create shadows and highlights that add dimension to your image. Experiment with different lighting angles and intensities to find what works best for the texture you’re photographing.
Tip 4: Experiment with Different Angles

The angle from which you photograph a texture can greatly affect the final image. Try shooting from above, below, or at a 45-degree angle to see how the light and shadows change.
Tip 5: Use Manual Focus
When photographing textures, you need to have precise control over the focus point, which can greatly enhance the detail and texture in the image. To ensure that your camera is focusing on the exact part of the texture you want to highlight, use manual focus instead of relying on automatic focus. With autofocus, the camera may focus on the wrong area, resulting in a loss of detail and texture. Additionally, some textures may prove difficult for autofocus to capture, such as fine or repetitive patterns. At the end of the day, manual focus will give you more creative control over your images, especially when it comes to texture photography.
Texture Photography, Tip 6: Adjust Your Aperture
As you know, adjusting our aperture is one of the main ways we can control the depth of field in our images. For that reason, you’ll definitely want to pay attention to the aperture setting for your texture photography.
An aperture of f/16 or “smaller” will result in a large depth of field, meaning that much of the texture will be in focus. This setting works well for shots in which we want to keep all of our details sharp.
Other times, however, we might want to separate our subject from our backdrop. In addition to adjusting the distance between our camera and our subject, as well as the distance between our subject and the background, we can dial in a wider aperture (f/2.8 or wider) to maximize a shallow depth of field. This technique works well for turning the background into a unique, bokeh-filled texture of its own.
For the most part, we’re going to want the majority of our texture photos in focus, as tack sharp as possible. Using a small or narrow aperture is the best way to get this right in-camera. We’ll also share some editing tips below that will help you increase the sharpness of your image in post.
Tip 7: Use a Tripod
Texture photos, like most photos, need to be tack sharp. It goes without saying, really, but using a tripod will help you keep your camera steady and prevent camera shake, which can ruin your image. This is especially important when shooting close up at a wide aperture or in low light conditions.
Tip 8: Edit Your Photos
The goal of editing your texture photography is to enhance the texture and make it the focus of the image. Keep your edits minimal and natural-looking to achieve optimal results. Here are some specific editing tips to make your texture photos look their best.
- Enhance texture: Use editing tools to increase the contrast and clarity of your image, making the texture stand out. This can be done in post-processing software such as Adobe Lightroom or Photoshop.
- Adjust color: Experiment with adjusting the saturation, hue, and temperature of your image to make the texture pop or to create a specific mood. You can also convert your image to black and white to bring out the texture and detail in a different way.
- Remove distractions: Use the clone or heal tool to remove any distracting elements in the background of your image, keeping the focus on the texture.
- Sharpen edges: Use the sharpen tool to make the edges of the texture more defined and noticeable. This can also help bring out fine details and make the texture more interesting to look at.
- Experiment with filters: Try applying filters or presets to your image to see how it changes the look and feel of the texture. Be careful not to overdo it, as too many adjustments can result in an unnatural look.
Tip 9: Create Texture with Motion

And now for adding some action into your shots to create texture from motion. Try using a shutter drag (aka long exposure) to capture motion, which in itself adds a unique texture to shots. You’ve likely seen this done with water that looks smoothed out, or with people or cars or lights passing through a scene while the main subjects remain still and in focus. Check out this article on our site for creative tips on which gear and techniques you can use to add motion to your texture photography collection.
Texture Photography, Tip 10: “Share” Your Work Online
You’ve put in the work to create amazing texture photos, so now what? How will people find your textures? There are many great places to share your texture photos online, including the following:
- Social Media Platforms: Instagram, Facebook, and Twitter are great places to share your photos with a large audience. You can also use hashtags to reach a specific community of photographers or people interested in textures.
- Stock Photo Websites: Websites like Shutterstock, Pexels, and Adobe Stock allow you to upload and sell your photos to a wider audience. These websites are particularly useful if you’re looking to make money from your texture photography.
- Online Photography Communities: Websites like 500px, Flickr, and SmugMug are great places to share your photos with other photographers and get feedback on your work. You can also join groups dedicated to specific photography genres, such as texture photography.
- Personal Website or Portfolio: If you’re looking for a more professional outlet, consider setting up your own website or portfolio to showcase your work. This allows you to have complete control over the presentation of your photos and can help you build a following as a texture photographer. If texture photography is more of a side hobby or hustle, you can create a special tab on your site for this type of work, or create a separate site altogether using an affordable option.
No matter where you choose to share your photos, remember to promote your work and engage with your audience. The more active you are, the more visibility your work will get and the more opportunities you’ll have to connect with others who share your passion for texture photography.
Conclusion
Practicing texture photography can benefit us as photographers in several ways. Shooting textures requires a close attention to detail, which can help improve our technical skills, such as focusing, exposure, and lighting. Furthermore, textures offer endless opportunities for creativity and experimentation. We can use the textures around us to explore new techniques and ideas, and push our creativity. By following these tips and experimenting with different techniques, we can capture stunning textures in our own photography.


