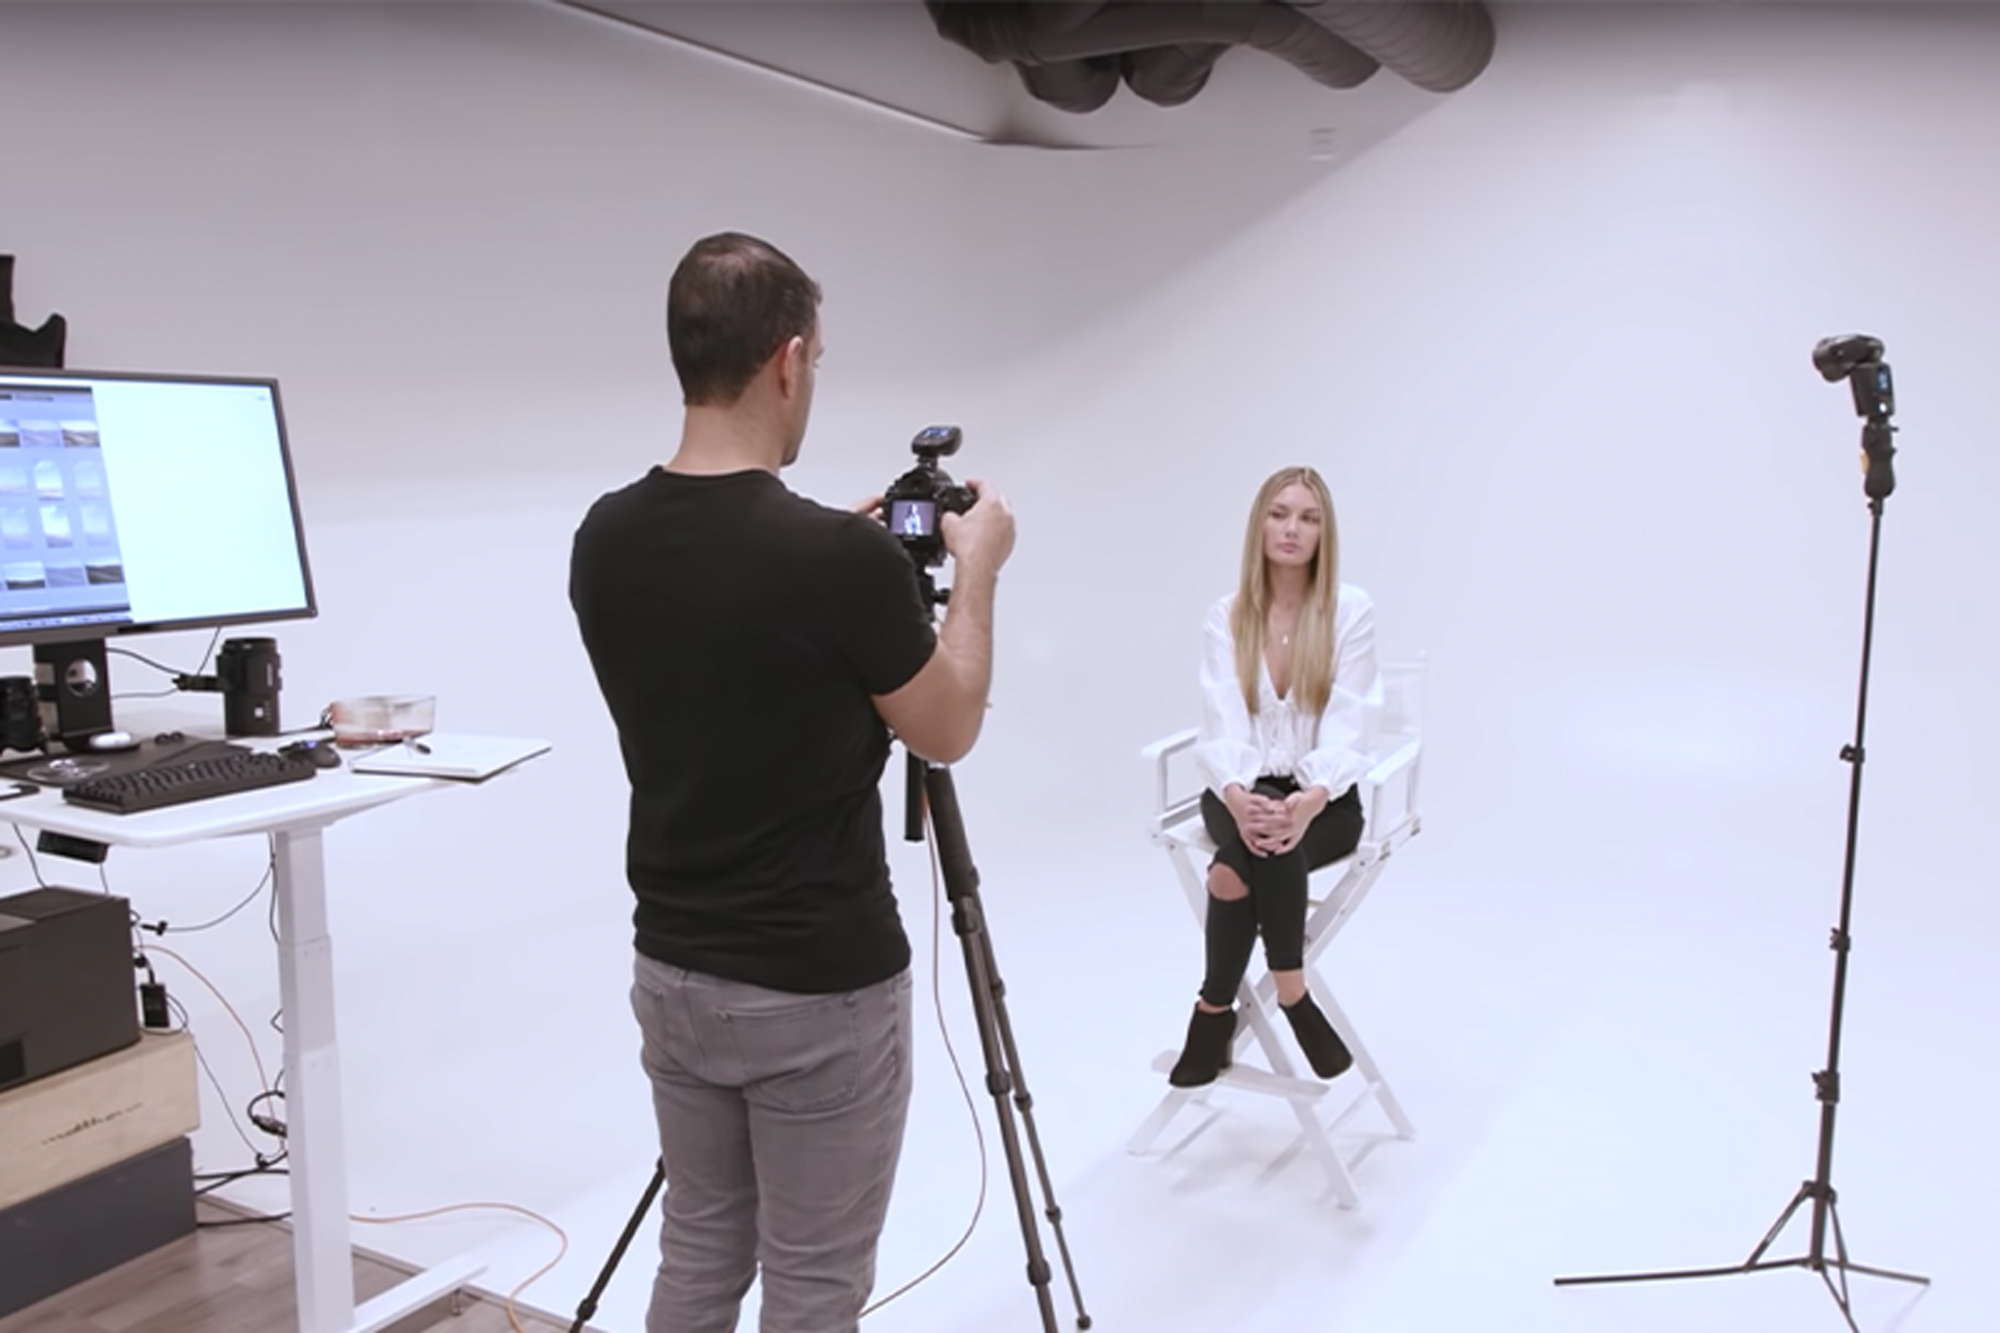
One of your most asked questions we get in our photography workshops is how to know where the appropriate place is to crop your portraits. In this video, my model Sammy and I are going to help you out and give you a definitive portrait cropping guide in less than 10 minutes.
Portrait Cropping Guide
1. Avoid Cropping at the Joints
 There are so obviously so many joints on the human body so this rule will take some explaining. Let me start by showing you a full body shot so you can see where exactly I am referring to. Starting from the ground up, our first common mistake is cropping out the feet, at the ankle joint. Next, we move up towards the knees, then the hips. Any of these cropping points makes it seem like the subject is missing feet/limbs and missing limbs. Moving up from there you can then examine the elbows, the shoulders and neck, and wrist joints as places to watch out for.
2. Use Tapering Points
 Focus on cropping at places in the body that are slimming as they exit the frame. If I get close and crop off where it’s widening out you’ll notice that it makes Sammy appear wider, essentially it’s far less flattering. When cropping you want these tapering points to get narrow as they exit the frame. There’s one exception to this tapering rule and that’s particularly with male subjects. We want their shoulders to be more broad so I don’t necessarily mind in this shot but his shoulders are broadening as they exit the frame it kind of makes him have an increased sense of presence to the shot.
3. My Favorite Crops
 Let’s bend some of those rules we just laid down and talk about some of my favorite crops for portraits. The video best demonstrates where exactly I like to crop but I am going to summarize it bullet form here:
- Cropping right at the shin, not a joint and the leg tapers down to the ankle
- Mid-thigh, once again where the leg tapers down to the knee
- Upper Torso, mid-chest
- Bridge of the nose, for tighter shots of the face and upper body (ties, cufflinks, jewelry)
- Mid Hair crop, just enough to see that the person had hair, not right at the hairline or forehead
Hopefully, this helps clear up the misconceptions and common mistakes we see with portrait cropping. If you’re looking for more of in-depth posing references make sure you check out our Complete Posing Workshop in SLRL Premium.