If you’re anything like me, you’ve been using Adobe Lightroom for so long that it’s become second nature to your workflow. On top of that, you’ve probably amassed a preset and plugin library that makes it overwhelming to even consider moving to another platform for your editing.
That’s really one of the big draws to Lightroom as your processing engine; its ease of use especially with the abundance of one-click presets out there. So for a lot of us who’ve spent a lot of money on these presets and/or time in making our own, making the jump over to a new processing engine like Capture One, no matter HOW much more powerful it may be, is daunting and may not seem worth it.
In the last few years, I’ve been “testing the waters” of Capture One for my work, as a lot of professionals in the industry will swear by its superior color accuracy and processing power over other platforms. Having used it for a while now, I can confirm that it is a much more powerful tool, but with that comes a much steeper learning curve compared to Lightroom. Something that would make that learning curve a little easier to navigate would be the ability to pull your go-to presets into the C1 systems.
Well guess what? The team over at Picture Instruments have actually created a tool to convert your Adobe Lightroom Presets into Capture One Styles! This is especially fantastic news for anyone who has the SLR Lounge Lightroom Preset System and have been wanting to use them in Capture One! (If you’ve never tried it, you can download a trial of Capture One here).

Regarding the accuracy of the conversion, Picture Instruments has this to say;
Since Adobe Lightroom and Capture One differ fundamentally in their RAW-conversion there are a few technical hurdles that we want to be clear and honest about. Many Lightroom features cannot be converted 1:1 to Capture One since there sometimes is no equivalent feature in Capture One. In those cases the values will be transferred to another feature depending on the optical criteria. In our experience, this leads to similar results in most cases. They will certainly never be 100% identical due to different image processing algorithms. But since every image has a different exposure and since a preset usually only marks the starting point for editing, those differences are usually not very relevant.
What does this mean? Well if you watch the video, (linked below), they explain that some settings don’t have a direct applicable tool in C1. This means there will be some discrepancy from time to time, but there’s usually a very easy and quick fix. Really though, isn’t that the basis of most presets anyway? To get your creative starting point then make some minor tweaks to set the image the way you want?

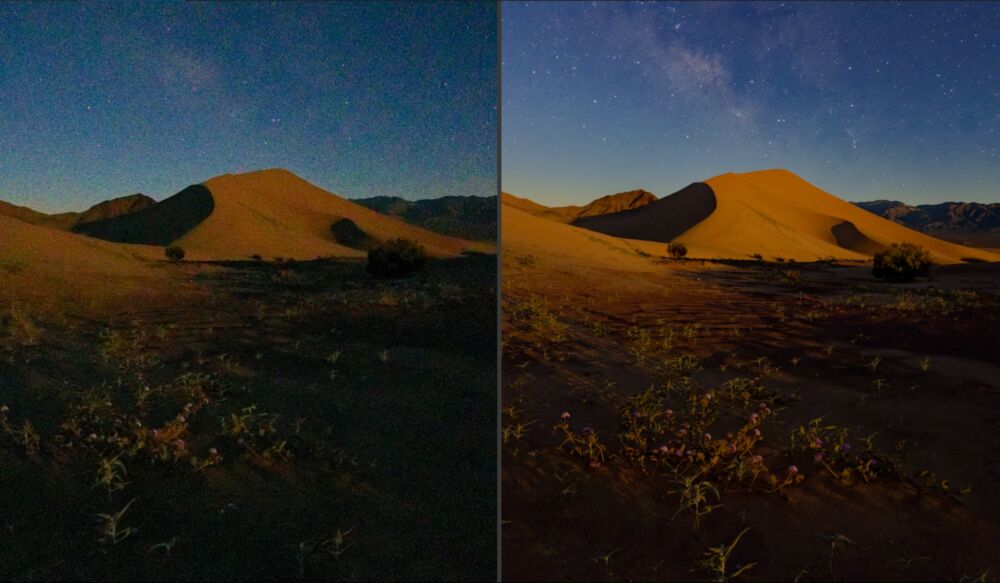
Here is an example of a direct conversion from their site;
While not having had the chance yet to personally test and explore the system, I’m definitely going to try this out soon. Since the majority of my work is already done in Capture One, I’m VERY excited to be able to import some of my favorite LR Presets to see how they work and get them back into my workflow. Even if they aren’t perfect matches, I’m still pretty excited to have access to my old favorites from Lightroom.
How about you? Have you already tested these out? What is the result? Let us know in the comments below.


