
As photographers, modifying light is everything. I’m not of the opinion that a photographer should have everything, nor that a photographer should bring everything to every shoot, but with that said, there are certain modifiers that I cannot live without. With my product photography there are two which immediately spring to mind, and I use them for almost every single shot I create.

The All Powerful Stripbox
Stripboxes come in a few different sizes but I use 2ft x 1ft versions. They are small narrow light modifiers which produce a relatively narrow beam of light, at least when compared to many others. As the surface area is far smaller than say a large rectangular softbox, one has far more control over where the light will fall and where it won’t. If you add what’s called an egg crate (a fabric mesh) to the front you can cause the light emitted to narrow further.

For product photography, I use a stripbox for all sorts of things. In conjunction with a scrim (my choice being the Westcott Fast Flag) one can use a stripbox to create gradients on glossy products. You could place them above a bag and have a lovely strip of light across the top edge, and with the egg crate on and light at a sharp angle to your subject, you can use them to bring out detail in fabric without being quite as harsh as other modifiers.
In the photo above you can see two uses of a stripbox. On one side the stirp is being used to create a soft gradient with a long transition, while on the other it’s being used to create hard-edged highlights, giving the impression of shine / gloss (see the final result below). If you’d like to read more about the creation of gradients make sure you look at my recent article, here.
[REWIND: THE MOST IMPORTANT PART OF PRODUCT PHOTOGRAPHY LIGHTING]

If you now feel like your life will not be complete without a stripbox of your own, you can find and purchase a good one here.
The Small But Mighty Honeycomb Grid
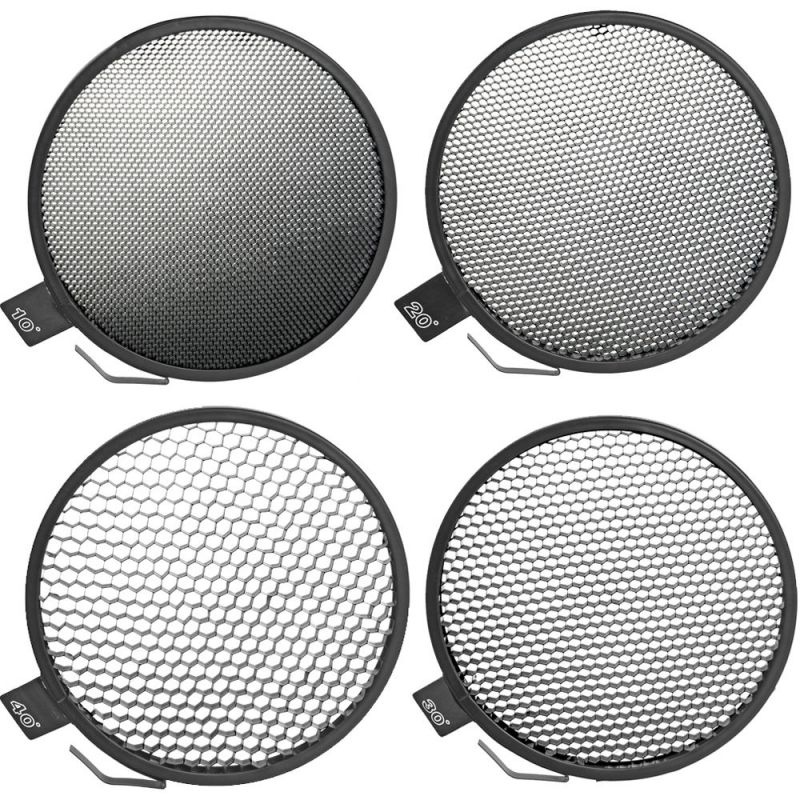 A honeycomb grid is the next step in control. You’ll need an appropriate reflector to go on the front of your lights first, but nce you have that fitted, the grids go on the front. Due to the honeycomb pattern they reduce the spread of the light, just like a stripbox does but to a much higher level. You can get honeycomb grids in varying degrees, the lower the degree the tighter the grid and thereby the tighter the shaft of light it puts out. I’d recommend grabbing a set which covers a 10-30 degree range.

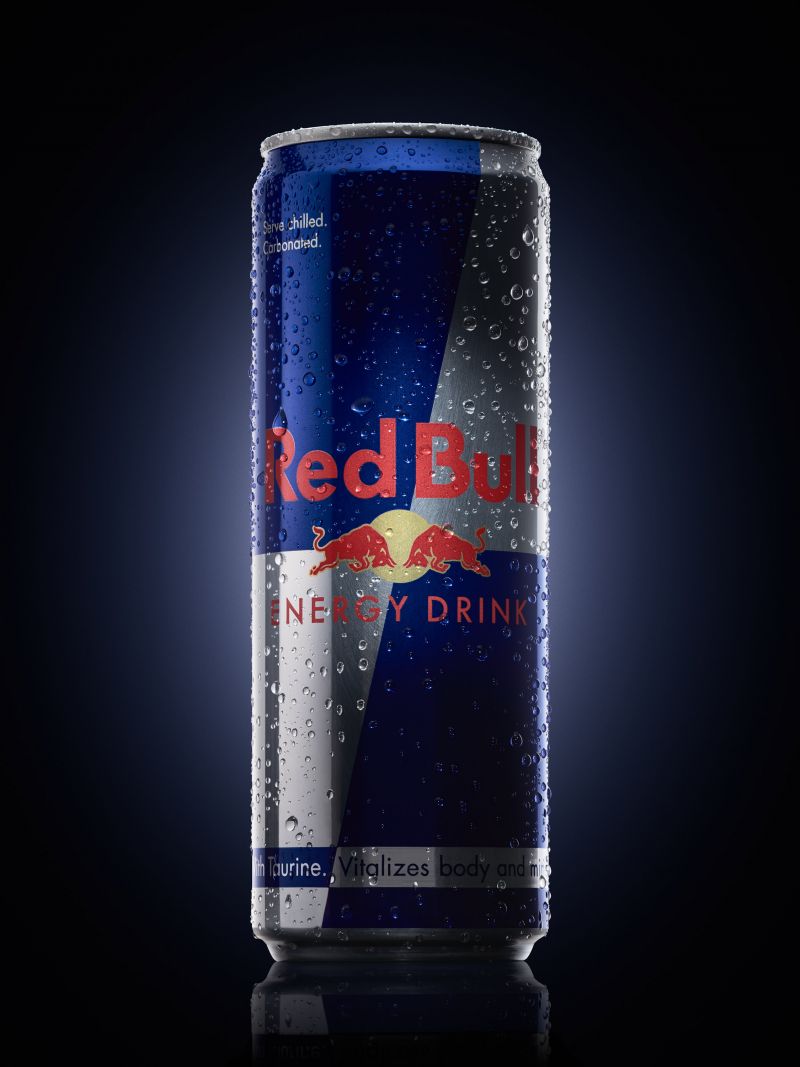
I use this light modifier almost as much as the stripbox. You have to remember, with product photography, it’s all about being able to control your lights; it’s no good grabbing a 7 foot octa and trying to light a little can of red bull. That light modifier might be great for portraits but not so much for something the size of a can. Come to think of it, lighting, no matter what genre, is always about control. That control simply differs depending on what your working on. As products are generally small, you want your light modifiers to give you very fine control.
In the photo above you can see two grids being used. The one on the top was used to add the rim light to the very top of the can, and the grid to camera left was shot straight into a small piece of white foam board which in turn was reflected by the can.
[REWIND: SIMPLE PHOTOGRAPHY TIPS | THE FORMULA TO BECOMING A PROFESSIONAL]
As gridded reflectors can create such a narrow spread of light, they are fantastic for highlighting very small areas on your products. They work for most items but sadly when you get even smaller (jewellery) you may end up needing things like an optical spot, and they can be a little pricey.
If you’d like to grab some grids yourself, click here. Make sure you get the right ones for your reflector though, as the sizes are not universal.
Summary – Do You Need These?
My aim with product photography is control;I’m a control freak, and these light modifiers reflect that. I don’t want light spilling in this direction and that, bouncing off walls in the studio and causing all sorts of headaches. I want precise control which I can regulate easily to produce certain results, and thus my favorite modifiers for product photography tend to emit narrow beams of light.
[REWIND: WHAT GEAR DO YOU REALLY NEED FOR PRODUCT PHOTOGRAPHY?]
The thing is, light is light and whether being used for product photography or otherwise, you will get a comparable result if you know what the modifiers are doing. For instance, if you want a really dramatic portrait, you could use a strip box, with an egg crate, and place it close to your subject. Add in a gridded reflector for a hair light or kicker and you could have something very interesting. With these two modifiers, there’s so much you can do.
If you need a little more education when it comes to lighting, be sure to head over to the SLR Lounge store and check out Lighting 101 and 201. They are some of my favorite photography courses. While you’re at it, have a look at the relatively new SLR Lounge Premium membership. It is well worth the investment!


Get Connected!