We’ve teamed up with Adorama to bring you a series of photography tutorials called “Master Your Craft” to be featured on their Youtube Channel. Subscribe to see more of our videos on their channel that covers all things photography-related from lighting and posing to editing to help you hone your skills and master your craft and don’t forget to check out our playlist to watch the entire series! In this video, I’ll be showing you my top three Lightroom brush presets for retouching.
Video: Top 3 Lightroom Brush Presets for Retouching
Editing can get stressful and complex, especially for event photographers where it’s common to have hundreds of photos to edit per job. Adobe Lightroom is a powerful but complex tool for editing photos, and to help streamline the process, we created the Visual Flow Retouching Toolkit. These are intuitively made to simplify your workflow with ready-to-use settings and tools. The toolkit is an essential part of my process and I’ll show you my top three Lightroom brush presets I use to edit my own photos.
Before we begin, be sure to download the exercise files here. The image we’ll be editing was shot on a Fujifilm GFX-100 and is quite large. Be aware that applying brushes can get slow on certain systems. Let’s begin!
Lightroom Brush Preset #1: Quick Dodge & Lift

This brush paints light into any shot that needs brightening. You can see the settings on the image above to see exactly what it’s doing. This brush is great because it retains contrast and color as the exposure is lifted where the brush is applied. Use Alt-Option-Drag to strengthen or lessen the effect.

The power in this brush lies in the Range Mask function. Flip it to Luminance and limit the effect to just the Highlights. Lastly, smooth out the edges of the mask. By limiting the effect to just the highlights, we’re able to pull more focus on the model’s face.
Lightroom Brush Preset #2: Skin Smoothing

Digital cameras often over-sharpen the textures in the image, particularly the skin. When that’s the case, this brush is my go-to for smoothing the skin while retaining the necessary details.

Paint the effect over the skin to reduce the texture, clarity, and haze. It also decreases sharpness and adds noise to retain some texture.
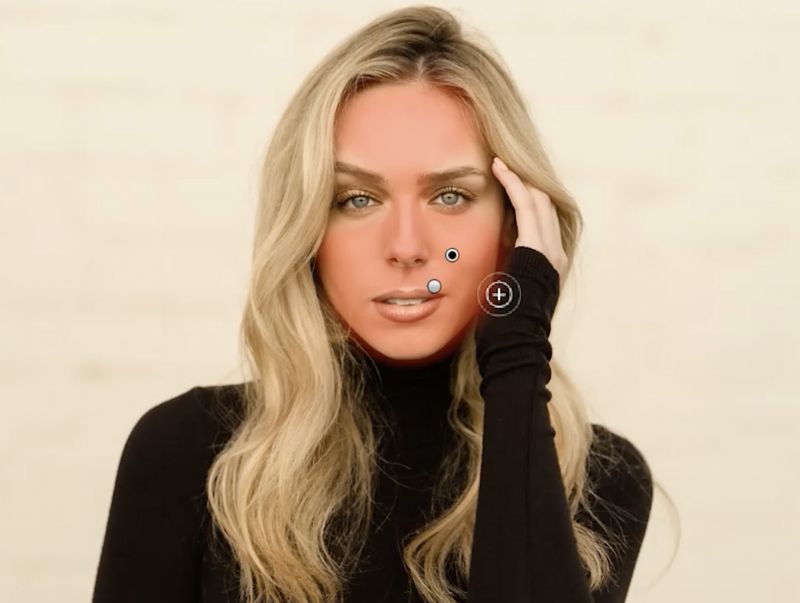
I’m careful to leave out the lips, eyes, and eyebrows from the mask. Those areas are better when we retain the texture.
Lightroom Brush Preset #3: Intensify Iris

The eyes always take the spotlight of any photo, so it’s important we make sure they pop. This draws the attention right to our subject and makes for a powerful composition. This brush raises the exposure and contrast using the settings above.

Notice the exaggerated details in the iris and the catchlights. The difference is huge. For more control, apply the Lightroom brush preset for each eye on separate layers.
Before & After

Dial in the settings I’ve provided and be sure to save them out as your own presets. The differences in your images can be huge just by applying these simple presets.
Conclusion
I hope you enjoyed this article/video. Presets and brushes are crucial for any photographer looking for a more efficient and precise workflow. Be sure to visit Visual Flow for the Retouching Toolkit for the full pack of brushes. Also, you can check out the Visual Flow Presets. These are lighting-based presets designed and extensively tested to work for specific lighting conditions.
Don’t miss our next episode of Mastering Your Craft on Adorama’s YouTube channel next week! If you want to catch up on all the episodes, make sure you check out our playlist!


Get Connected!