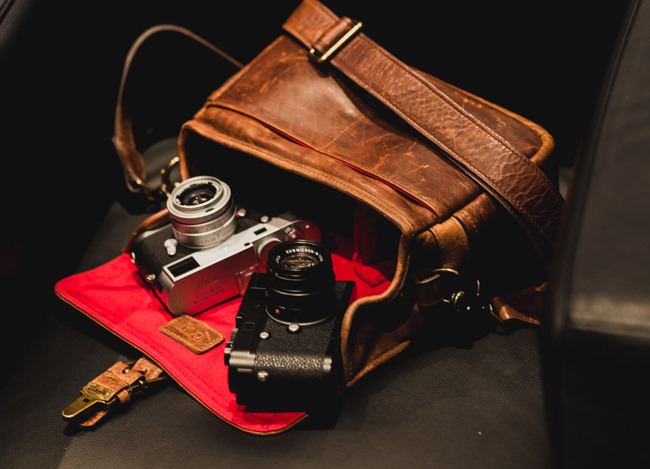

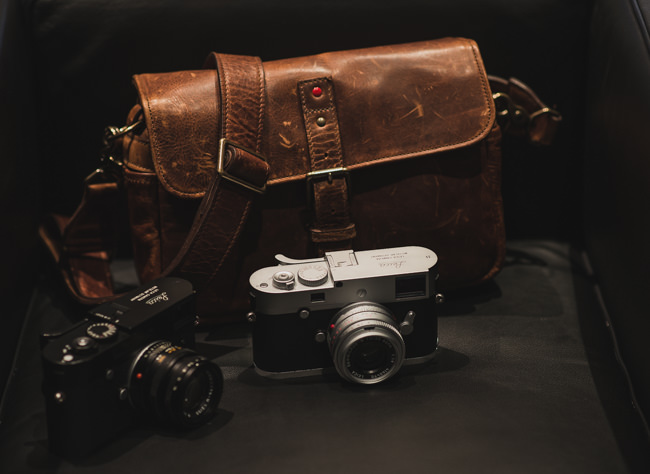
Just a week ago, I published a piece detailing how to use older manual lenses without CPU chips on modern DSLRS. The piece was oriented around Nikon cameras that have a ‘Non-CPU Lens Data’ option, which in effect, lets you program information about a manual lens into the camera. This provides the camera with two parts of an equation and lets it do some internal math that makes it possible to have accurate meter readings with lenses that don’t actually communicate with the camera body spare for the aperture via manual ring.
The value of this is rather obvious; that there are lots of wonderful old lenses with phenomenal optics and build quality that are just missing the digital connection that lets cameras ‘read’ them. This is a way around that and kisses life into old glass.

However, from comments and questions, it appears that many have cameras that either don’t have this Non-CPU lens data option, and were left still wondering how to meter using these old lenses, or just wanted to know how to manually meter. In other words, there was a question on how to meter for correct exposure without the aid of a camera’s built-in light meter. The answer to this is all at once old, simple, and complex. It’s just as much science and math as it is art and feel.
There’s a good chance you’re familiar with the Sunny 16 rule of manual exposure since it’s been around and has been applicable through all ages of photography. If you haven’t heard of it or just never looked into it, know that it’s something good to keep tucked away in the recesses of your mind. It’s also simple. Here it is:
Sunny 16 & Overcast 8
The Sunny 16 rule is there to help you manually achieve correct (balanced) exposure during daylight with no aid of a light meter. That’s it. The basic theory is that on a bright sunny day with camera set at f/16, your ISO should be the direct inverse of your shutter speed. Ex. f/16, ISO 100, Shutter Speed 1/100. That’s it. Want to shoot at 1/400th of a second? Set ISO to 400, and so on.
The Overcast 8 is just another zany term used to remember a sort of derivative of the Sunny 16 rule. Since it’s not always bright and sunny, you’ve got to have an idea of how to measure in those instances as well, and that’s where this comes in. The idea here is that in overcast light, instead of your starting point being f/16, you set it to f/8, and then the rule of ISO being inverse to shutter speed can then be applied the same.
Like the Sunny 16 and Overcast 8 there are a few other standards that may help you and are known typically as the following:
Snowy 22 (highly bright reflective surfaces like snow, sand)
Sunny 16 (standard bright sunlight environment)
Overcast 8 (soft shadows)
Heavy Overcast 5.6 (hardly any shadows)
Sunset 4
*Better to think less in terms of cloudy and overcast, and more in terms of qualities of shadows
Adjusting The Rule To Shoot At Varying Apertures
Of course, you must understand that these are strictly starting points, and are meant for you to transpose all the variables. Thankfully, apertures and shutter speeds work within the same system of ‘stops’. If you adjust your shutter speed by one stop, from say 1/200 to 1/400, with all other variables the same, your camera is now going to let in exactly half as much light, and the same applies for aperture.

Out in the sun and want to shoot a portrait with shallow depth of field? No problem, just open your aperture up however many stops, and decrease shutter speed by the same number of stops.
Example: Shooting at f/16, ISO 200, shutter 1/200. A drop down from f/16 to f/2.8 is an increase (widening) of 5 full stops, so then decrease shutter speed by 5 full stops to 1/6400. Done. Just think in terms of stops. Granted, modern cameras often allow changes by way of quarter stops, but again the same basic math applies.
*Photography 101 may be just what you’ve been looking for if you want fundamentals like this to become second nature to you.
A Few Words Of Advice
The idea is founded on the premise that the sun is a rather constant source of light, and furthermore, that the light it puts out is of constant quality of brightness. If this is understood and accepted, that then becomes the primary control point on which to base the exposure triangle off of. Using the Sunny 16 rule is also good and different from your DSLR in that the type of light it ‘measures’ is different; it measures incident light instead of reflected light.
Reflective light is the light that bounces off a subject and back into camera or light meter sensor and is great for many things; It allows you to meter quite well from a good distance away and does a pretty good job at metering the entire value of a scene. However, it struggles with scenes where there are strong variances of brightness and even strong variances of color.
Incident light, on the other hand, is the light as it falls onto the subject, so it is concerned only with the brightness of the actual light. It’s also less prone to being duped by the same high variances in brightness and color as reflective. This is why when using a dedicated light meter on a face (especially with a dark background), the meter is held at the face pointing in the direction of the light.

In my experience using this method shooting digital and film, there are obvious drawbacks. We are used to the precision of light meters either dedicated or within our cameras, and this method is really estimation, though you’d be surprised how accurate it can be.
I have also found, and this sort of doesn’t necessarily make mathematical sense, that using this rule, my images are sometimes a touch underexposed when using long glass – even long glass with wide apertures. Theoretically, 50mm at 2.8 should let in the same light as 200mm at 2.8, but on some of the lenses I use, this method with it is just little off. Not so much a problem with digital since I can bring back the detail, but with film, it’s more of a concern.

[REWIND: How To Use Old Legacy Lenses On Your Modern Nikon DSLR]
On the topic of film, if you are going to be shooting with it, you’ll have more latitude or room for error if you use print negative film instead of slide positive film. If you’re going to be using slide positive then I would still recommend using a dedicated light meter, or if you have a digital camera with you, just hold the thing up and meter with it and set those settings. Also, if you’re using a really old film camera that hasn’t been serviced in a decade, all bets are off. The shutter mechanisms with those cameras can actually be really off, enough so that it will make a significant difference in the exposure.
What this rule does is force you to measure light with your eyes, to make a judgment call about how much light there is based off one ‘truism’ that’s been a control since about the dawn of film. I hope this helps you get some use out of those older lenses if you don’t have that Non-CPU Lens Data option or just shooting old cameras on film. If you like this, like having a proper grasp on the fundamentals of photography to be able to exploit your gear for every ounce of ability it has, you’ll probably like what’s on tap here.


Get Connected!