There’s no denying it—film is making a comeback in the industry. And for any photographer making the journey back to film or trying it out for the first time, tackling the medium can feel daunting. You know you love the “look” of film, but you’re overwhelmed with a flurry of questions: What film should I use? What’s the difference between cameras? What about a light meter?
Shooting film is like going back to high school science class—there are a lot of variables, and you need to master them one at a time. But before you can master them, you need to learn what they are! So, let’s review the foundational elements of film photography: film types, sizes, camera settings and more.
Why Film Photography?
There are several benefits to shooting with film that make it a unique and worthwhile medium for photography:
Film Photography Aesthetic
Film photography has a distinctive look and feel that cannot be replicated by digital photography. The colors and tones of film can produce a more organic, natural look with a wider dynamic range.
Tangibility & Physicality of Film
Film photographs are physical prints that can be held and touched, unlike digital photographs which are intangible files on a computer. The physicality of film prints can make them feel more real and permanent.
Intentionality and Purpose
With film photography, there is a limited number of exposures on a roll of film, which forces the photographer to be more intentional and thoughtful with each shot. This can lead to a more deliberate and considered approach to photography.
Tradition and Legacy of Film Photography
Film photography has a rich history and tradition, and shooting with film can be a way to connect with that legacy and add to the ongoing story of photography. Additionally, film prints have a reputation for lasting longer than digital files, which means they can be passed down and enjoyed for generations to come.
Understanding Film Types

Negative film
Negative film captures images as a “negative”, in which colors and values are inverted. It’s great for preserving details in high-contrast situations. Some popular negative film stocks include Kodak Portra 400, Fuji 400H, Portra 800, Portra 160, Kodak TriX, Ilford HP5, and Ilford Delta 3200.
Reversal Film
Reversal film (also known as “slide film”) captures images as a “positive”, replicating color and values directly. Because of this, it captures a rich range of colors. It’s also quite clear, with less grain than negative film. Success with reversal film relies heavily on accurate light meter readings since the film does not have a wide range of exposure latitude.
Understanding Film Sizes

135 Film
135 Film, which is also referred to as 35mm (the width of the film), has a frame size of 36x24mm with a standard of 36 exposures. The film is perforated on the edges so that it may be wound to and from one spool within the camera. Those perforations are called sprocket holes.
120 Film
120 Film is much larger than 135 film, it is 61mm wide—the larger size allows images to appear less grainy as they are enlarged. This film size has no perforated edges because the cameras used to shoot this film because instead of using just one spool, the film goes from one spool to another. The film also has protective backing paper on it. The standard frame size and number of exposures for 120 film are: 6×4.5cm/16 exposures, 6x6cm/12 exposures, 6x7cm/10 exposures.
220 Film
220 Film is identical to 120 film, but with twice as many frames per roll and NO protective backing paper. The lack of backing paper allows the longer film to fit on the same sized spool as 120 film, and the resulting thinner film requires a different pressure plate in the camera to achieve the best focus. Some cameras require a separate insert for this film type, while others come with different settings to accommodate both 120 and 220.
Medium Format Film
Medium Format refers to any film (and camera) type in which a single frame is larger than 135 film (36x24mm) but smaller than 4×5 inches. Typically, this term refers to 120 or 220 film types.
Large Format Film
Large Format refers to any film (and camera) type in which a single frame is 4×5 inches or larger (5×7, 8×10, etc). Since the film is so large, the subsequent images can be reproduced at a larger size without as much grain as the smaller formats.
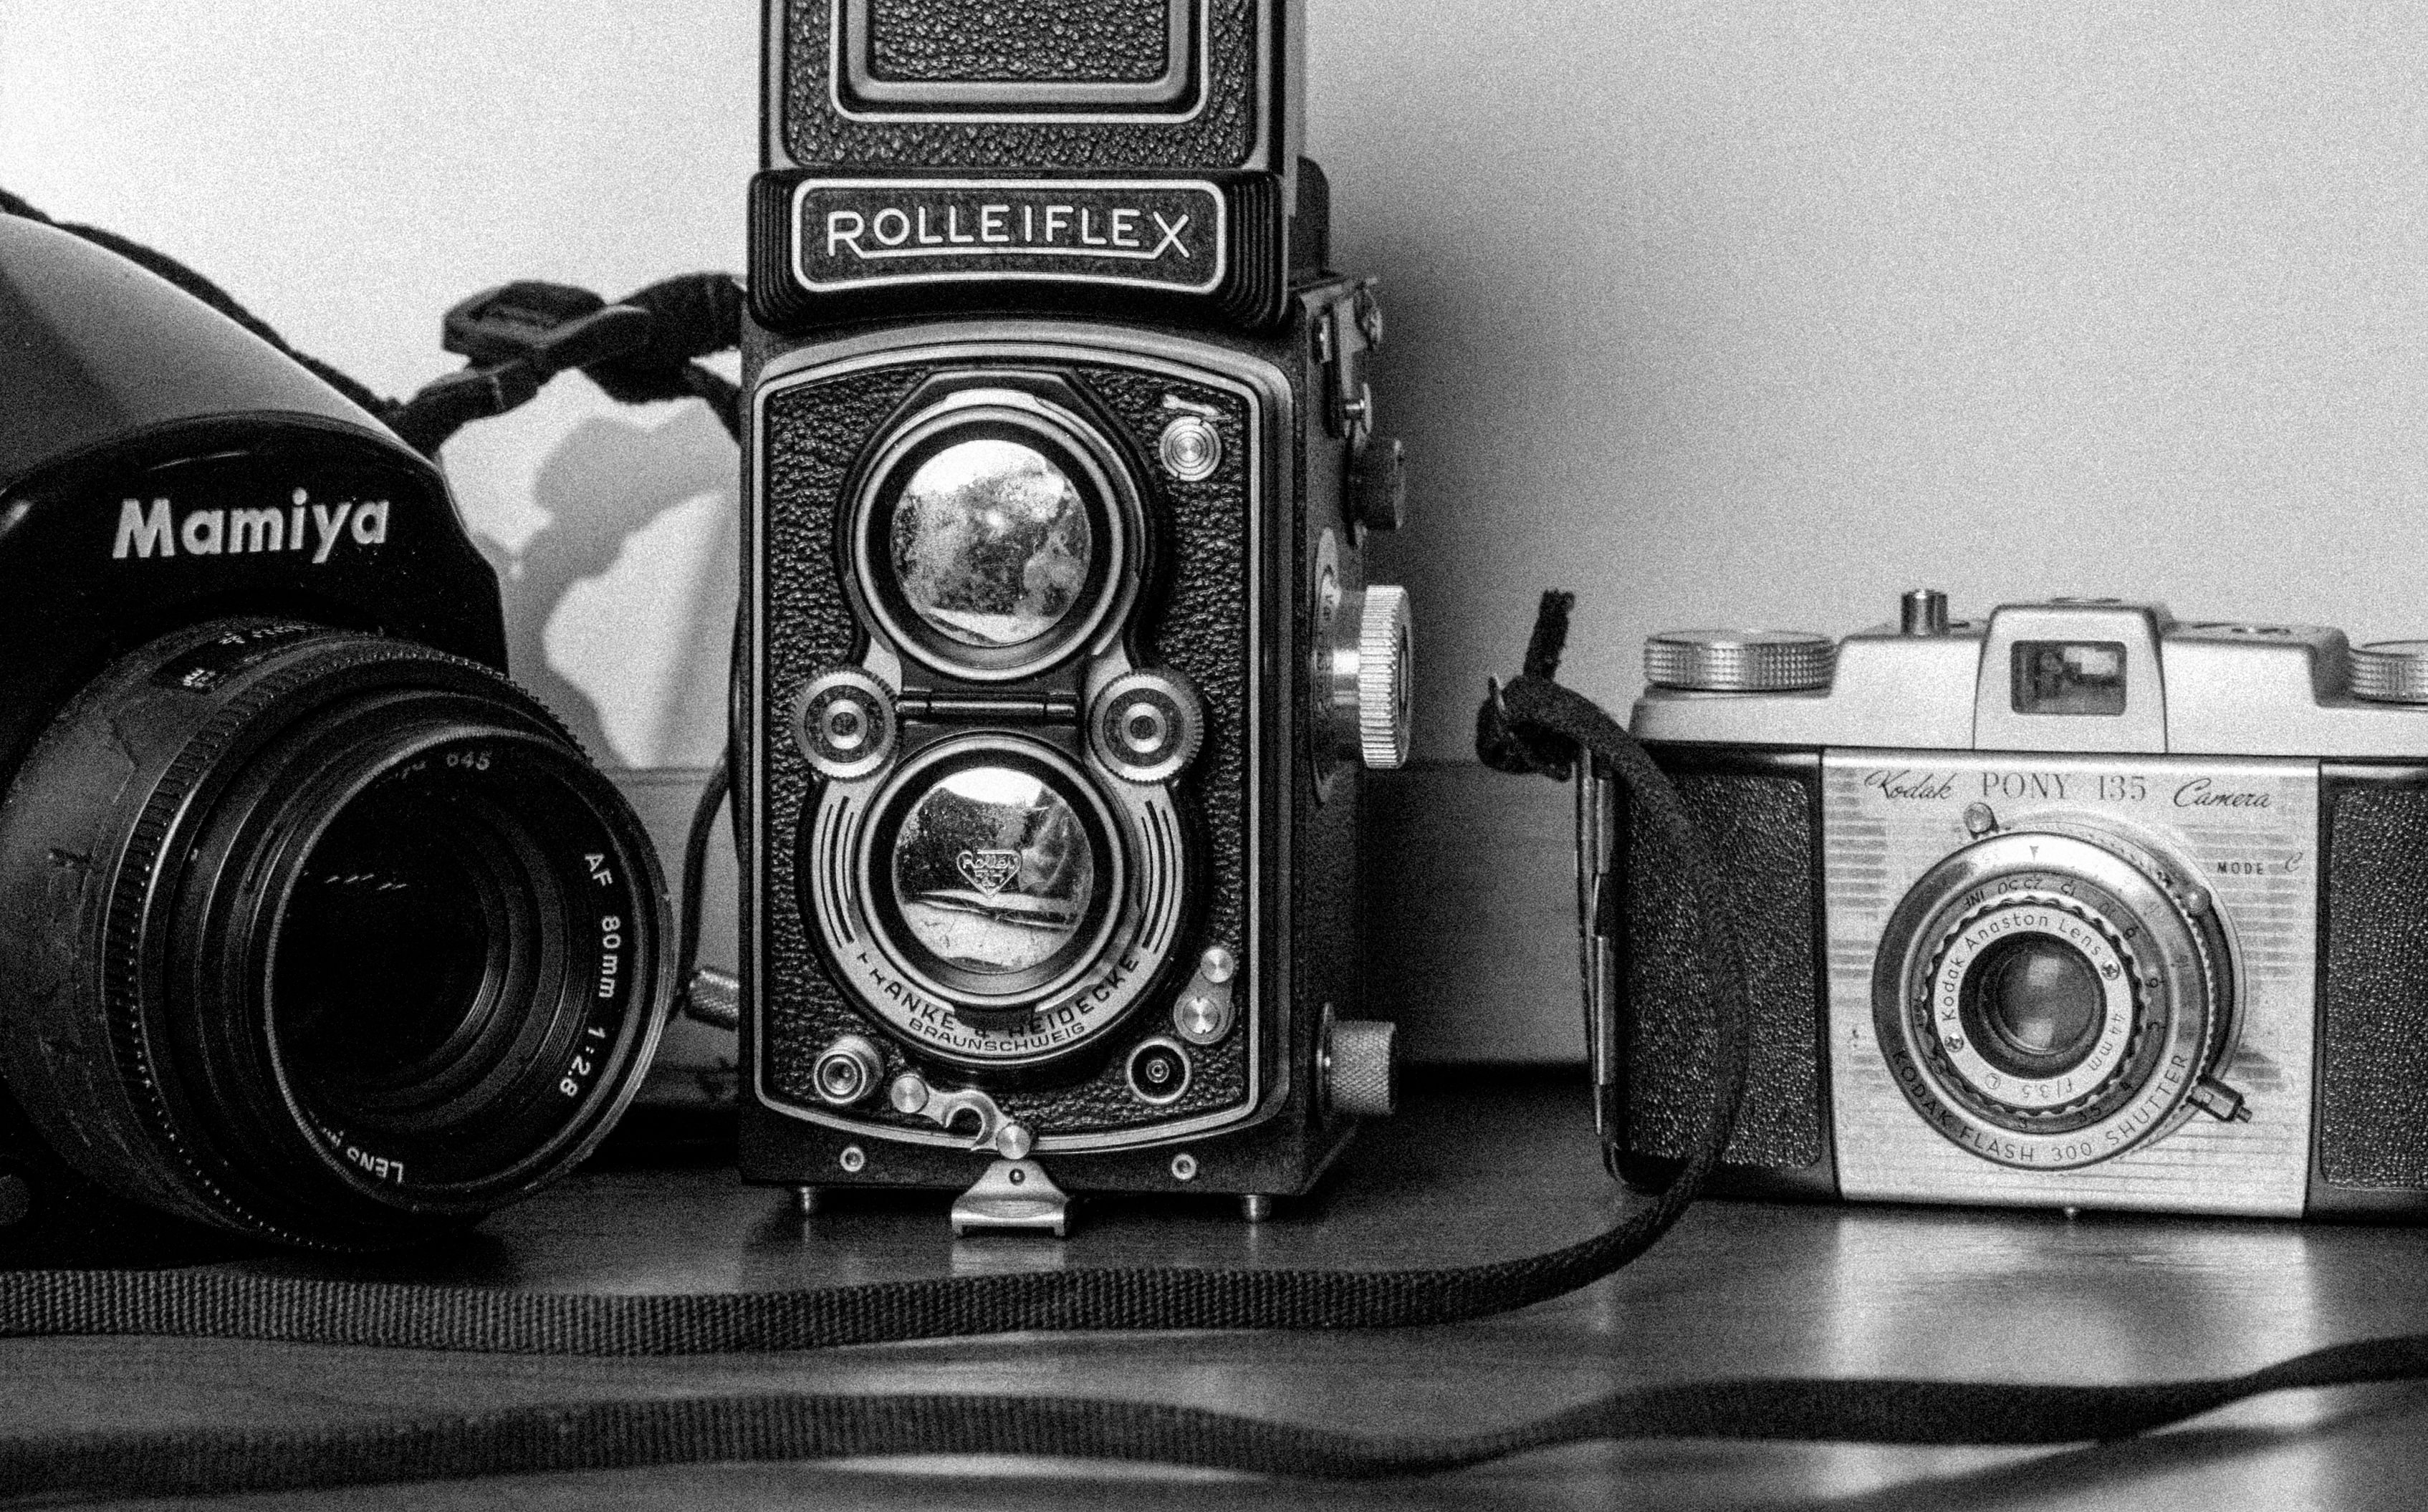
Choosing Your Camera
The first step in film photography is choosing your camera. There are several types of film cameras, including point-and-shoot, rangefinder, and SLR cameras. When choosing a camera, consider factors such as your budget, the type of photography you want to do, and the level of control you want over your settings. Here are a few great film cameras to consider:
- Canon AE-1 / AE-1 Program
- Nikon FE
- Nikon F5
- Pentax ME Super
- Olympus OM-1
- Pentax K1000
- Nikon FM2
- Canon Canonet G-III QL17
Camera Settings for Film Photography

Exposure for Film Photography
Exposure is the act of light hitting film. Exposure is controlled by both shutter speed and aperture. Underexposure occurs when not enough light hits your film, making your final images look dark & grainy and creating color shifts in the shadows. Overexposure occurs when too much light hits your film, making your final images look flat & grainy and creating color shifts in the highlights.
Shutter Speed for Film Photography
Shutter Speed refers to the amount of time the shutter is open and allowing light into the camera. It is measured in fractions of a second (example 1/125, 1/250, 1/500).
Aperture for Film Photography
Aperture refers to the size of the opening, also called the iris, within the lens. It adjusts the amount of light that enters the camera. Aperture measurements are called f-stops, written in the format f/8, f/11, f/16, etc. The smaller the number, the more light is let in.
ISO for Film Photography
ISO is the level of sensitivity your film has to light. The higher the number, the more sensitive to light it is. For example, ISO 100 film has a low light sensitivity, so you would need to shoot it when light sources are ample. Alternatively, ISO 800 film is more sensitive to light, so you can shoot it in low-light situations like at night or when you need to use a fast shutter speed to capture something in motion.
Developing Film
Once you’ve taken your photos, it’s time to develop your film. You can either develop your film at home or use a lab. Developing film at home requires some equipment and knowledge, but it can be a rewarding experience. If you’re new to film photography, we recommend using a lab for your first few rolls of film.
When choosing a lab, consider factors such as the cost, turnaround time, and the quality of the scans. Some labs offer both film developing and scanning services, which can be convenient.
Scanning and Editing Film
After your film has been developed, it’s time to scan and edit your photos. Scanning your film allows you to digitize your photos so that you can share them online and make prints. Basic editing techniques such as adjusting the exposure and contrast can help bring out the best in your photos.
When scanning and editing your photos, consider factors such as the resolution of your scans and the software you’re using. Some recommended software for editing film scans include Adobe Lightroom and Capture One.
Conclusion
Film photography is a rewarding hobby that allows you to capture beautiful moments in a unique and timeless way. With the right camera, film, and techniques, you can take stunning photos that will last a lifetime. So grab your camera, load up some film, and get shooting!
About Richard Photo Lab:
Richard Photo Lab is a quality-obsessed company, more interested in doing things the right way than chasing high volume or fat margins. Their passion feeds their work, and their work feeds their passion. The team at Richard Photo Lab take a great degree of care with their image processing, scanning, and handling–sweating the details of each and every frame to exceed your expectations, and take pride in the personalization of their services, developing unique relationships with clients, and treating them as the individuals they are. Clients, which have come to include prominent names in wedding, family, fine art, and commercial photographers like José Villa, KT Merry, Jen Huang, Eric Kelley, Caroline Tran, and Johnny Patience to name a few.


Get Connected!