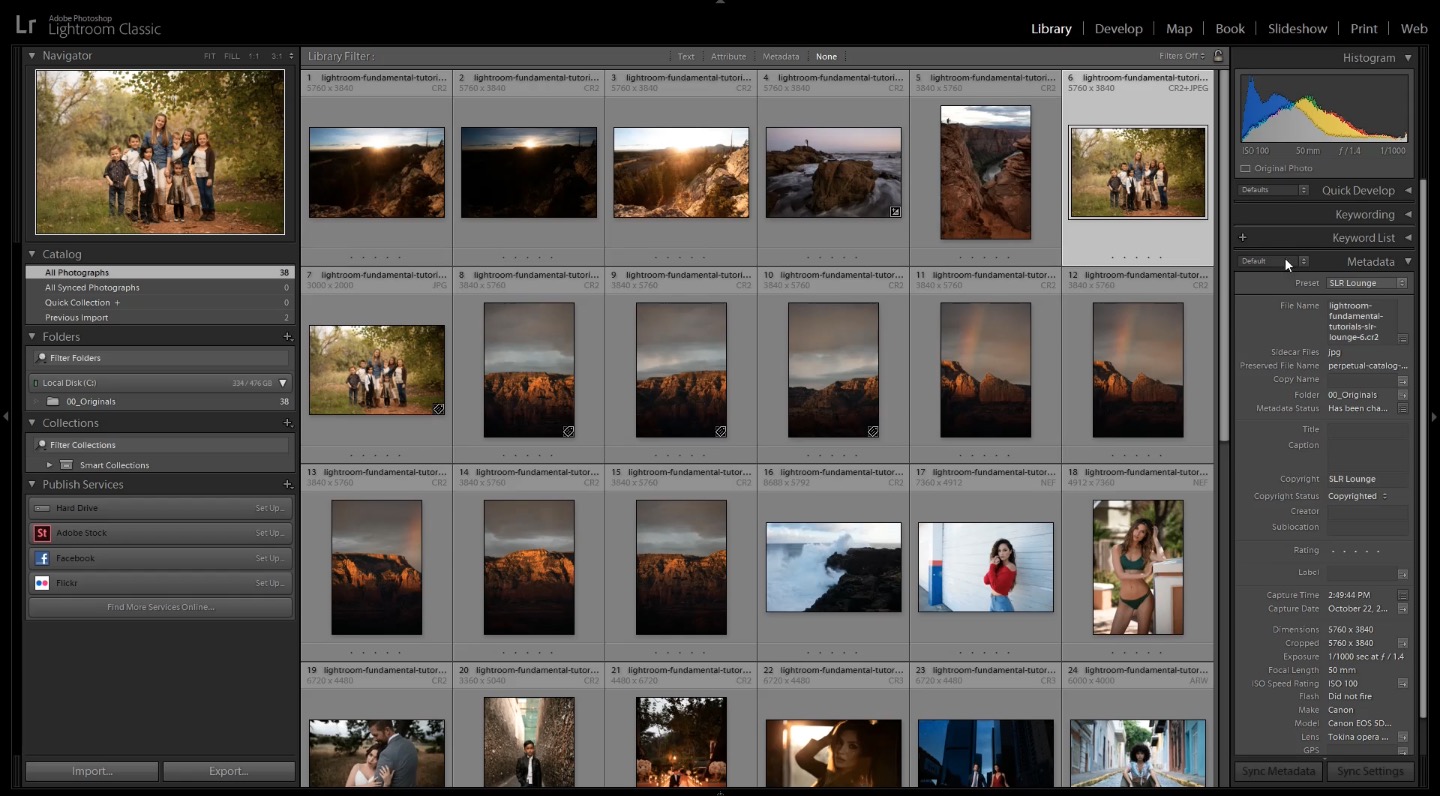
Adobe Lightroom isn’t the most lightning-fast application; however, it is still capable of running smoothly, handling huge raw files in large catalogs of tens of thousands of photos, and putting your computer’s hardware to good use.
How do you make sure Lightroom is optimized for your high-powered computer, and your high-speed workflow needs? There are a few simple steps you can take to make Lightroom run faster. Let’s dive in!
How To Make Lightroom Run Faster
The first thing to do is to check and make sure that Lightroom is actually getting the most out of your computer hardware. For a while now, Lightroom has been able to utilize your computer’s graphics card, in addition to its CPU and RAM, so this is one of the first things to check.
Use Your GPU For Lightroom
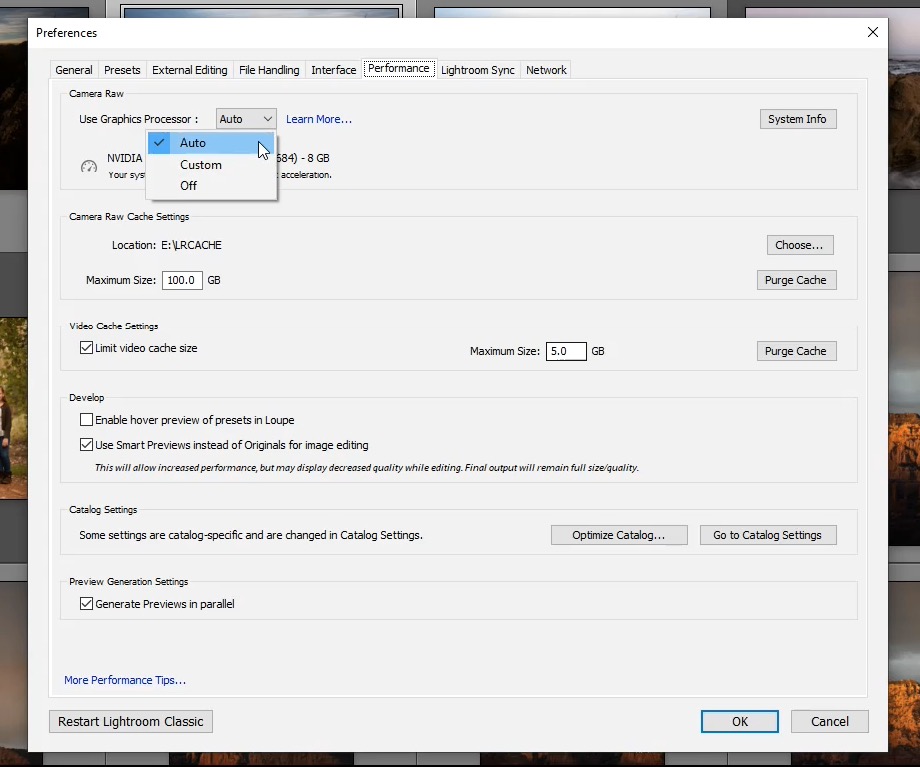
Check your Lightroom Preferences, under “Performance,” and make sure that if you have a high-powered graphics card, Lightroom is able to use it. Usually, your “Auto” setting is best because it will determine if your graphics card is even a good idea for this task.
Doing this can help speed up your overall image-to-image viewing experience, even if your CPU and RAM are still needed to do “heavier lifting” tasks.
Use Your Fastest Internal Drive For Your LRCAT & Cache
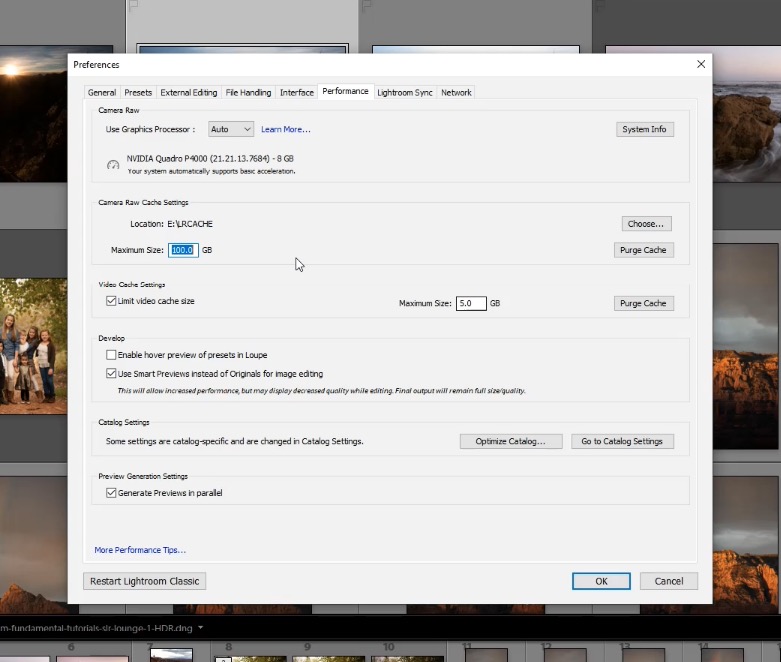
Lightroom needs to store its catalog file somewhere (the .LRCAT file), as well as all of its raw preview files. This storage greatly affects the overall speed of Lightroom, from your image-to-image viewing experience to the import, export, and Develop Module adjustments. So, basically, it affects EVERYTHING!
In the Lightroom Preferences window (again), under “Performance,” look for the Camera Raw Cache Settings. (NOTE: This affects both Adobe Lightroom and Camera Raw, which include Adobe Bridge and Photoshop’s raw processing interface.)
If you have an SSD (solid-state drive) that you can use for your LRCAT storage and your Camera Raw Cache, definitely choose that drive! Solid-state drives are significantly faster than ordinary spinning hard disk drives, and this one factor will make one of the most significant, noticeable differences in your Lightroom experience.
Use Lightroom Smart Previews For Develop Module Editing
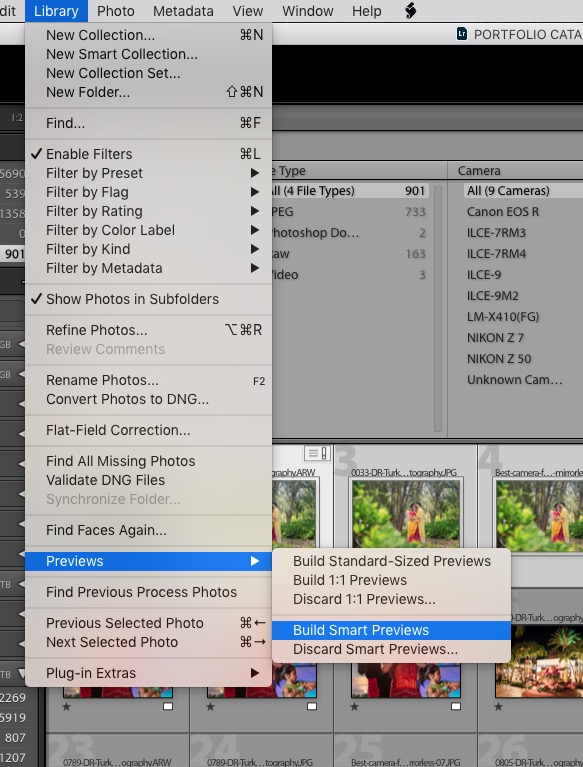
One of the most useful tools Lightroom offers is its “Smart Previews.” Basically, these are lower resolution images that Lightroom uses for reference, instead of the full-res raw file, when working on your images in the Develop Module.
Of course, if you ever zoom in to 100% in the Develop Module, it will switch to the actual raw image preview; however, zoomed out, you’ll get a much faster editing experience for your basic color-correction and tonal control edits. Especially on slower computers and with high-megapixel raw files, this can make a significant, noticeable difference.
See the Youtube Video
Master The Lightroom Workflow
Well, that’s about it! These are all of the major changes you can make to Lightroom so that it runs as fast as possible. For even more in-depth speed tips and tricks, be sure to check out the complete Lightroom Workflow Worksop series.
You can find our complete Lightroom workshop videos here.
.
