The season of gift giving is now officially upon us, despite the pleas in some of the ads that have been creeping up since late July. As photographers, it is the perfect time to give a wishlist to loved ones in hopes of fulfillment (one can hope), or even to take advantage of good deals and satisfy your business needs and begin fulfilling that list personally, to start the new year on the right foot. If you’re looking to be a fashion photographer, you may need less than you think.
The DSLR camera bodies being manufactured today are more than capable of gratifying the demands of fashion. Full-frame bodies are championed in this genre, but consider that the APS-C cameras can suffice. With that in mind the following is a guide for budding fashion photographers who are searching for a place to start, or need to know of some additional gear required to get the job done.
[REWIND: PHOTOGRAPHY TRENDS FOR 2018 | FASHION, LIFESTYLE, PORTRAITURE & EVEN WEDDING PHOTOGRAPHY]
85mm Lens
Commonly referred to as ‘the portrait lens’, the 85mm lens is known for tack-sharp images and ability to separate the subject from the background velvety smooth bokeh. The 85mm is primarily used for tighter crops, primarily from 1/2 body to headshot, but it can also capture full body in larger spaces. The focal length is very true to life with very little distortion, and the depth of field is easily manipulated to control the overall mood of the shoot.
- Canon EF 85mm f/1.4L IS USM – $1,599
- Canon EF 85mm f/1.2L II USM – $1849
- Nikon AF-S Nikor 85mm f/1.4G – $1,596.95
- Sony FE 85mm f/1.8 – $598
- Sigma 85mm f/1.4 DG HSM Art Lens for Canon and Nikon – $1,199
- Zeiss Planar T* 85mm f/1.4 ZF.2 for Canon and Nikon – $1,283
**On an APS-C sensor the 85mm is more akin to a 135mm focal length which is still ideal for portraits and beauty work.

50mm Lens
Arguably one of the most versatile lenses, the 50mm lens is a favorite all-around workhorse because of its adaptability. The slight distortion creates frames that are more angular and as a result the subjects appear slimmer. The focal length is wide enough to include bits of the surrounding areas for environmental portraits which begin to provide a narrative for closer crops, yet it can also capture full body images in tighter spaces with adequate detail.
‘Nifty fifties’, as they’re often called, are quick to focus in an array of lighting scenarios and can capture an entire fashion story and the required crops all on its own in most spaces. Oh, and they’re cheap.
- Canon EF 50mm f/1.8 STM – $125
- Nikon AF-S Nikkor 50mm f/1.8G – $216.95
- Sony FE 50mm f/1.8 – $248
- Sigma 50mm f/1.4 DG HSM Art Lens for Canon and Nikon – $949
**On an APS-C sensor the 50mm provides a focal length closer to 80mm.
35mm Lens
Fashion is all about the the story and being able to properly convey it. The 35mm lens is better known as the ‘story telling lens’ because of its ability to capture its subject and the surrounding environment, whereas longer focal lengths focus primarily on the subject.
It does require some practice in learning to embrace the interesting angles that are very popular for fashion as well as learning to control the minimal distortion and keep it more true to life. The 35mm focal length also provides a close proximity to the subject and conveys a sense that they are close enough to reach out and touch. Because of this, the viewer feels as though they are a part of the captured experience.
- Canon EF-S 35mm F/2.8 Macro IS STM – $349
- Canon EF 35mm 1.4L II USM – $1,649
- Nikon AF-S Nikkor 35mm f/1.8G ED – $526.95
- Sony Sonar T* FE 35mm f/2.8 ZA – $798
- Sigma 35mm f/1.4 DG HSM Art Lens for Canon, Nikon, Pentax and Sony – $899
**The 35mm provides a focal length closer to 50mm on an APS-C sensor.
Portrait, ¾ body and full body are all crops that are required for both fashion editorials and model portfolios alike. Prime lenses are a staple of many fashion photographers because they are sharper and often facilitate a bit more creativity because they force the user to adapt to the shot.
YouTuber and fashion photographer Jessica Kobeissi swears by the 24-70mm zoom lens as it meets most of these prime focal length requirements, especially when time is of the essence. A single zoom lens such as a 24-70mm lens paired with a solid prime such as an 85mm or a 50mm make for a winning combination. Make sure to rent them and see which one works best for you prior to purchasing.
[REWIND: BRONCOLOR SIROS L 800WS REVIEW | A CLASS LEADER]
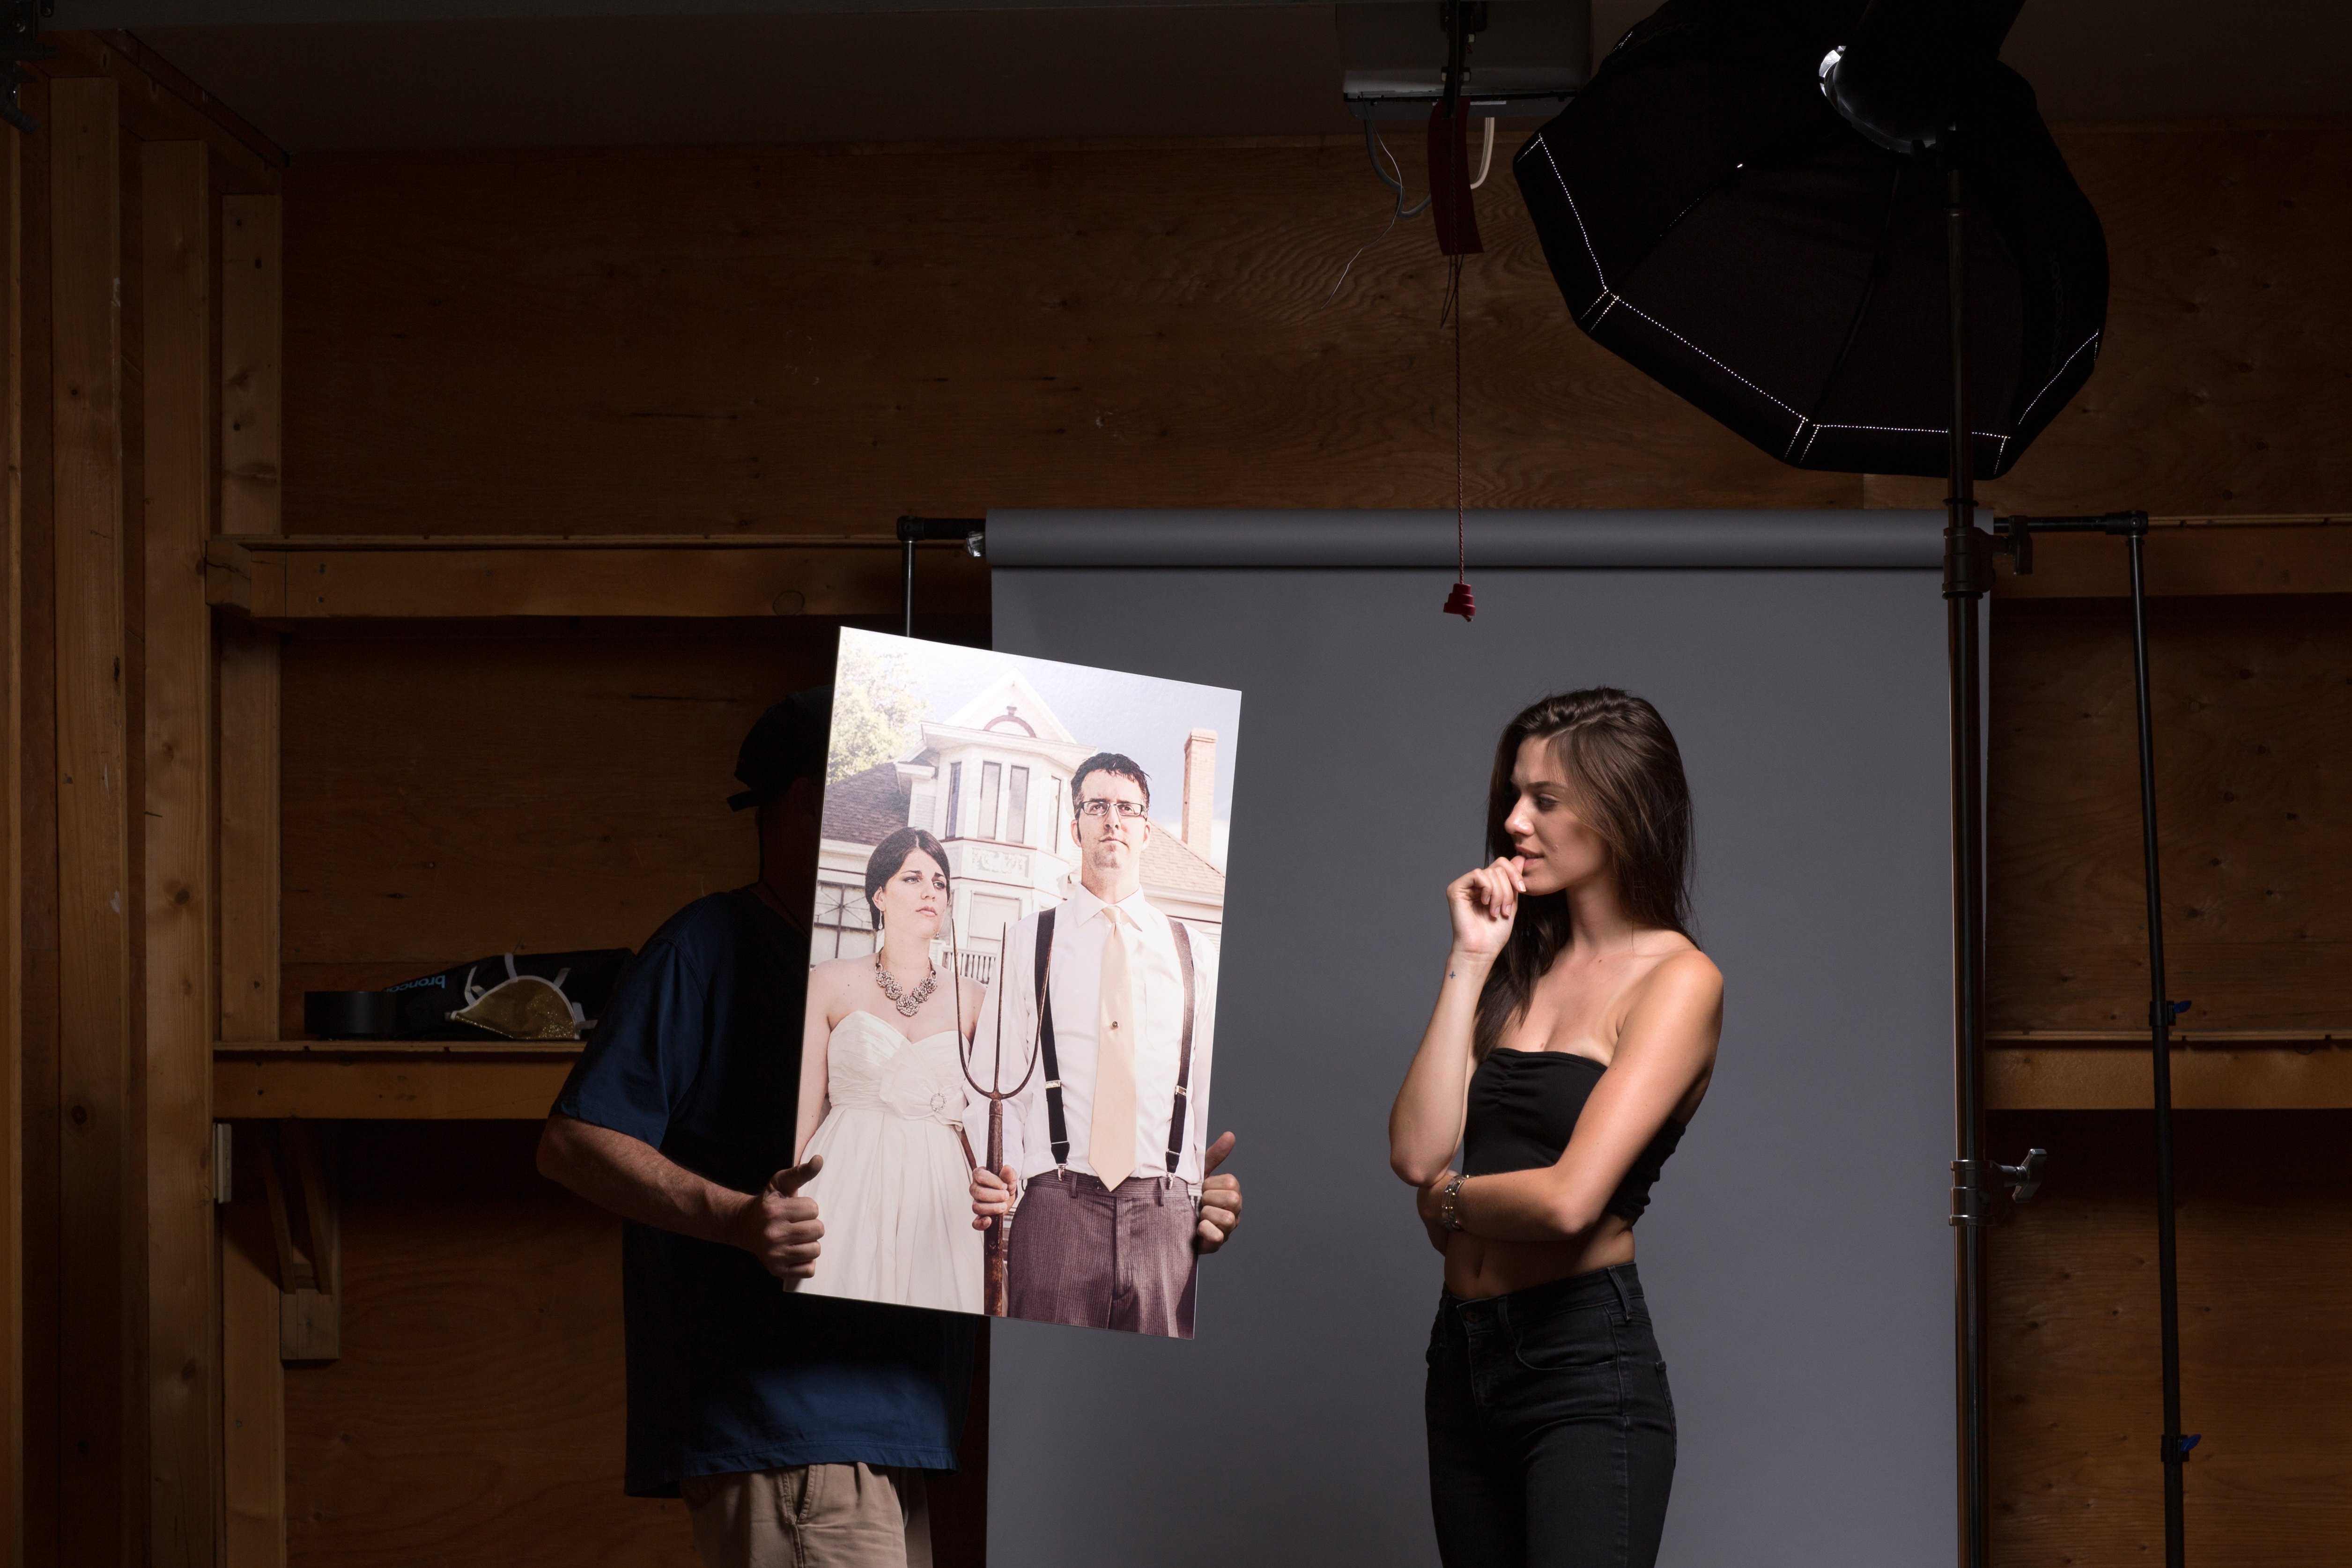
A Single Monolight
Being a “natural light only” photographer will not cut it in fashion and learning to use artificial light either as a single light source or in combination with available light is a must. Monolights, battery operated ones in particular, are ideal because they are ultra portable and easy to use.
It is no question that I have an affinity for the Broncolor Siros L 800Ws, although it should be noted that my very first strobe was a Norman LH500 and a 400-SP power pack which was purchased used with a price tag of $350. Norman power packs are incredibly reliable and still readily available in the used market.
Top of the line gear, as enticing as it can be, is not a prerequisite when first journeying into the uncharted territory of fashion photography. The curriculum only requires a single light and learning its nuances, particularly how to control it and properly convey the overall feeling of the shoot. Buy a light within reason, learn how to use it, and then upgrade when the budget allows for it or add more lights one by one as lighting skills are expanded. Below is a list with all budgets in mind.
- Broncolor Siros L 800Ws – $2,459.80 with transceiver
- Profoto B1 500 AirTTL (Now with spreedring, beauty dish, and remote valued at $700) – $2,095
- Flashpoint XPLOR 600 HSS TTL For Sony, Canon, and Nikon – $750
- Bowens Gemini 500pro – $1,094.88 with transmitter
- Dynalite Baja B4 Battery Powered Moonlight – $662 with transmitter

White Umbrella
Never underestimate the power of a white shoot-through umbrella. Without a doubt, this is one of the most valuable and versatile lighting modifiers out there and one can be purchased for under $20.
The umbrella can be used to diffuse and feather the light to either soften the overall contrast or increase it, depending on the desired effect. A white shoot-through umbrella can also be paired with inexpensive poster board and create a very thin, controlled source of light. The inexpensive price tag only adds to their overall value.
Light Stands
There are a lot of inexpensive light stands out there but keep in mind that heavier lighting modifiers will most likely be utilized in the future. In this case it is better to invest in one with a higher build quality such as an Avenger or other reputable C-Stand to support the weight of that precious gear. The inexpensive light stands can be utilized as background stands and are easily adapted as such.
- Avenger Chrome Plated C-Stand – $129.88
- Avenger Turtle Base C-Stand Grip Arm Kit – $215.88
- Manfrotto Alu Air-Cushioned Stand – $114
- Impact 8ft Air-Cushioned Stand – $32.95

[REWIND: HOW I SHOT IT | A ONE LIGHT BEAUTY SETUP IN A DIY STUDIO]
Seamless Paper
Savage seamless rolls of paper are available in several widths varying from 53” to 107” and come in a rainbow of colors. The wider roles are ideal if space isn’t an issue, however that being said, the 53” will absolutely suffice in tighter quarters.
Super White comes at the top of the recommendation list because it can evolve from being purely white to a medium grey depending on its proximity to the lightsource. It can also be easily transformed to any color with the help of Photoshop. Fashion Gray is a personal favorite and the names speaks for itself; it serves as a beautiful neutral color that pairs well with anything fashion has to offer.
- Savage Super White 53″ x 36″ – $27.99
- Savage Super White 107″ x 36″ – $49.99
- Savage Fashion Gray 53″ x 36″ – $27.99
- Savage Fashion Gray 107″ x 36″ – $49.99
- Photek 12′ Four Section Background Crossbar – $59.95

Foam Core
Foam core boards are available at the local hardware and art supplies store and come in a white, black and reflective silver finish. A smaller size such as a 22” x 28” is the perfect size to serve as a white or silver bounce card where extra light is needed. The black can absorb unwanted light by being placed next to the model and also serve as a flag.
Larger sheets of foam core are also available and can be taped together to create white and black v-flats to address any lighting needs. V-flats can also be utilized as a background when the situation calls for it. The smaller size runs about $3 per piece while the larger 48” x 96” run closer to $50 per sheet. A good tip is to buy the large sheets with the branding at Home Depot for about $15 each along with cans of white and black paint for an inexpensive DIY project that works just as well.
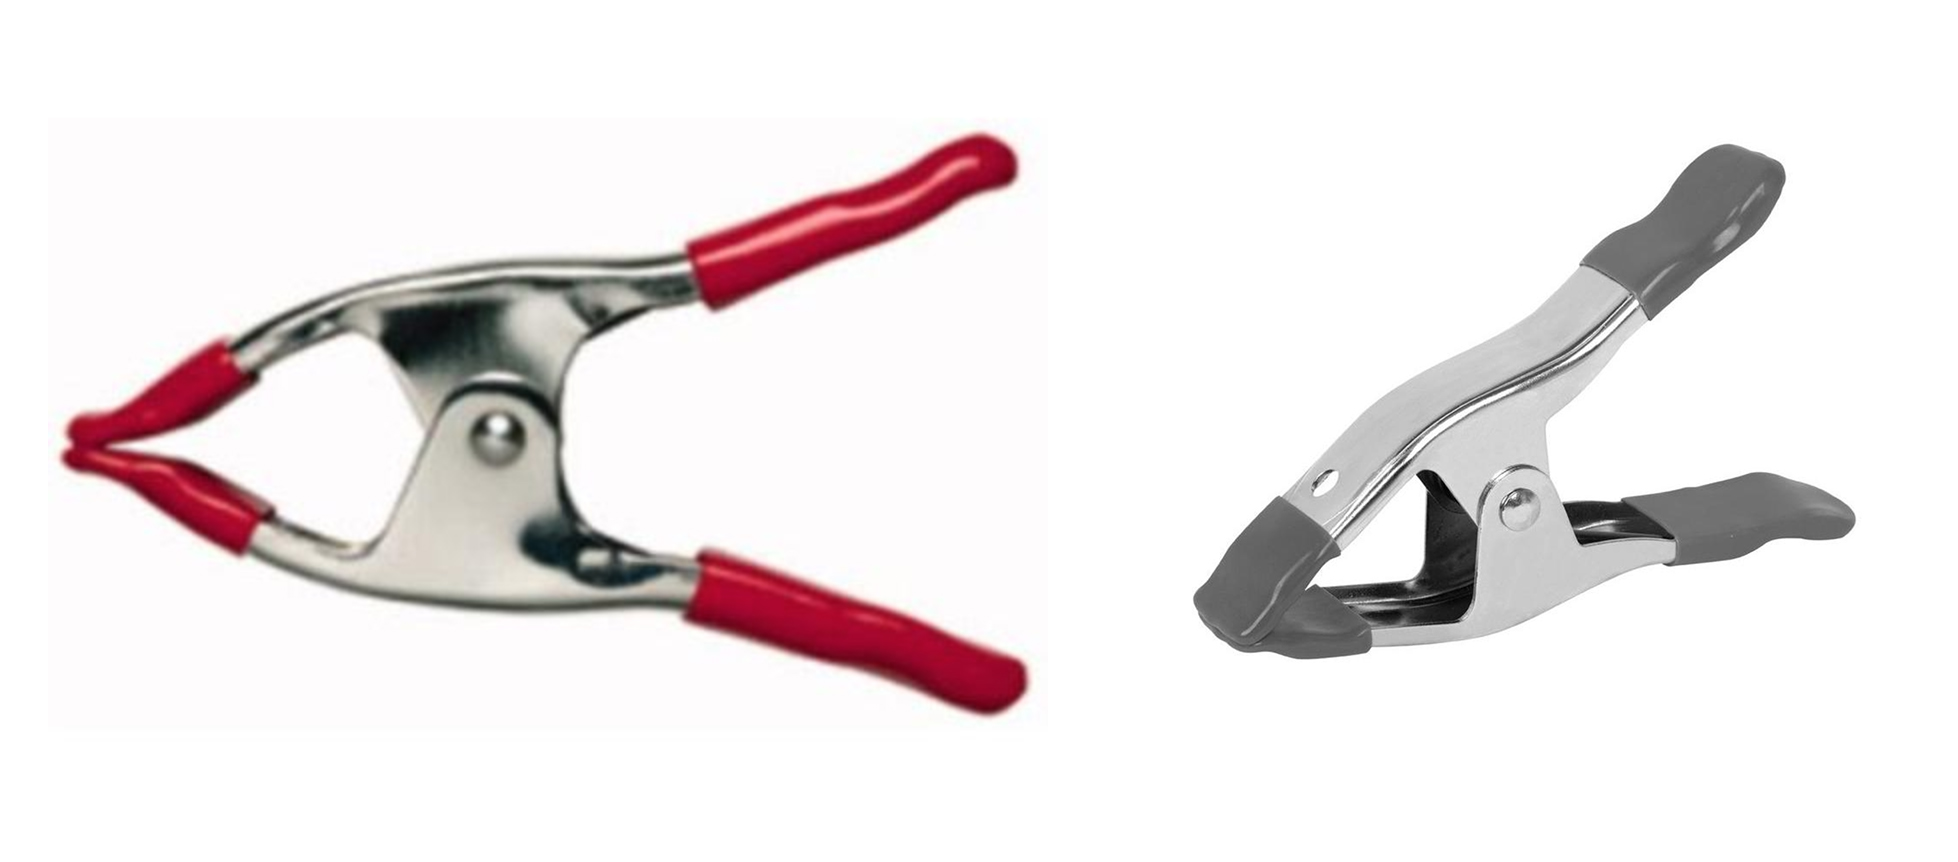
Clamps
Repeat this mantra: “You can never have too many clamps.” Make sure to pick up all of the various sizes at the hardware and/or art supplies store and rest assured that each has its purpose. These inexpensive Godsends cost between $2.50 – $7.50 apiece and were created to troubleshoot any issue that may arise on set.
The large clamps are ideal for securing roles of seamless paper in place and double as a seamstress in a pinch to make the clothes appear as though they were created for the model wearing them. The small and medium-sized clamps can be used to tame unruly hair, shorten the length of necklaces as well as clamp delicate blouses and dresses without fear of damaging the garment.
This gear list has everything needed to get started as a fashion photographer and as with everything photography, more gear can always be acquired along the way. Have fun and experiment with new pieces of equipment along the way by renting it and only buy what substantiates itself because everything is available to be rented these days. The possibilities are endless.


Get Connected!