
The May releases to the Adobe Photography lineup include a number of significant updates intended to help you improve as a photographer, collaborate with others, and take your editing to the next level. You can download the latest Lightroom updates today in the iOS app store, the Google Play store, and using the Creative Cloud desktop app.
New Ways to Learn and Become Inspired

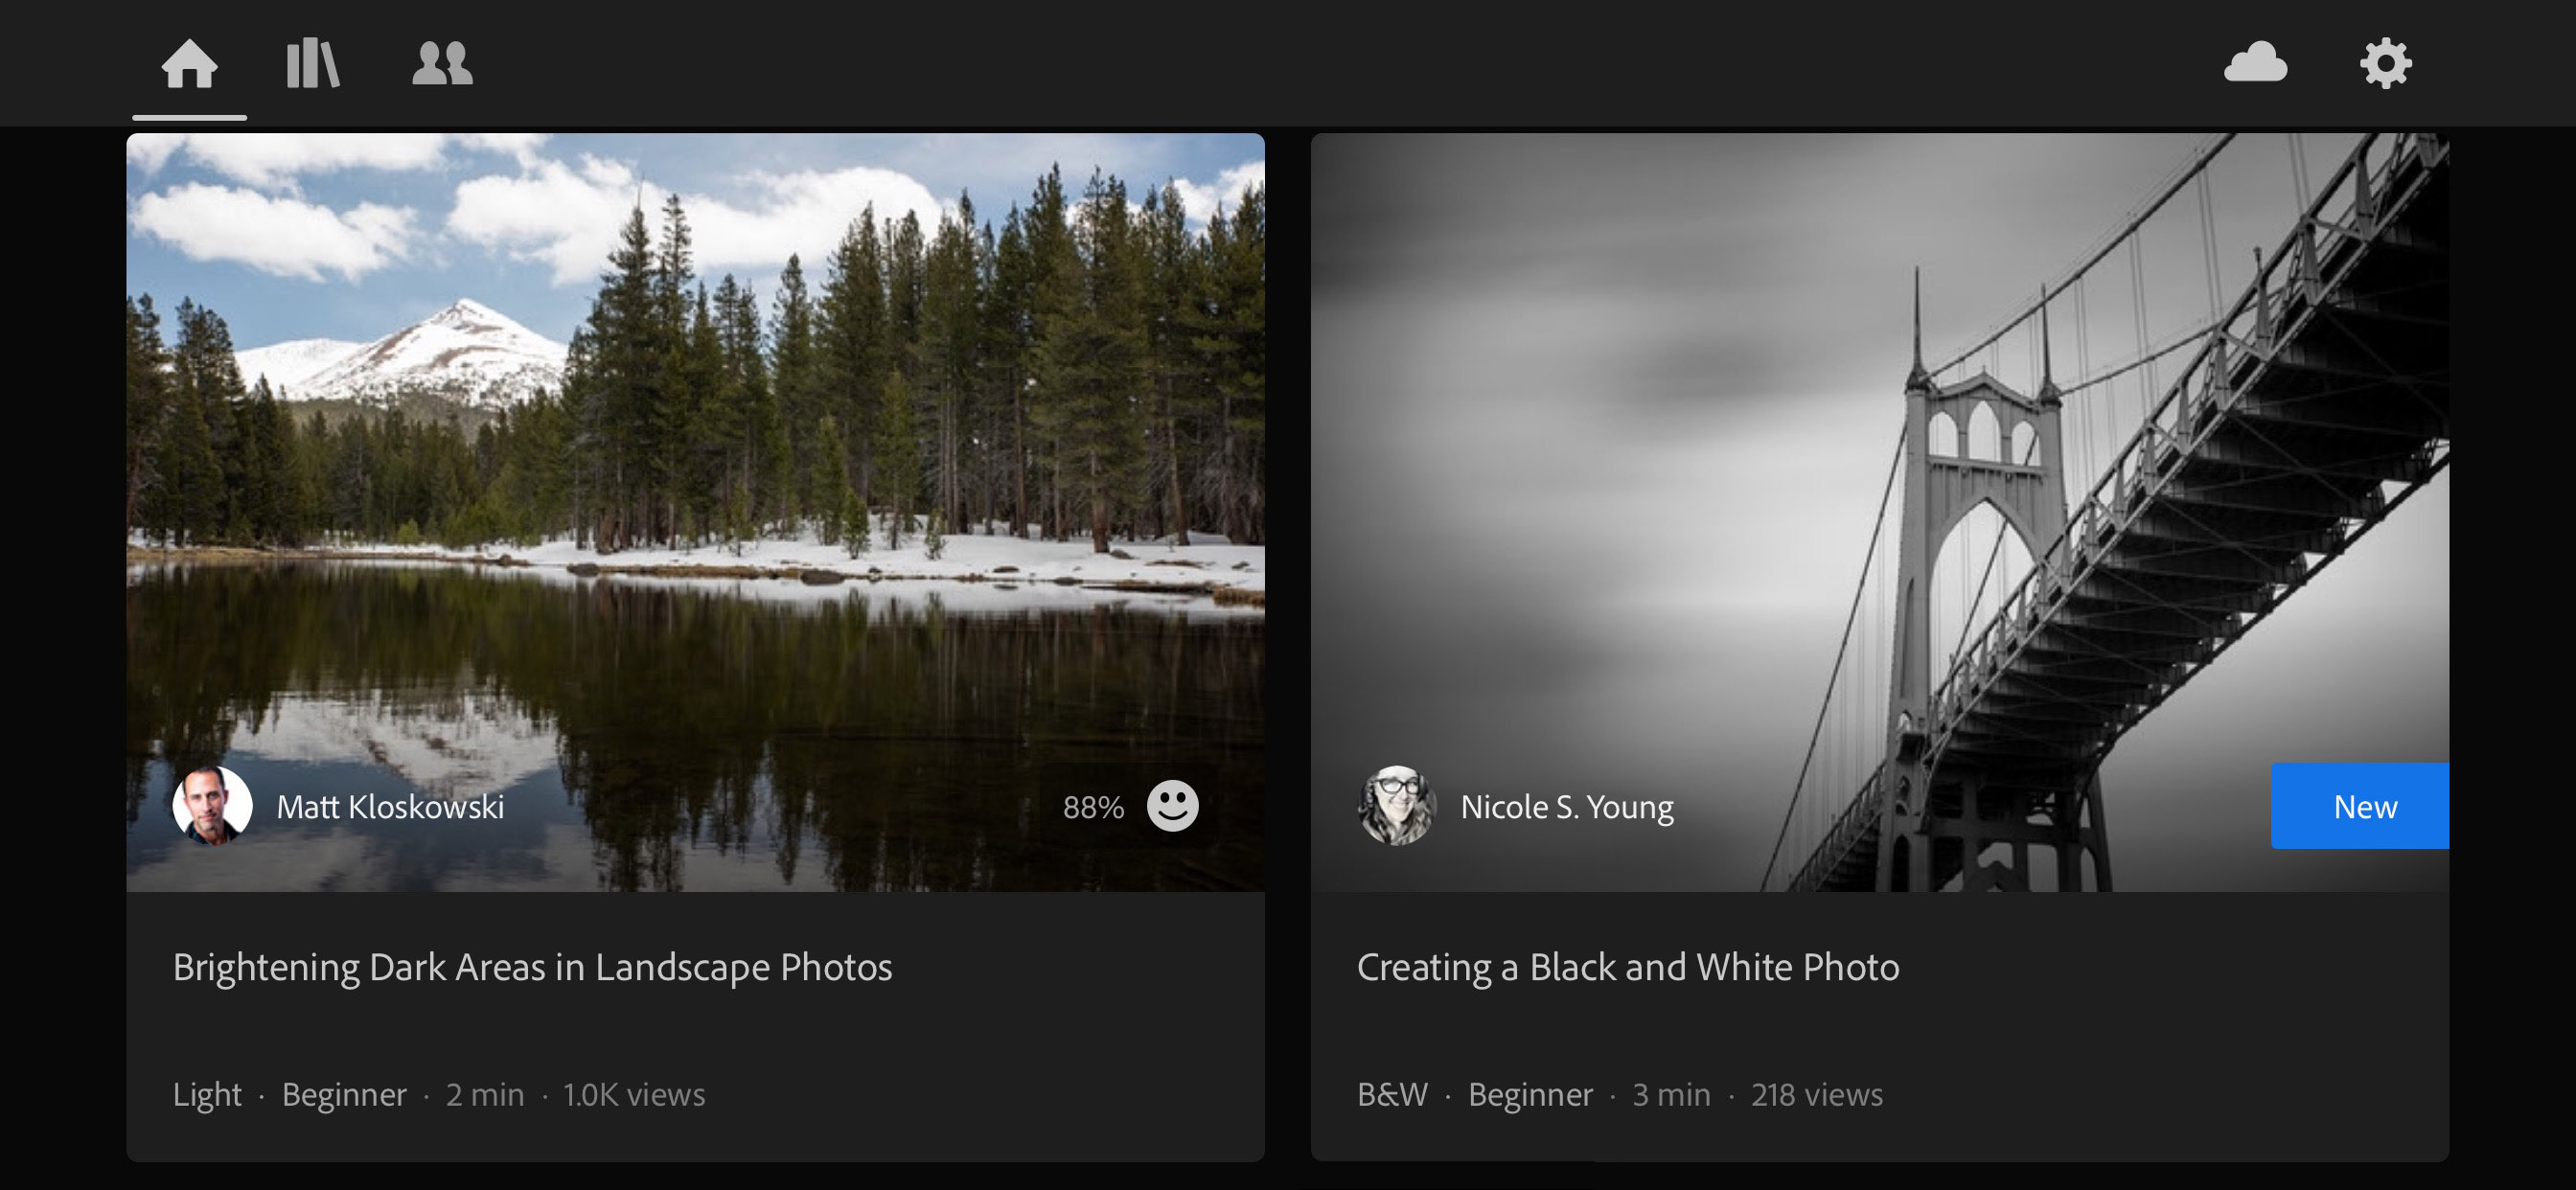
In Lightroom for iOS and Android (and coming soon to Mac and Windows), Adobe is introducing a new Home view that contains your most recent photos, as well as new interactive tutorials and inspirational photos. Both the interactive tutorials and the inspirational photos let you see the edits made to a wide variety of photos, with more being added every day.
 The interactive tutorials offer a unique approach to learning. Instead of having to watch in a different window or even on another device and then attempt to follow-along within the app, the interactive tutorials provide access to the photo from the tutorial directly on your device and then walk you through each edit, step-by-step. You actually adjust each slider with guidance and instruction provided by the instructors along the way.
[Related Reading: Adobe Announces Substantial Updates To The Lightroom Ecosystem]
Inspirational photos provide a more lightweight way to get inspired while still seeing how the photo was made. When first opened, the photo’s edits play through, step-by-step. Then, you can tap on the Edits control to open up a wheel that lets you scroll through the edits and see exactly which settings were used.

Adobe has partnered with a number of amazing photography educators, and are working on creating content with many more. Matt Kloskowski, Katrin Eismann, Kristina Sherk, and Nicole Young all contributed amazingly useful tutorials and photos, and more authors are being added regularly.
[Related Reading: Remove Backgrounds In One Click With The remove.bg Plug-In For Adobe Photoshop]
Contextual Help
 In Lightroom for Mac and Windows, the help menu, (found in the ? icon at the top-right of the application window), has been greatly expanded providing searchable help about each of the tools as well as built-in tutorials leveraging some of the content available on the iOS and Android versions of Lightroom.

This could be an incredibly useful feature for those new to the Lightroom or photography editing world, and even fill in the blanks for some of us who’ve just never used some of the tools properly.
New Ways to Collaborate
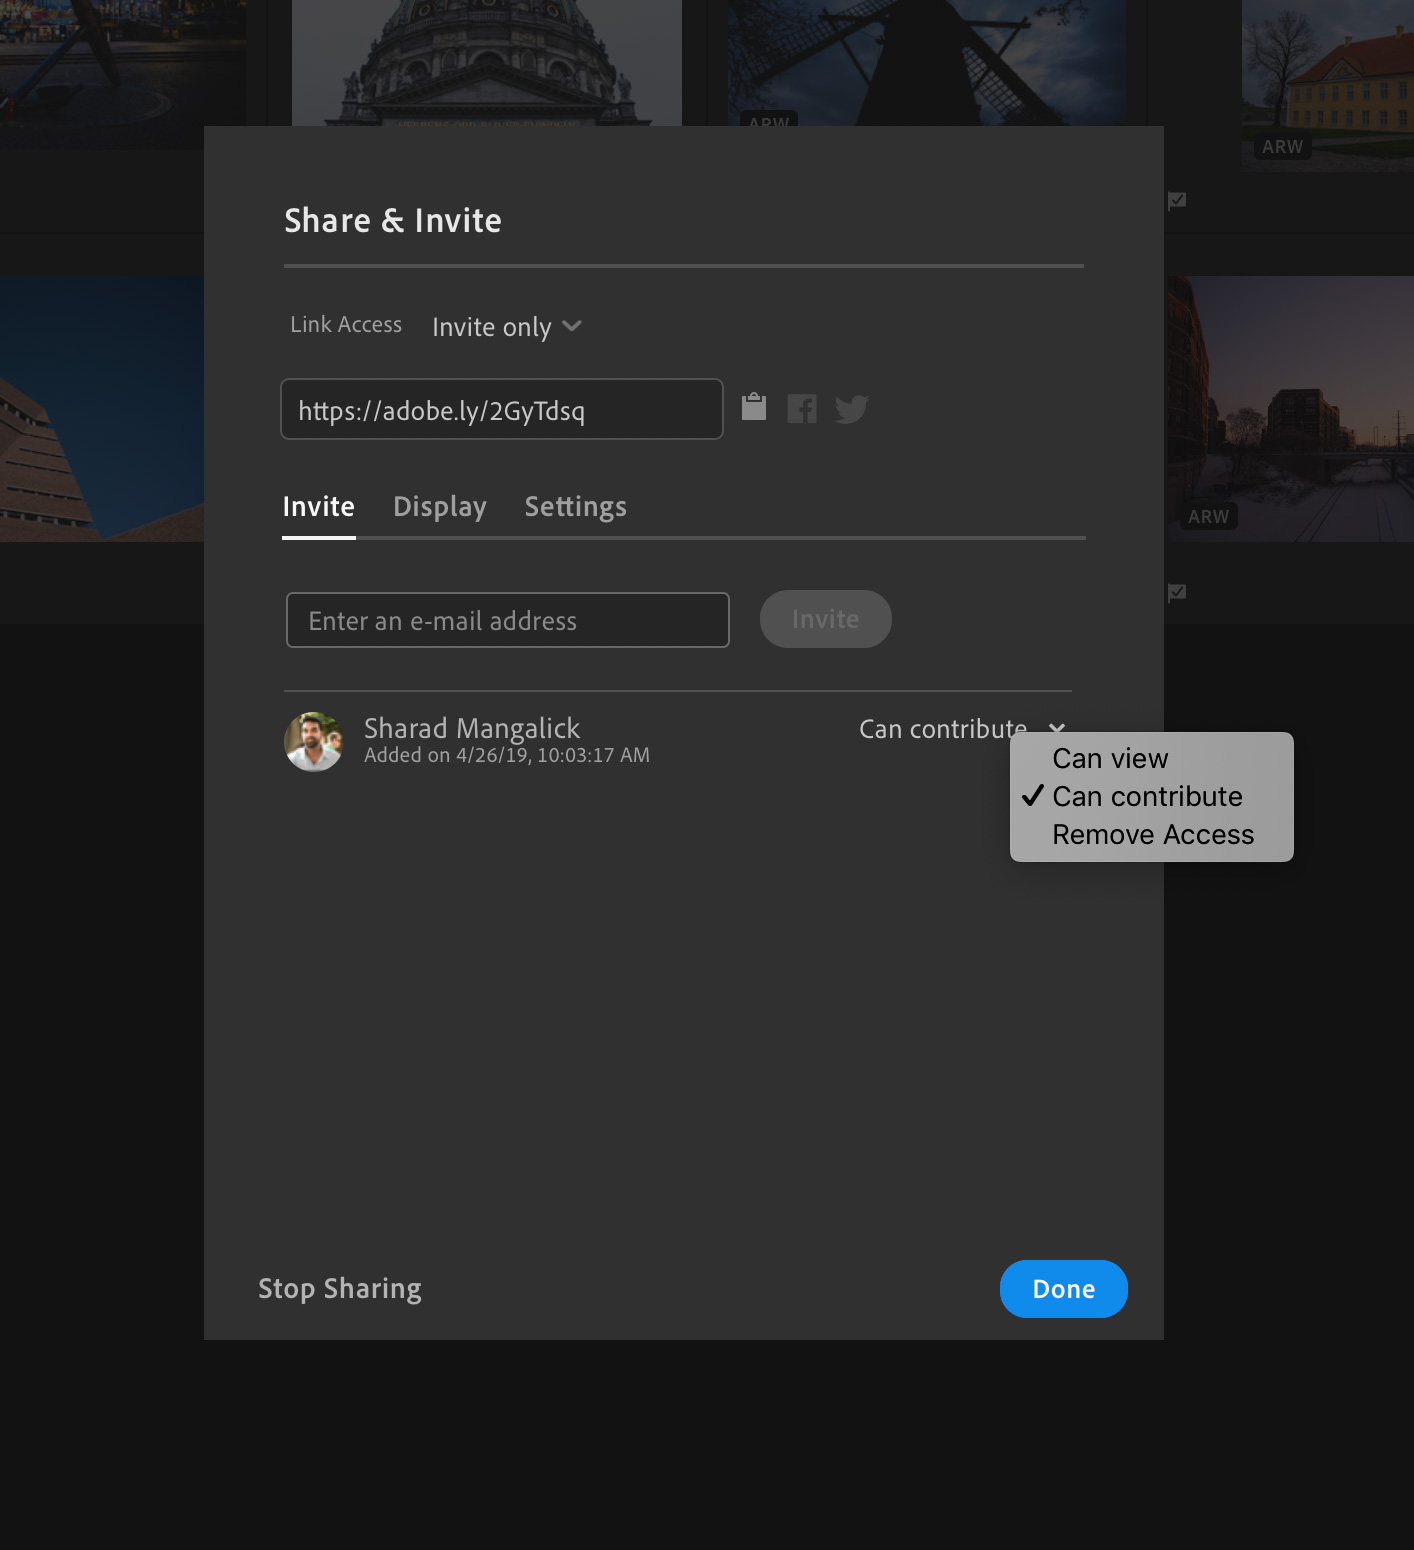
In Lightroom for Mac, Windows, iOS, Android, and ChromeOS, you can now invite others to add photos to your albums. Navigating to the Share & Invite menu lets you invite people by email and let them have access to either view or contribute photos to your album. Once someone contributes a photo or video to your album, you’ll have access to the full resolution in the format that was added to your album, including raw format.
Alternatively, you can share a link which people can request access to your album, which is perfect if you want to share with a larger group without having to enter everyone’s email address.
From my perspective, this is a pretty great feature for wedding and event photographers who tend to work with 2nd, 3rd, and additional photographers on set. Being able to have everyone contribute their raws (or edits) into a single folder managed by one user would make file management and delivery, (potentially), much smoother.
New Tools For Editing
Texture
Lightroom for Mac, Windows, iOS, Android, and ChromeOS, Lightroom Classic, and Camera Raw.

Texture is a new editing control designed to help either accentuate or smooth medium-sized details such as skin, bark, and hair. By isolating only medium-sized details, Texture can smooth skin without affecting pore details (delivering a natural smoothing effect) or accentuate bark or hair without increasing the presence of noise or impacting bokeh.
 Texture works wonderfully in conjunction with other tools like Clarity and Dehaze, providing another powerful tool to achieve your creative vision. (The slider is conveniently located right above the Clarity slider). Again, this is a feature i’m pretty excited to test out. I watched the demo from adobe on how this worked globally and within the radial/brush selective adjustment tools and from what I saw, was very impressive.
  For a deeper dive into Texture, how it came to be, and how it compares to other tools found within Adobe Camera Raw and Lightroom, check out this blog post by Max Wendt, lead engineer behind Texture.
Defringe
Lightroom for Mac and Windows
Available within the Optics section, Defringe helps to remove purple or green fringes caused by lens chromatic aberrations. Adobe recommended first turning on the Remove Chromatic Aberrations checkbox. Then, if there are still chromatic aberrations visible in your photo, use the eyedropper to select an area of your image that has a color fringe to identify the hue of the fringe to reduce throughout your photo.

Batch Editing
Lightroom for Android

You can now copy settings from one image and paste them to multiple images, saving you time and speeding up your editing process. First, find a photo to copy the edits from. Then, from the three-dot menu in the top-right of the screen, select Copy Settings. Next, go to the grid view and long-press to enter select mode. Select the photos you want to apply the edits to, navigate to the three-dot menu in the top-right, and select Paste Settings. Lightroom will then apply the edits to each photo.
Flat-Field Correction
Lightroom Classic
Previously available as a plug-in, Flat-Field Correction is now built into Lightroom Classic’s Library module. Flat-Field Correction helps correct for sensor and lens characteristics that can result in asymmetrical color casts. To use the Flat-Field Correction tool, you’ll need to capture a calibration photo by shooting a flat, evenly illuminated reflective surface (or you can make it easy on yourself and use an ExpoDisc® or similar tool) along with your photos, keeping the lighting and lens aperture settings the same. Then, after importing your photos into Lightroom Classic, select the photo plus the calibration photo and navigating to Library > Flat-Field Correction.
The Flat-Field Correction tool will analyze the calibration photo and then remove any color casts due to the lens + sensor combination, resulting in a new DNG file.
For an excellent and in-depth review and explanation of how to leverage Flat-Field Correction to its maximum potential, please visit this post by Sean Reid.
For more information about all of the improvements and updates in each product, please see the What’s New pages for:
- Lightroom for Mac and Windows
- Lightroom for iOS
- Lightroom for Android
- Lightroom Classic
- Camera Raw
While all of these things sound pretty amazing, I should point out that at the time of this post, none of us at SLR lounge have had the chance to test these new features firsthand. We will test these updates as soon as they’re available and report back on how well (or badly) they actually work for our readers.
What do you think about the latest batch of updates? Will you update and test this out for yourself right away or wait for the pending reviews and critiques? Let us know in the comments below.


Get Connected!