Similar to when a man walks up to you at a bar, hoping to somehow woo you with a one-liner straight out of a 90’s rom-com – photography is all about the approach.
How you approach a scene determines the end result and without a proper plan of attack, things may fall short. Build your shot from the ground up by determining how prominent a role each variable plays in your scene. Here are 8 steps to get you through the process of perfecting the use of off-camera lighting setups to ultimately produce a refined, well-thought out image.
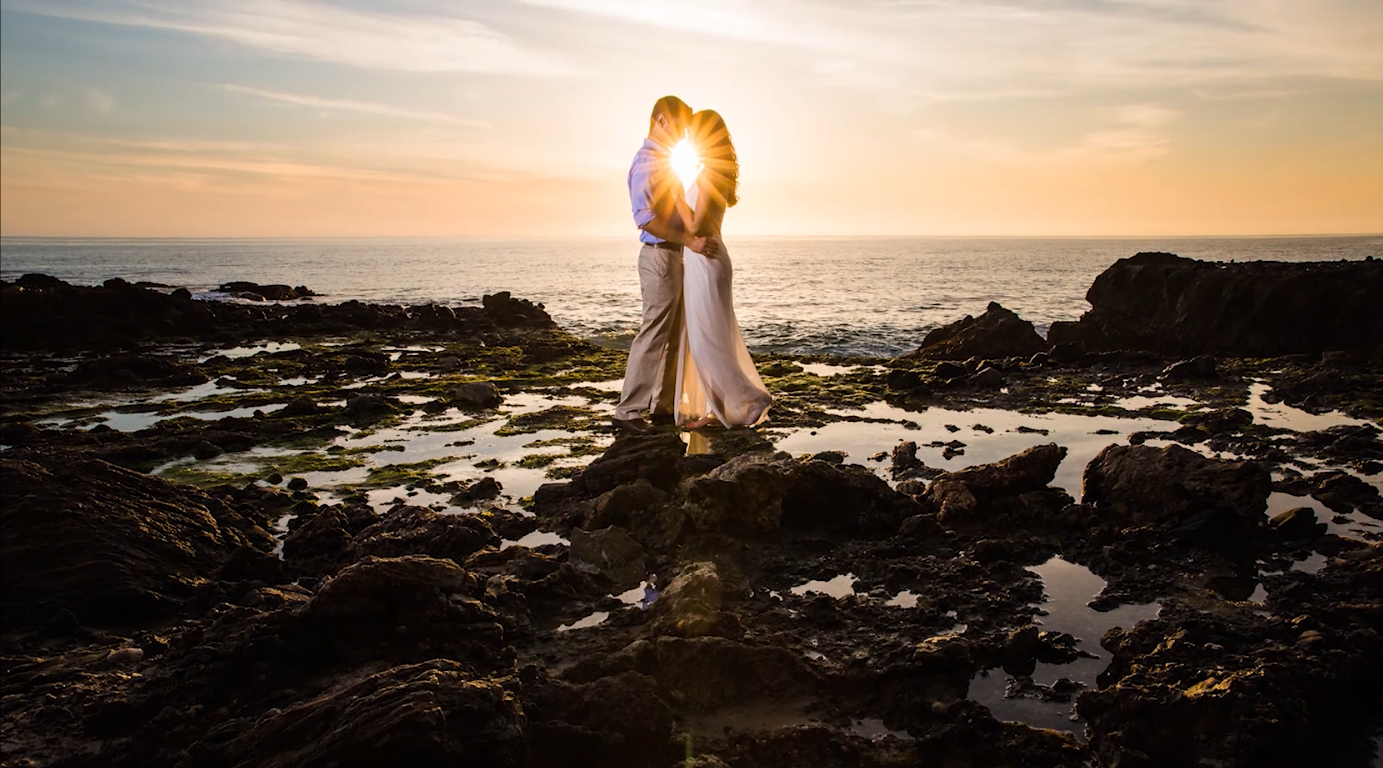
Step 1: Dial In camera settings based on composition
Figure out the composition of your shot and then dial in your camera settings accordingly. Often photographers get so bogged down in metering their light before even thinking about where to place their subjects or their desired composition, inevitably wasting precious time, but this step is mandatory regardless of your use of OCF or not, it will guide you in the right direction before you assess the strength of other variables. Camera settings based on the desired composition are known as compositional attributes.
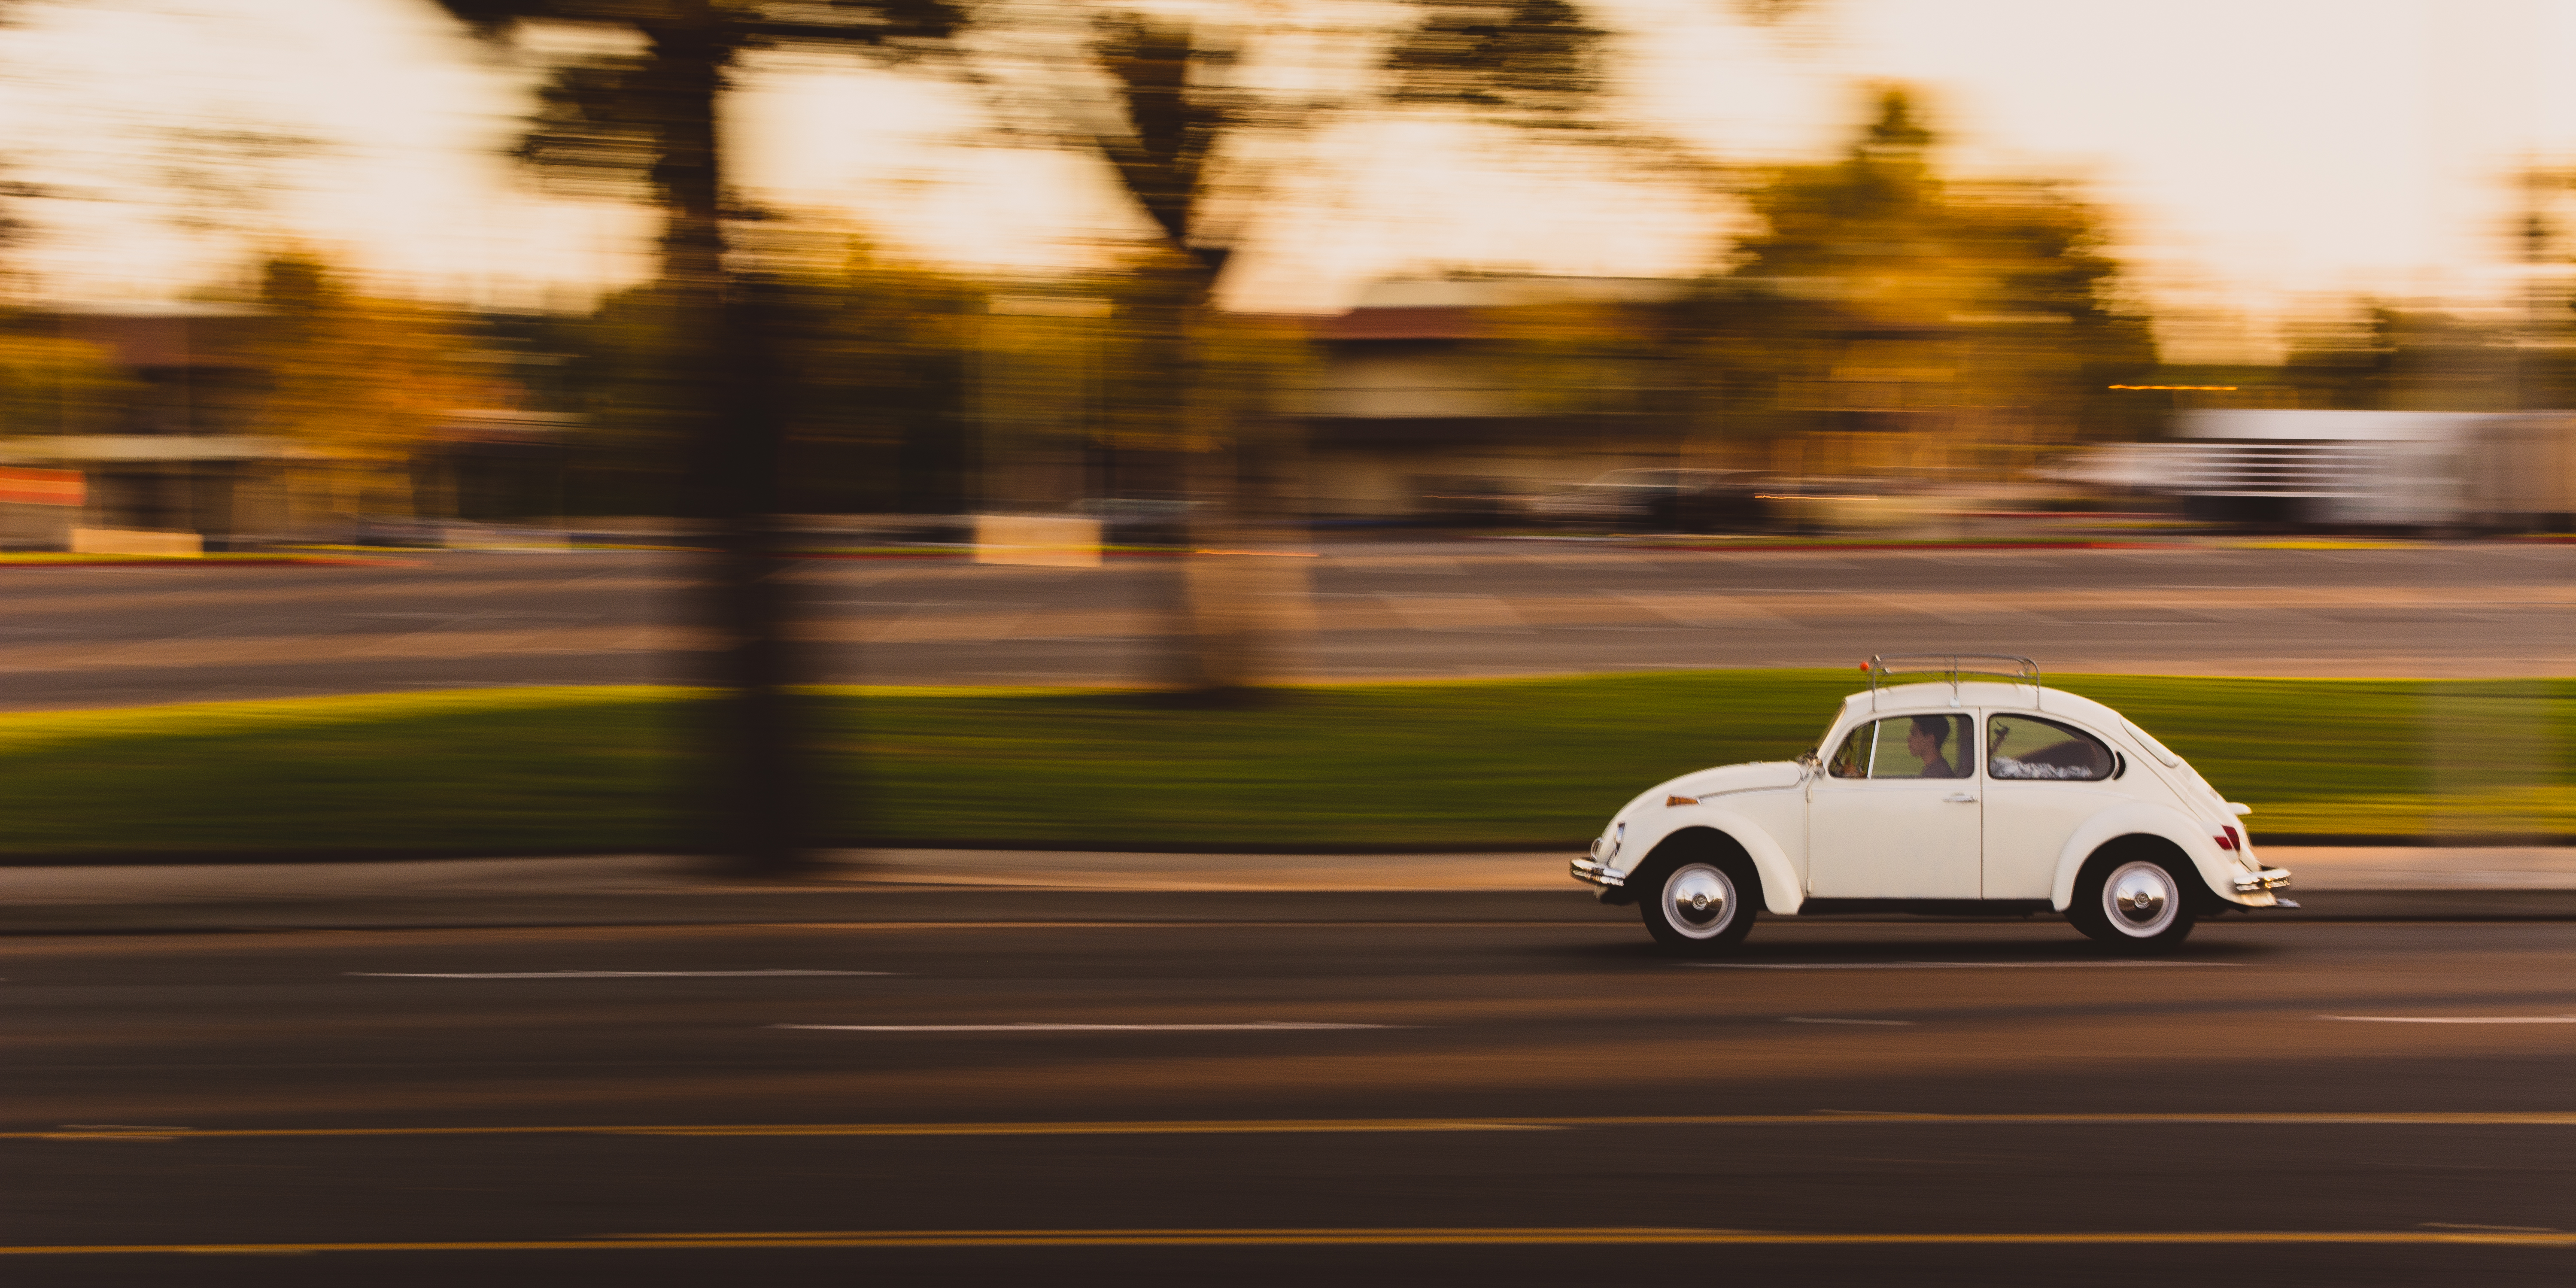
For example, the car in the image above was purposefully pushed camera right; that was the intended composition prior to taking the shot to allow for enough motion to be captured. Keeping that in mind, we adjust our shutter speed accordingly, with the intention of motion blur through the pan.
Step 2: Flash synchronization
Let’s talk about getting n’sync. After assessing your available light, decide how you will use your flashes to balance the ambient light to flash. If your shutter speed is going to be faster than 1/200th of a second then there are two ways of going about the situation: You can turn on high-speed sync for all flashes, as with it you’ll lose a tremendous about of light loss (anywhere between four to seven stops) or, if that’s not available, use a neutral density filter to cut down the ambient light so that your flashes can actually maintain power and synchronize with that shutter speed.
In our Lighting 101 workshop, we discuss a myriad of options for balancing ambient light to flash, showing you comparisons between different flashes and how they fare in various lighting conditions. Stream the full workshop as a SLR Lounge Premium member here!

Rear Curtain Sync. vs. First Curtain Sync
If your shutter speed is relatively slow for example, if you are shooting at night at around 1/50th of a second, you’ll need to decide if you want the flashes to fire at the beginning when the shutter opens, or at the end when the shutter closes. First curtain sync fires the flash at the beginning, records the subject’s movement, and closes the shutter. Rear curtain sync fires the flash just as ambient exposure is completed.
Step 3: Balancing Ambient Light with Flash Power

The less ambient light, the more dramatic of an effect flash will have on your image. When ambient light is greater than flash power, meaning your ambient light is brighter and your flash is less powerful, then the image will have more of a natural light effect.
Step 4: Light Direction & Quality
Now that you’ve determined what type of light to use and how it is going to function, where do you place it and how do you modify it to fit the ambient light available?

It all depends on what type of light quality you are going for and how dramatic or natural you want your light to affect your scene. Remember, there is no such thing as a define ‘perfect light’, so trial and error is the best way to see where your shadows are falling and fix your placement and modification accordingly.
Step 5: The Test Shot
Always take a test shot when you first approach your scene, and as you make these minute adjustments and additions, keep taking them. See if the image is progressing or if it’s veering off path from your original intentions. Throughout this entire process, take shots to see how to perfect the ambient exposure to flash balance.
Step 6: How does OCF Affect White Balance

Balance your ambient light color with your flash color to avoid mixing light, and then adjust your in-camera settings accordingly. This is a known area for problems arise because most photographers often miss or forget one of these adjustments and end up paying for it later in post-production.
[REWIND: how to balance mixed light]
Step 7: Move, Pose, Frame
Start moving around, switch your angles, swap out your lenses, and do whatever it takes to get the best possible outcome. Grab a safety shot and then experiment towards getting a more unique and refined result.
Step 8: Analyze Highlights & Shadows
Once you have all the characteristics of your light set up, focus on where your shadows are falling and where your highlights are overexposed. Zoom in and look closely because an image might look perfectly fine on the back of your screen but will vary on your computer. If you’re not tethering it may be difficult to see the smaller adjustments that need to be made in order to refine the image, so for every major light set up, zoom in, look at the highlights and the shadows on the image and then continue shooting. And do this with every major change in camera to subject position.
Join PremiumChange your approach and see how more detail-oriented you become helping you produce immaculate imagery. For more lighting tips and tricks be sure to check out Lighting 201, our best educational resource for single source off-camera light shaping. Stream this workshop and more as a SLR Lounge Premium Member.


Get Connected!