
Most of what we do as photographers on a day to day basis is very well thought-out and exudes a fair amount of control. Perhaps that is why many turn to street photography as an alter ego and find the spontaneity of it so exhilarating. Relinquishing the reigns and becoming very attune to the environment is an organic experience and is necessary to capture those candid moments.
Street photography is essentially stealing a moment in time and requires one to act fast in order to document their observations. In the beginning it can be nerve racking even for the most seasoned pros to step outside of their comfort zone and do whatever is necessary to catch those fleeting moments on camera. In this article, we’ll teach you how to take pictures of strangers in your street photography.
Tips for Taking Pictures of Strangers in Street Photography
Bring the Right Gear

The first step in understanding how to take pictures of strangers is prepare the right camera equipment. Any camera will work, including your smartphone. What’s more important, however, is your lens choice. A smaller lens and body combo will not intimidate strangers (as much), so I often take out a 35mm or 50mm lens on a Canon EOS R or EOS R6 body. My favorite focal length for street photography is actually 35mm because I can get a little bit more background, and I can intentionally use the added lens distortion for dramatic effect, such as for low-angle, bottom-up shots, etc.
Find an Ideal Location
The next step in understanding how to take pictures of strangers is to determine your ideal location. Find a spot with plenty of options, and before you approach someone, scan your scene for a potential backdrop. In other words, scout your location so that you can get a good idea of what’s around you, where the light’s coming from, and so on. It’s smart to pre-visualize your composition before asking to take someone’s portrait. This will help keep you from getting stuck when you’re in the moment.

When David and I were out in Pasadena, for example, we approached Erica, who was there taking pictures with her friend for her fashion boutique (you can find more info here: @casualallure). While David and Erica talked, I looked at the scene and noticed a staircase. I liked the staircase because I could place Erica on the stairs and use the railing for leading lines. I could also use the light falling between the buildings to light Erica’s face. I already had these shots in mind before it was my turn to shoot.
Establishing Credibility From the Start
Be sure to perfect your approach and establish credibility quickly. You might consider handing out business cards or something similar, and that is fine. Remember that your wardrobe and attire will also play into establishing your credibility.
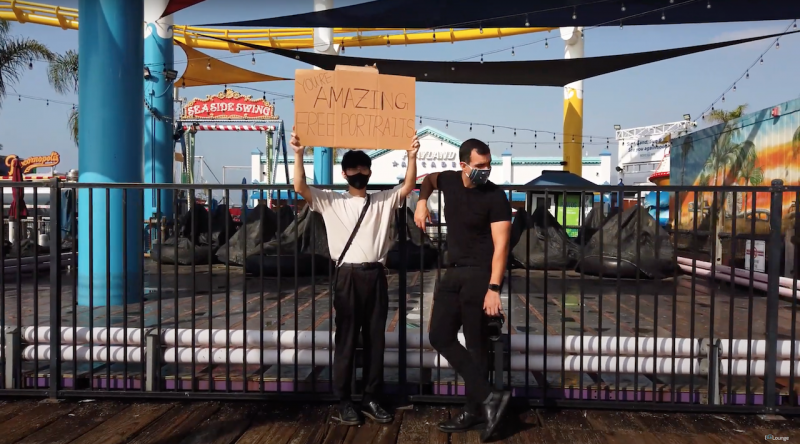
What I found to be most effective is to approach someone, introduce myself (“Hi, my name is Pye. I’m a professional photographer.”), and then hand (or show) them my phone, which will have my Instagram, TikTok, or YouTube channel loaded and ready to view. When they see that I create quality imagery and have a decent following, they know that I’m someone they can begin to trust. Of course, since we are living in a post-COVID environment, I have my face mask on during the approach, and instead of handing them a phone to review my work, I just hold it out and show it to them.

If you are just starting out and you don’t have an extensive portfolio or following, then you should just stick with the introduction and ask to take their portrait. You may get a few more rejections, but there’ll be plenty of people that will still take you up on the offer.
Prepare Yourself For Rejection
To play the game of photographing strangers, you’re going to have to learn to be okay with rejection. You don’t have to like it, but you have to be okay with it. This is true when approaching anybody for anything.
At the end of the day, this is a numbers game. One helpful tip I’ve discovered for dealing with rejection is setting a max number of rejections for the day. For example, you might accept that you’re going to get rejected 50 times, and when you do, you can head home. Of course, your number doesn’t have to be 50. Start out with a low number, like 5-10 times or something like that. Here’s the deal, though. When I set my number, I know there is no way I can possibly get rejected 50 times in a day.
Give Yourself Time Limits
Be reasonable with your time request. If someone agrees to let you take a picture, then take one or two minutes, maybe even up to five minutes. Whatever it is, be clear and ask for 3-5 minutes of their time up front. Then, be sure to respect the time limit. You have to understand that these people did not plan to be photographed by you. They have other things to do, or maybe they’re just enjoying their day. Please be respectful of the allotted time.
Find and Bring Out Their Personalities
Now that you’re shooting, I want you to go to the spots you scanned previously and capture the shots you visualized. When I was out shooting with David, I noticed a large flower on the wall while we were walking around and looking for people to photograph. On the way back, I asked David if I could photograph him in front of the flower. I had already pre-visualized this photograph.

The reason I like this shot is because of David’s personality. It’s great when you can incorporate their personality into your compositions, like we did here with David. If you know him, he’s a very fun, energetic, positive, and quirky guy. This flower reminded me of him.

In another example, I photographed a guy named Buddy playing his trumpet in Pasadena. For Buddy’s portrait, I positioned him against the wall and I held the trumpet in my hand, using it as a foreground object to frame Buddy against the clean background. There are tons of different ways to incorporate your subjects’ personalities into the street photographs that you take, even though you’re capturing these images within a matter of moments.
Communicate With Respect
Most of these people are not professional models. You’re going to need to direct & pose them, as well as communicate what kind of shot you want.

Don’t just leave them standing there, awkwardly staring at you in front of the camera. Help them pose. Direct and guide them as you are clicking away. Give them positive reinforcement, encourage them, and let them know how great they look. When you speak, don’t create awkward and uncomfortable moments.
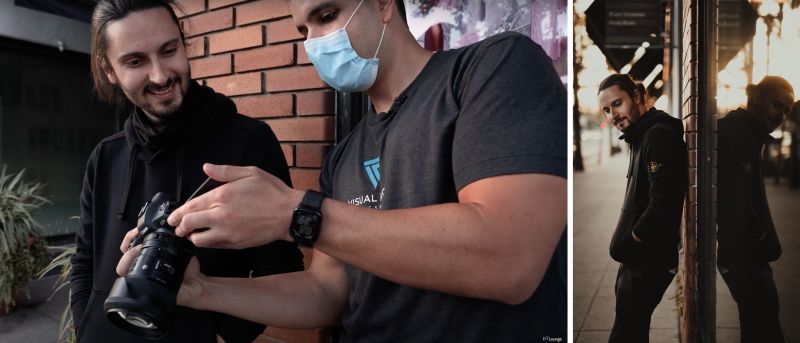
One of my favorite things to do, after capturing one or two images, is to show them the images. They almost always think they can’t be looking that great, but when I show them the first or second shot, they quickly realize the shots are great and they get that much more into the shoot.
Provide Contact Information
Finally, when your time is up and you finish capturing someone’s images, be sure to get his/her/their information. These people were kind enough to let you photograph them. When you post the images, share the images with them and send them a full resolution copy. I can’t tell you how beneficial this is for you and your photography business. 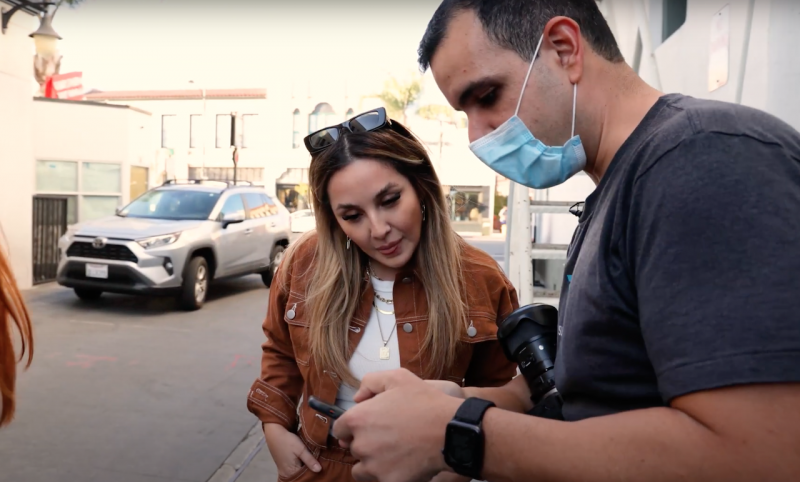
The biggest problem I think photographers have in this setting is forgetting to get the subject’s info or else simply forgetting to actually follow up, produce the images, post the results, and share them. Make sure that you’re following up and actually completing the process, giving your subjects a good experience, just like you’d do for paying clients. They may not have given you cash, but they paid with their time. Respect it.
How to take pictures of strangers with an iPhone
Now that we’ve reviewed the tips, let’s continue our education with another video. For this part of the article, we wanted to demonstrate the power of these concepts without any professional gear. So we did a similar concept as above but limited ourselves to using the iPhone only.
Portrait #1: Finnigan

Our first subject is Finnigan, an adorable puppy. Since he was on the smaller side, I got low to the ground and shot from his perspective. Simple and easy.
Portrait #2: Taylor

Next, I photographed Taylor. I had her stand against the door and placed the camera right against the glass to capture her reflection. A quick tip for street portraits is to flip your phone to get your lens close to any surface. This will help get lower angles or reflections like this.
Portrait #3: Emerson

For our final street portrait, I asked Emerson to pose on this staircase. I angled up toward the top of the staircase and framed so that the lines in the photo would lead to his face.


Get Connected!