I see in color, but I like to shoot black and white. Strangely, what I’ve found is to improve the color photography, I actually think in black and white. I posted a while ago about how to dive deeper into the black & white/monochrome settings in camera to truly get the most striking images. In that menu, you would really start to wield your b&w images by delving into toning. It’s that same principle that I’m going to discuss here, but instead of keeping the photo in black and white, I’m going to show you how using tones in a black and white filter in Photoshop can actually make a tremendous impact on your images.
[REWIND: A Simple and Quick Tip For Shooting Better Black & White Images]
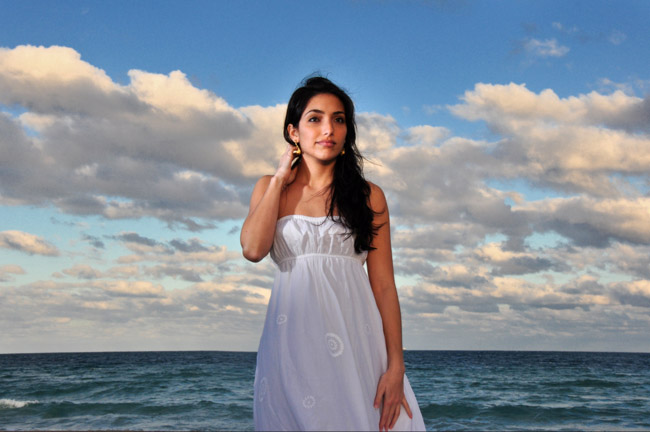
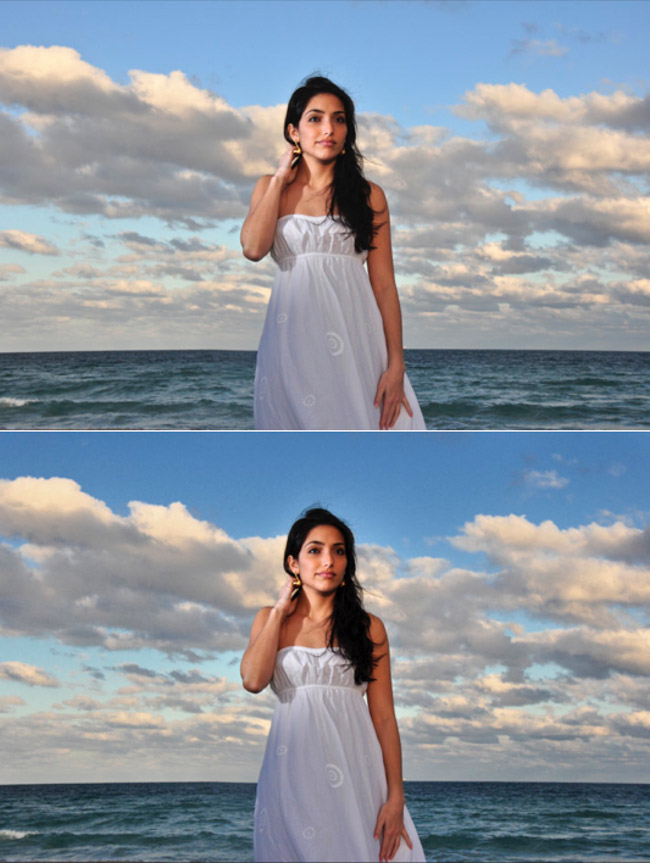
If you want to make your skies pop, your oceans prettier, or want to manipulate tones in an image without too much disturbance of other colors and tones, this is a very simple, effective way to go. It’s effective, too, for bringing the subject out from the background.
Note: The one thing I’ll utter before the breakdown, and this is important, is that it works best with RAW files (no surprise), or high quality jpegs with little noise. As you are all aware, noise is like a monster – it lives in the dark, so deepening a sky will bring out noise you may not have thought was there.
How To
Step 1: The steps are very simple. Open a photo you want to manipulate and create a black and white adjustment layer. [You actually can do various forms of edits first if you like. I usually use levels, sometimes curves and vibrance. Levels and vibrance I find very useful for skies, yes levels can have a bit too much of a saturating effect on the other tones in the photo.]

Step 2: Your photo will now look black and white, and the b&w properties tab with sliders will appear. You can use these at this point to alter those tones in that image. You will still see a difference even though you are viewing b&w. However, to make it easier to judge, change the blending mode of that layer to luminosity and your photo will appear in color.

Step 3: In the b&w tab, you’ll be focusing mainly on the cyans and blues. pulling them down (to the left) will usually intensify the blue hues of your photo making your skies pop.

Step 4: That is essentially the last step. However, if your photo has had changes in parts you want untouched, select the editing layer that made those changes, mask it, and then paint over the areas to render them as original as you’d like.
Here are two examples. Photos on the bottom are retouched. These are actually both old photos I’m using for the sky and wanted to give some more punch to, and this is a nice way to take something old and give it a make over, and perhaps make it more useable and or relevant.


Get Connected!