
Getting correct white balance has to be the absolute bane of my digital photography life. I just find it irritating that cameras don’t get this right every time, and yes, I’m aware of what a prat I’m being. At the times, I’m not using a grey card, clearly for more casual shooting, I still try to fiddle with the white balance settings to get a result as accurate as possible, even when shooting RAW. That is why I love cameras like the Nikon D750 and Sony RX1R for their ability to pretty much hit accurate WB no matter the surrounding you throw at it.
However, aside from using a grey card or something like an Expo Disc, I find getting the most correct WB is something I have to achieve in post. Whatever photo post processing program you’re using will almost certainly have a way for you to ‘fix’ white balance, and using the eye dropper WB tool in Lightroom or Adobe Camera Raw can be quite effective. Using them is generally a step in the right direction, but not typically a big enough step.

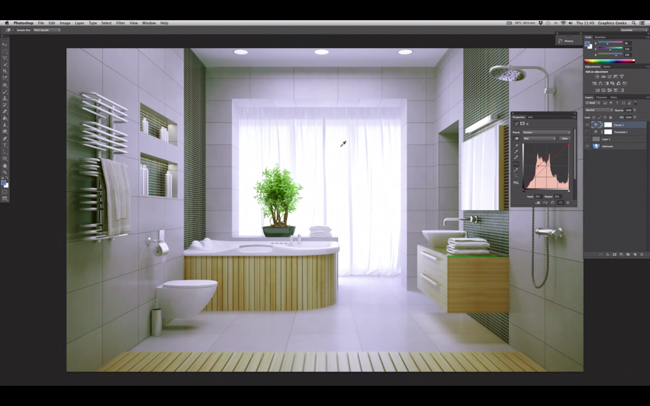
So what to do? The team over at Graphics Geeks have put together a short video breaking down a rather brilliant and unique way of getting just the right white balance using Photoshop. This is done using a grey point within the mid-tones, as it is in this range where you’ll find more color accuracy, which is, essentially, why we would generally use a 50% grey card. But, if you don’t have one, here’s how to find that point:
- Create a new layer which you’ll fill with grey by selecting Edit>Fill>50% Grey. You’ll at this point change your blending mode to ensure it is set to ‘Difference.’

- Create a new Threshold adjustment layer and make sure it is at the top of the stack. At this point, you’ll drag the slider almost entirely to the left whereby you’ll find only a few areas will be highlighted in black. It is these areas within your image that are closest to an actual 50% grey.

- With the Color Sampler tool selected, you will now click the center of one of those areas which will save as a sample point. They suggest choosing one directly lit by your light source.
- Hide the Grey and Threshold layers and select the curves adjustment layer. Once selected, you’ll select the grey point pipette and use it on the sample point you just saved in the previous step.
That’s pretty much it. All you should do at this point is remove the color sampler point by selecting the Color Sampler tool and clicking ‘Clear’ at the top bar.
[REWIND: Why You Need A Tablet & How It’ll Transform Your Lightroom Workflow]
Those of a pedantic persuasion, will no doubt argue that, while interesting, there are ‘easier’ and more accurate ways to ensure a proper white balance; that using a 50% gray card, or an Expo Disc will give a bullseye every time. Or that using a dropper tool within Lightroom is just a much easier route to take. They would be right to a degree if you squint, but if you open your eyes, you’ll realize that this is going to be most useful when you haven’t had your gray card in a test shot because you either forgot it or were shooting spur of the moment.
And regarding Lightroom, I can tell you that finding a grey point within Lightroom isn’t always easy, nigh possible. Through my own tests I’ve found this to be a very effective way to save an image from a terrible WB, and generally more accurate than in LR. If it seems like a lot of steps, I wouldn’t be put off, as in practice, it actually takes little to no time at all. Frankly, I just made a Photoshop Action to do the first steps with a single click.
You can find more from the Graphics Geeks here on their YouTube site.
Source: Graphics Geeks, Images are screen captures from featured video


Get Connected!