
In this video, we’ll show you how to create a dramatic portrait flash setup all by yourself! This is a great technique to learn when you are solo-shooting or don’t have an assistant to help you out. A big thank you to Profoto for sponsoring this video!
1. Place Your Camera on a Tripod
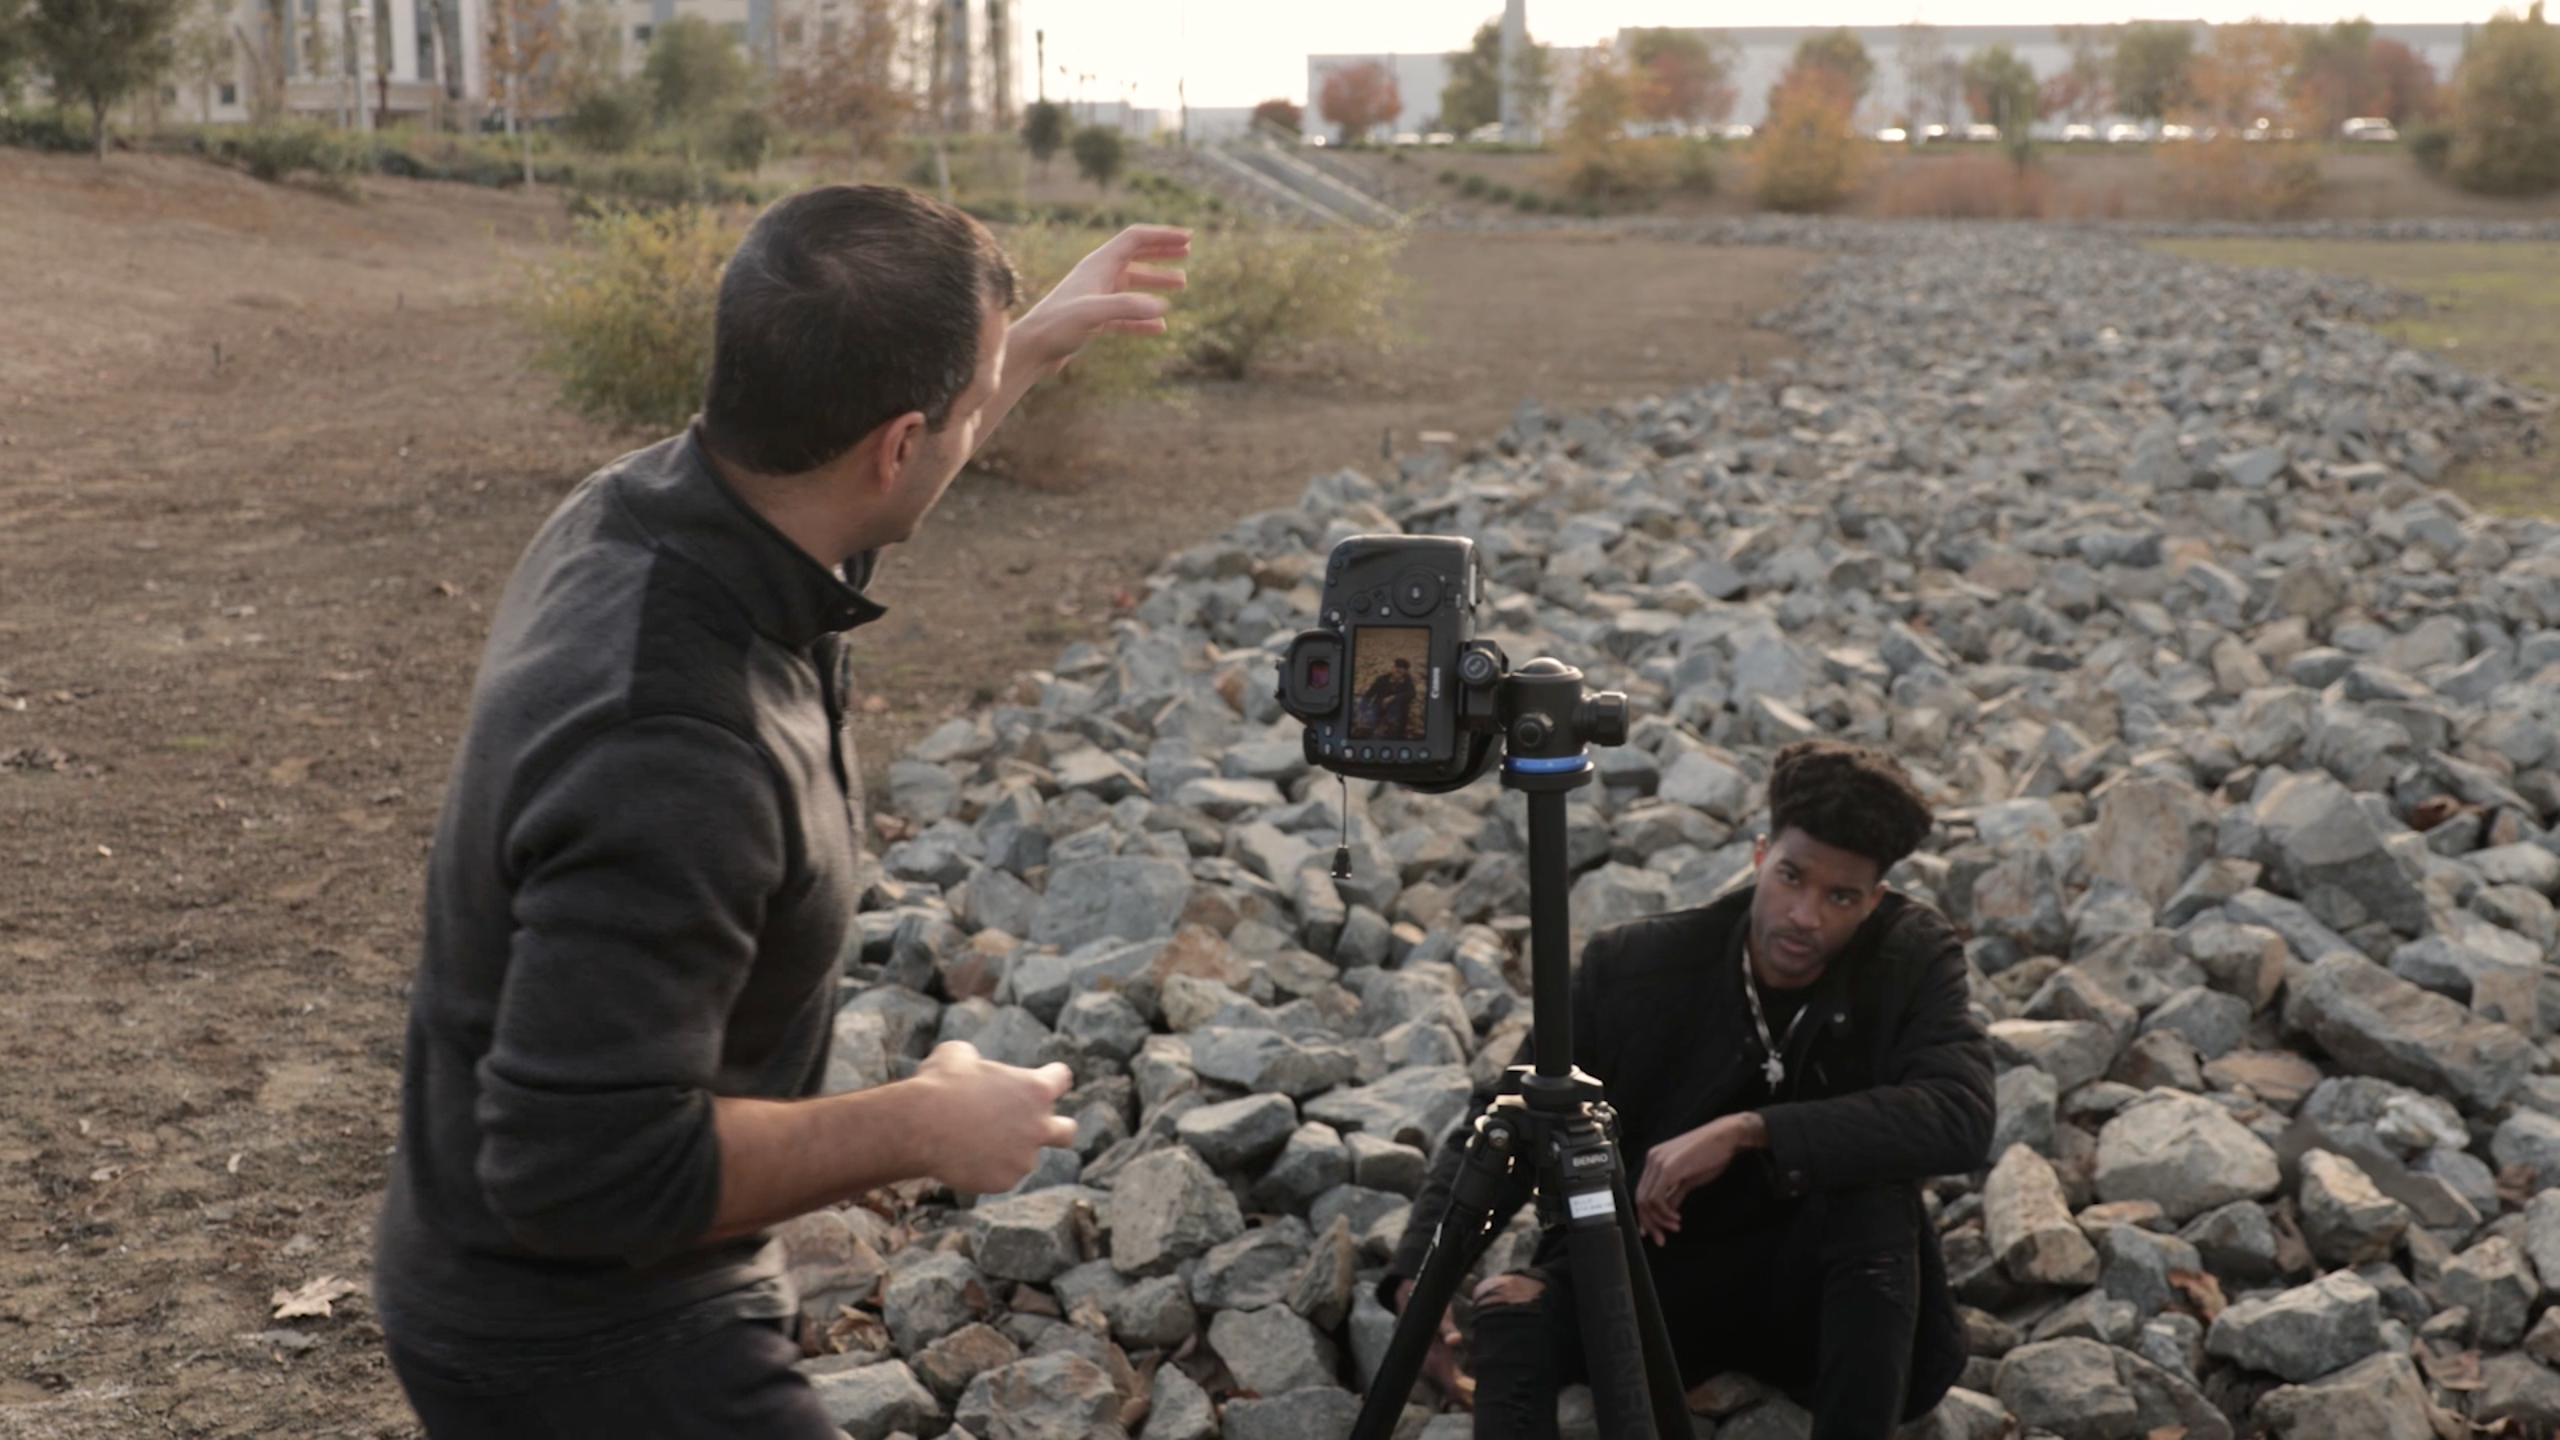
For this tutorial, you’ll notice we are using the C.A.M.P Framework that we created in our Lighting 4 course, which means our first step is to decide on our composition for our photo. We chose a “leading line” of rough terrain composed of rocks that positions Jae right in the center. With this position we were able to emphasize the backlight of the sun. Once you’ve decided on this, let’s lock things down by placing your camera on a tripod. Why? This will keep things consistent for you while you’re shooting on your own, it’s a lot easier to manage when solo, plus there’s an added benefit which we’ll get to later!
2. Dial-In Your Ambient Light Exposure
The intent here is obviously something more dramatic than normal. Since we know we’re going to add some strobe lighting later, we’ll set the camera to shoot a little darker by using faster shutter speed, (taking advantage of High Speed Sync), to ensure the ambient backlight provides just a nice highlight on the back of our models hair. Now we can prepare for our portrait flash setup. Your ambient light exposure is very dependent on your intended look behind your photograph.
3. Modify or Add Light

Now that we’ve got our settings dialed in for the ambient light exposure, we now need to figure out how we want to light our subject. Since we don’t have enough ambient light to simply modify with something like a reflector, we need to add a flash. What would make the most impact in this particular situation, is a butterfly light dropping directly over him. The Profoto B10 Plus has a mounting grip that makes it easy to handhold this light whether you are using the continuous light or the strobe. To complete the portrait flash setup, I paired it with the Profoto 3″ Octa to create a softer light since we placed it directly overhead.
4. Pose & Photograph
Now that we have the ambient exposure dialed in, and we know how we want to light it, we’re stuck with a new problem. I don’t have anyone to move or setup my lighting! So what we’re going to do to quickly test this is set a 10 second delay and handhold my lighting, check the image to see if it came out the way we want, and then do it again! This may take a few tries to dial in the power levels we want to match the tone of the image, but believe me, it’s worth it in the end!
If you have a newer camera, you can make things a little easier by connecting to it’s WiFi or Bluetooth settings and controlling your camera from your phone! This will allow you to avoid using the timer, giving you the control to stand in the shot make the adjustments to both power, settings, and positioning much quicker and easier.
5. Capture Your “Plate Shot”

Once we’ve gotten our perfect shot with the portrait flash setup positioned exactly the way we want, we’re now going to turn off our lighting and have our model stay in a similar position as our lit shot, enabling us to capture _just_ the ambient light. We’re then going to take this back to our computer and combine them in post to create the perfect dramatic portrait!
6. Final Touches with Post Production
After we’ve selected our final image to work on in Lightroom, we’re going to apply our “Flash” lighting condition-base preset from our Visual Flow Lightroom Preset System (since we were working with strobes), and then make some fine-tune adjustments to get the image looking exactly the way we want for this mode and tone. From there we’re going to copy these settings and apply them to our Plate shot to make sure they are as similar as possible. Then we’re going to right-click them and Open as Layers in Photoshop.

From here we’re going to ensure the layers are aligned, and then we’re going to mask away the light that was in the frame of my final shot with the background from my plate shot, and then fix any minor imperfections and that’s it. Here is the final image:

We can do this by selecting the areas we don’t want and using content-aware fill. Photoshop will do a decent job at guessing what you want, but it’s not always perfect, so what you can do is use the content-aware fill first, and then use the clone stamp tool to sample and paint in other areas in the sections that need a bit of fixing up.
Conclusion

Whether you are new to Strobe Lighting or you’ve been practicing it for years, there is always something to learn that will help make your images that much better. As you can see, you don’t need an entire crew to create an epic image. It might take you a few extra steps and a little bit longer than usual, but it’s still completely doable as a 2 person team of you and your model. Just be sure to take your time and plan out your shot(s) so when you’re back in front of your computer, the images are easy to splice together (if you need too). Special thanks to Jae our model for helping us out in this episode. For more tutorials and lessons on the fundamentals of lighting, check out our Flash Photography Training System!


Get Connected!