How many lights does it take to create a great, pro quality image? In my early career, my answer was “as many as I can get.” However, 2014 was the year this all changed.

Maybe some of you are like me. I would spend hours watching lighting tutorials, behind the scenes videos, and attending live workshops to learn the best way to light people in a studio environment. Often times, the instructors in these classes would use multiple lights, and while the results were inspiring, it was also a bit of a hurdle in my own mind. My immediate thought was “I can’t create an image like that unless I have 2 or 3 more strobes like they’re using,” which helped fuel my “Gear Acquisition Syndrome.” While I waited to save the money I needed to buy these additional lights, my work was often uninspired. My excuse was that I needed more lights to fully execute my vision. Then one day my photography mind was turned upside down.
I came across a number of gorgeous images on 500px and Flickr that were just stunning. I delved into the comments and EXIF details of these images and was shocked to read that many of them were all lit with just a single light. Surely, this was some type of wizardry, or maybe just a misprint. Either way, I was determined to take a step back and approach my work with a fresh set of eyes.
That day, I decided that for the next few months I would challenge myself and shoot all of my studio work with just a single light and modifier. I wanted to see all of the different ways I can shape a single light while keeping the style of images unique from one another. No matter the style of photography, from commercial portraiture, to headshots, to editorial, I was determined to find as many ways as possible to extract the most out of this simple approach.
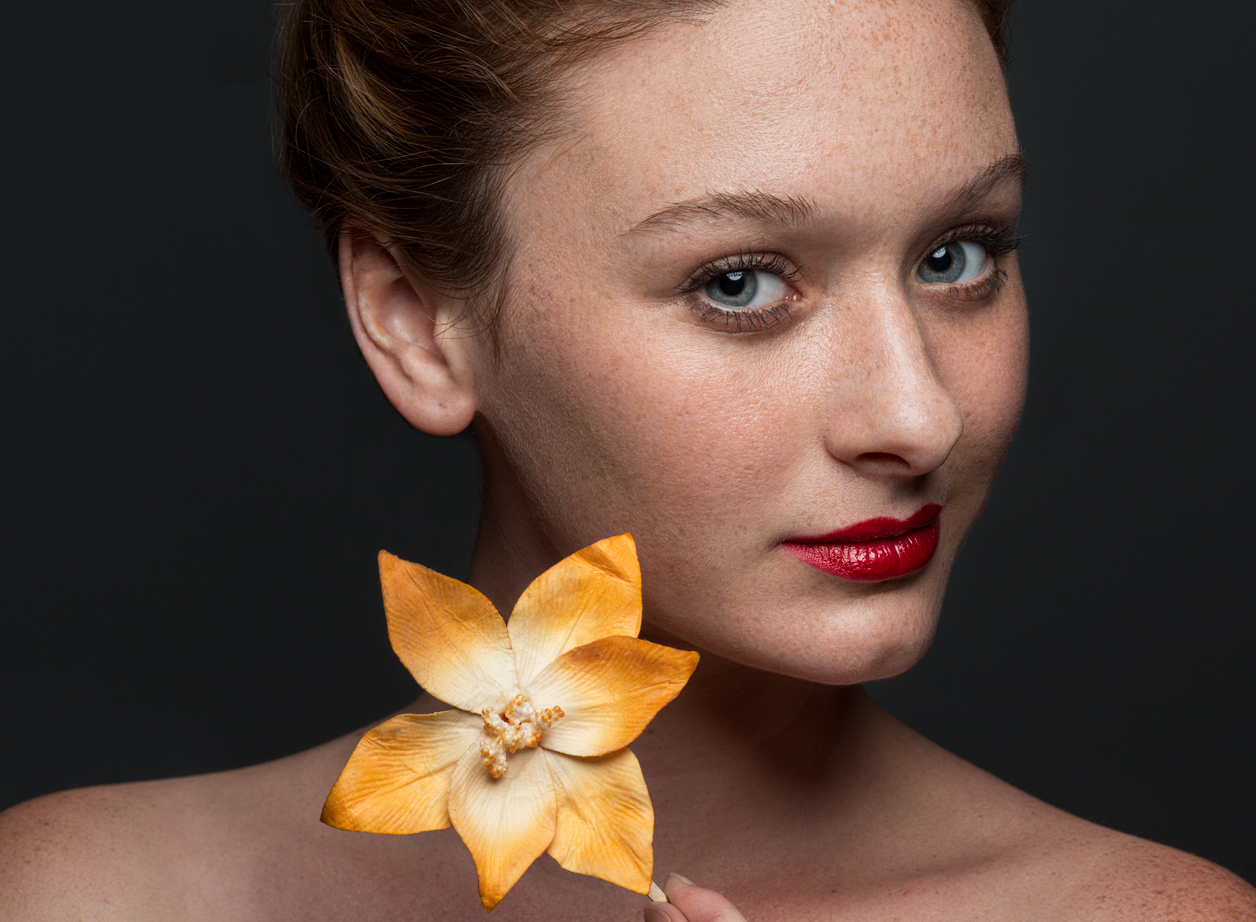
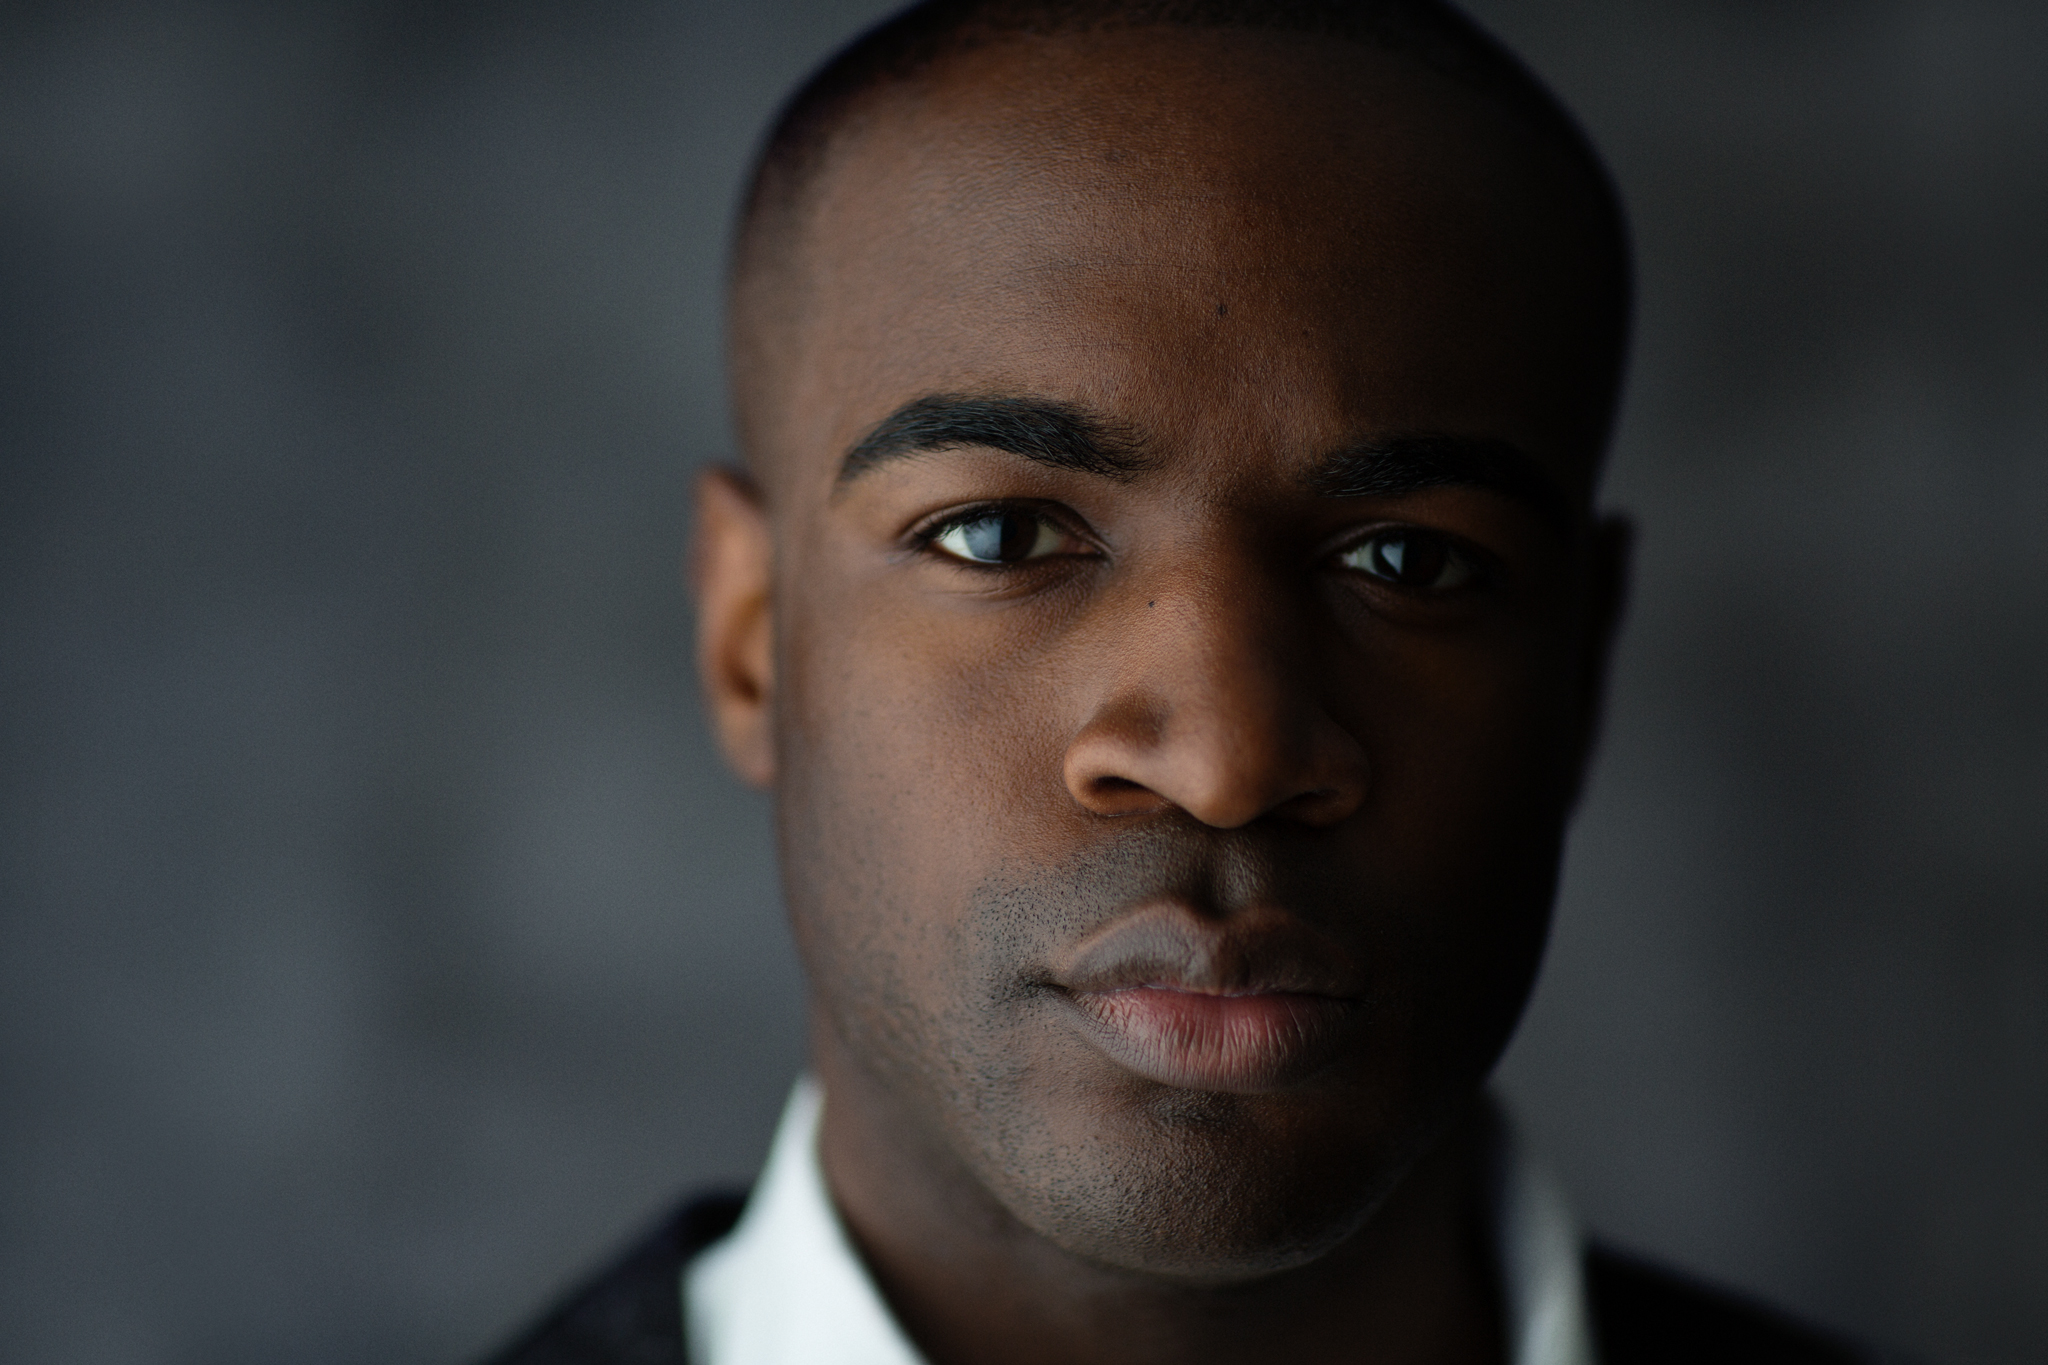
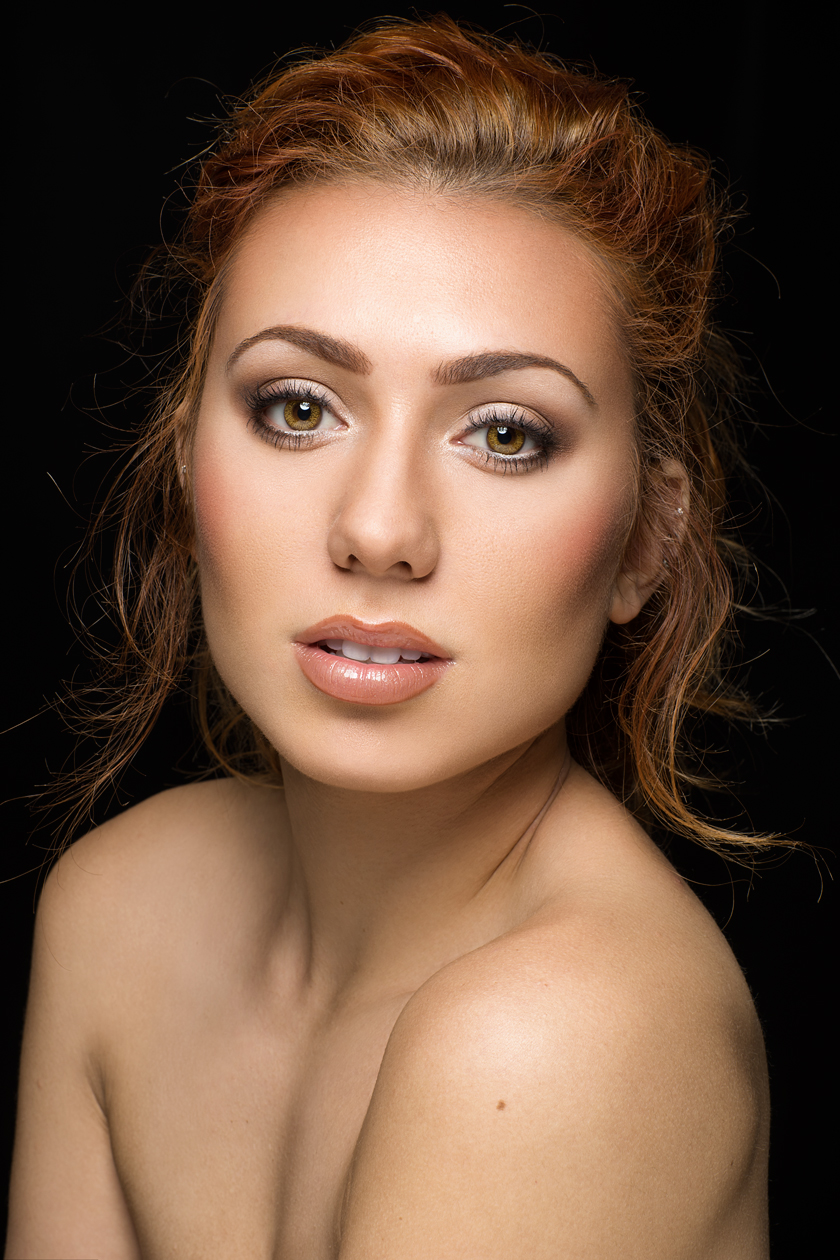
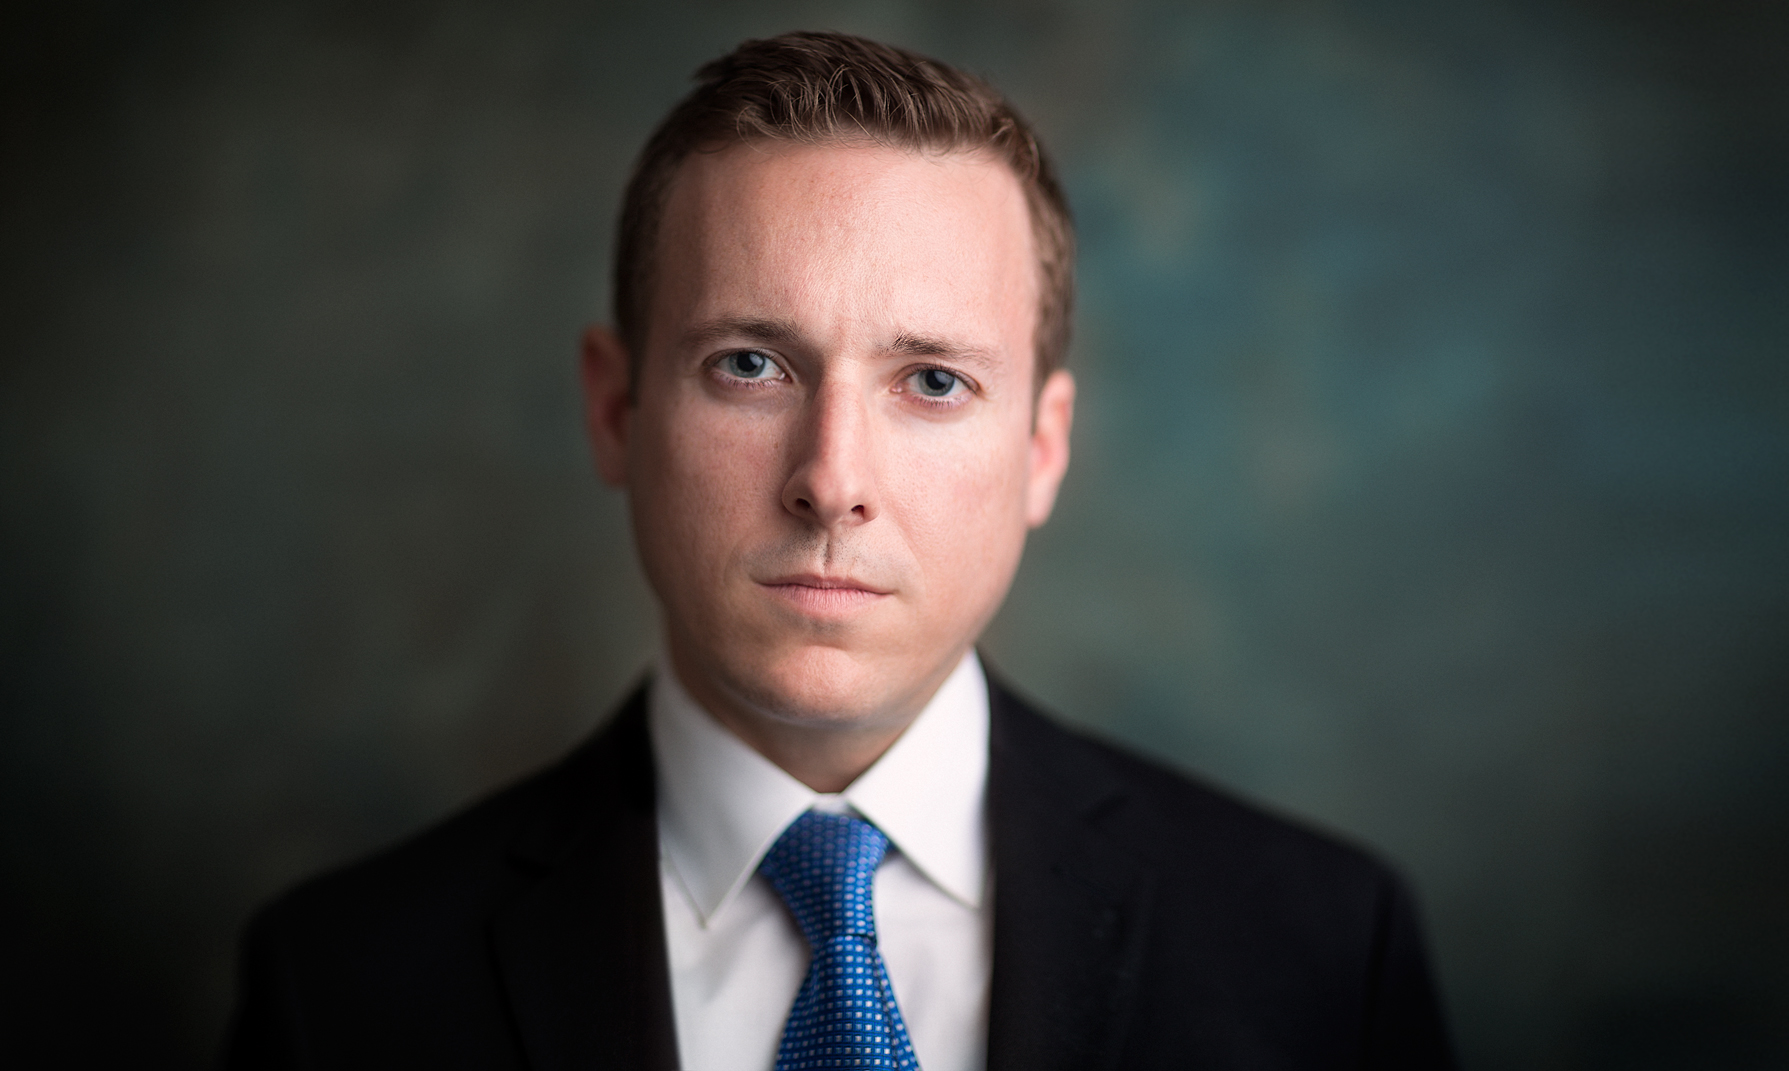
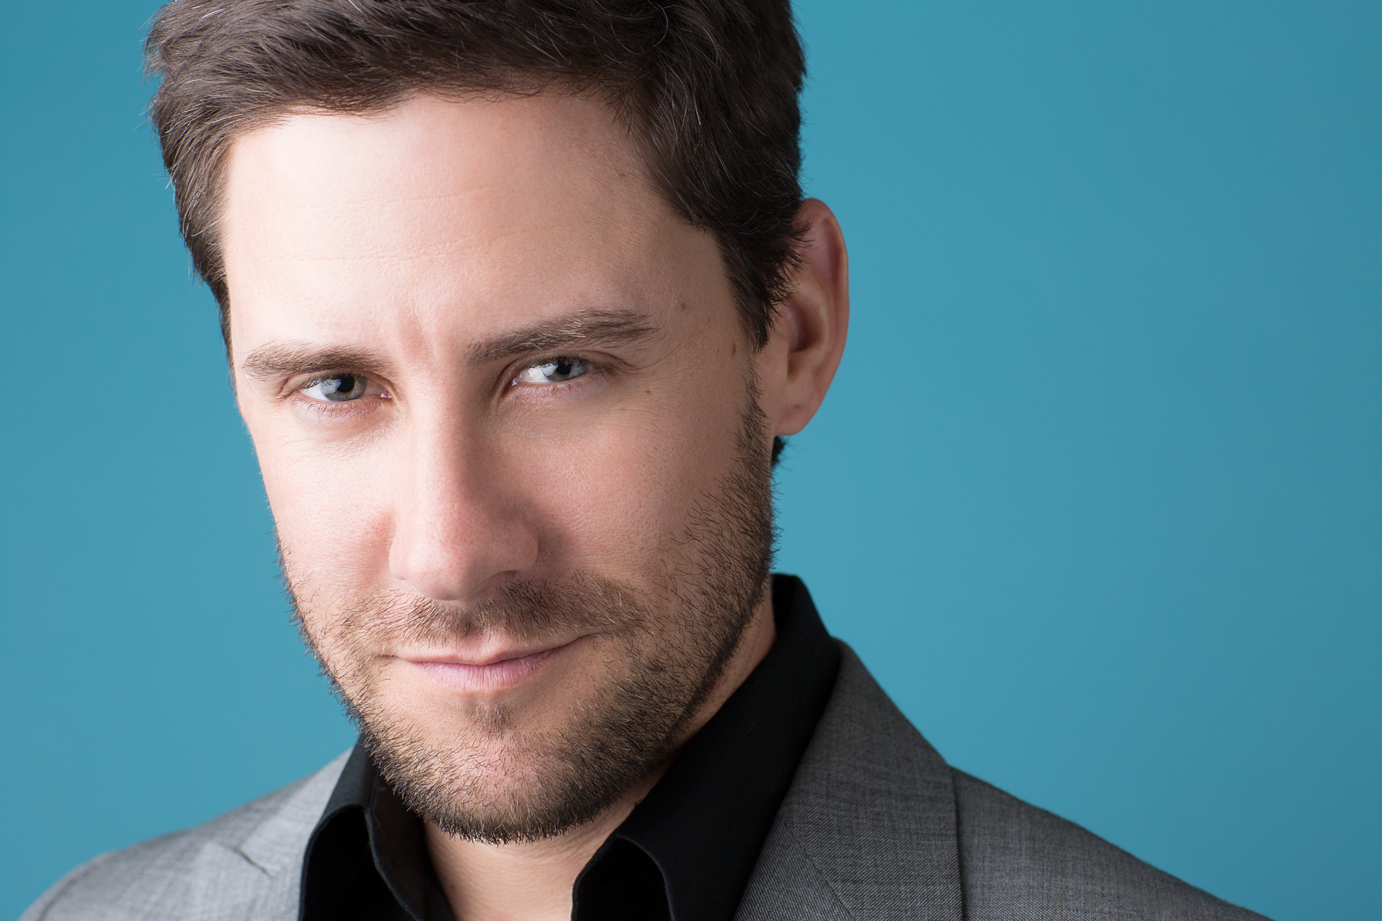
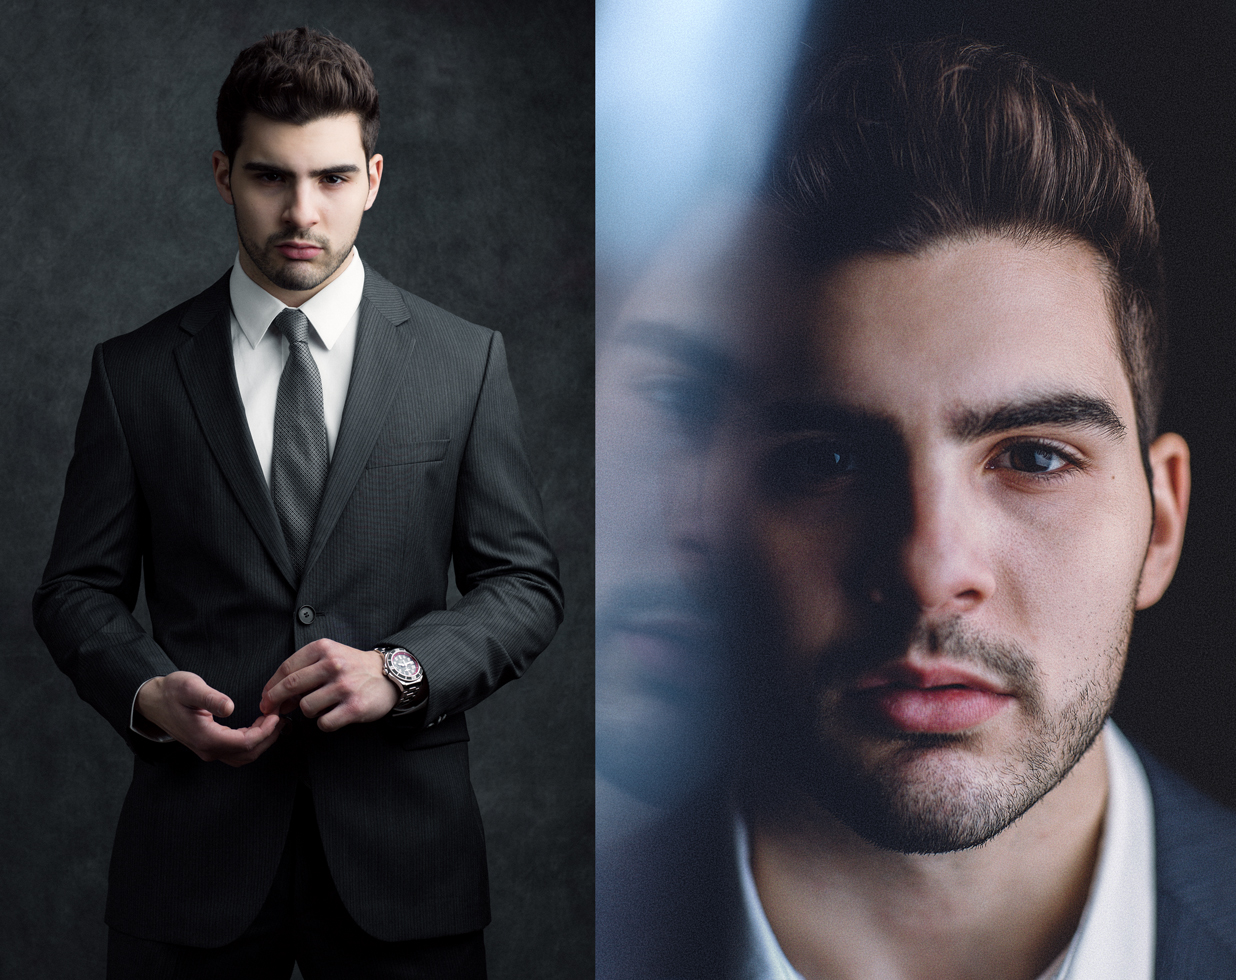
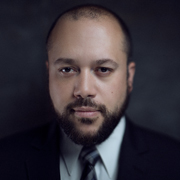
Below is a set of images I photographed from March 2014 to January 2015, all with one light/modifier.


Tips & Takeaways
Committing to shooting with one light only for any extended period of time can be quite challenging if you’re not use to it. I was fortunate to have a variety of fantastic modifiers that made this journey fun and easy. My go-to modifier was the 5ft Octodome made by Photoflex. It was what I used for a majority of the images above.
When hard light was needed to execute a particular look, I chose my 22″ beauty dish. In each shoot, I would experiment placing these modifiers in different places in relation to my subject. If you hang your modifiers centered above your subject, the look will be totally different than if you place it at a 45 degree angle to the left or right. Set up some test shoots and try placing them in different areas and distances from your subject until you settle upon a style that you like, then try to replicate it often in your future photo shoots to increase your consistency and quality.
If you’re thinking that buying more lighting will automatically take your work to another level, I challenge you to take a step back and explore all of the ways you rock your next photo shoot with just one light and modifier!
Have you gone through a similar journey? If so I’d love to see some of your best one light images in the comments below.


Get Connected!