If you shoot on location, then you are going to love the results you will experience with this simple and portable lighting setup. It’s not so much about the type of Speedlight you are using but how you modify the Speedlight to create a beautiful quality of light. In the video below, I reveal a Clamshell lighting setup with just one Speedlight for portraits.
Watch ‘Live Photoshoot Single Light Portraits | ClamShell Lighting Setup’
In the video above, you saw the Westcott Rapid Box Duo in action with the Cactus RF-60 Speedlight. To trigger the Speedlight, you can use a Cactus V6 trigger to remotely adjust the power settings of your Speedlight right from your camera. It makes things a whole lot easier for you if your Speedlight is mounted up high or it is out of reach from your shooting position.
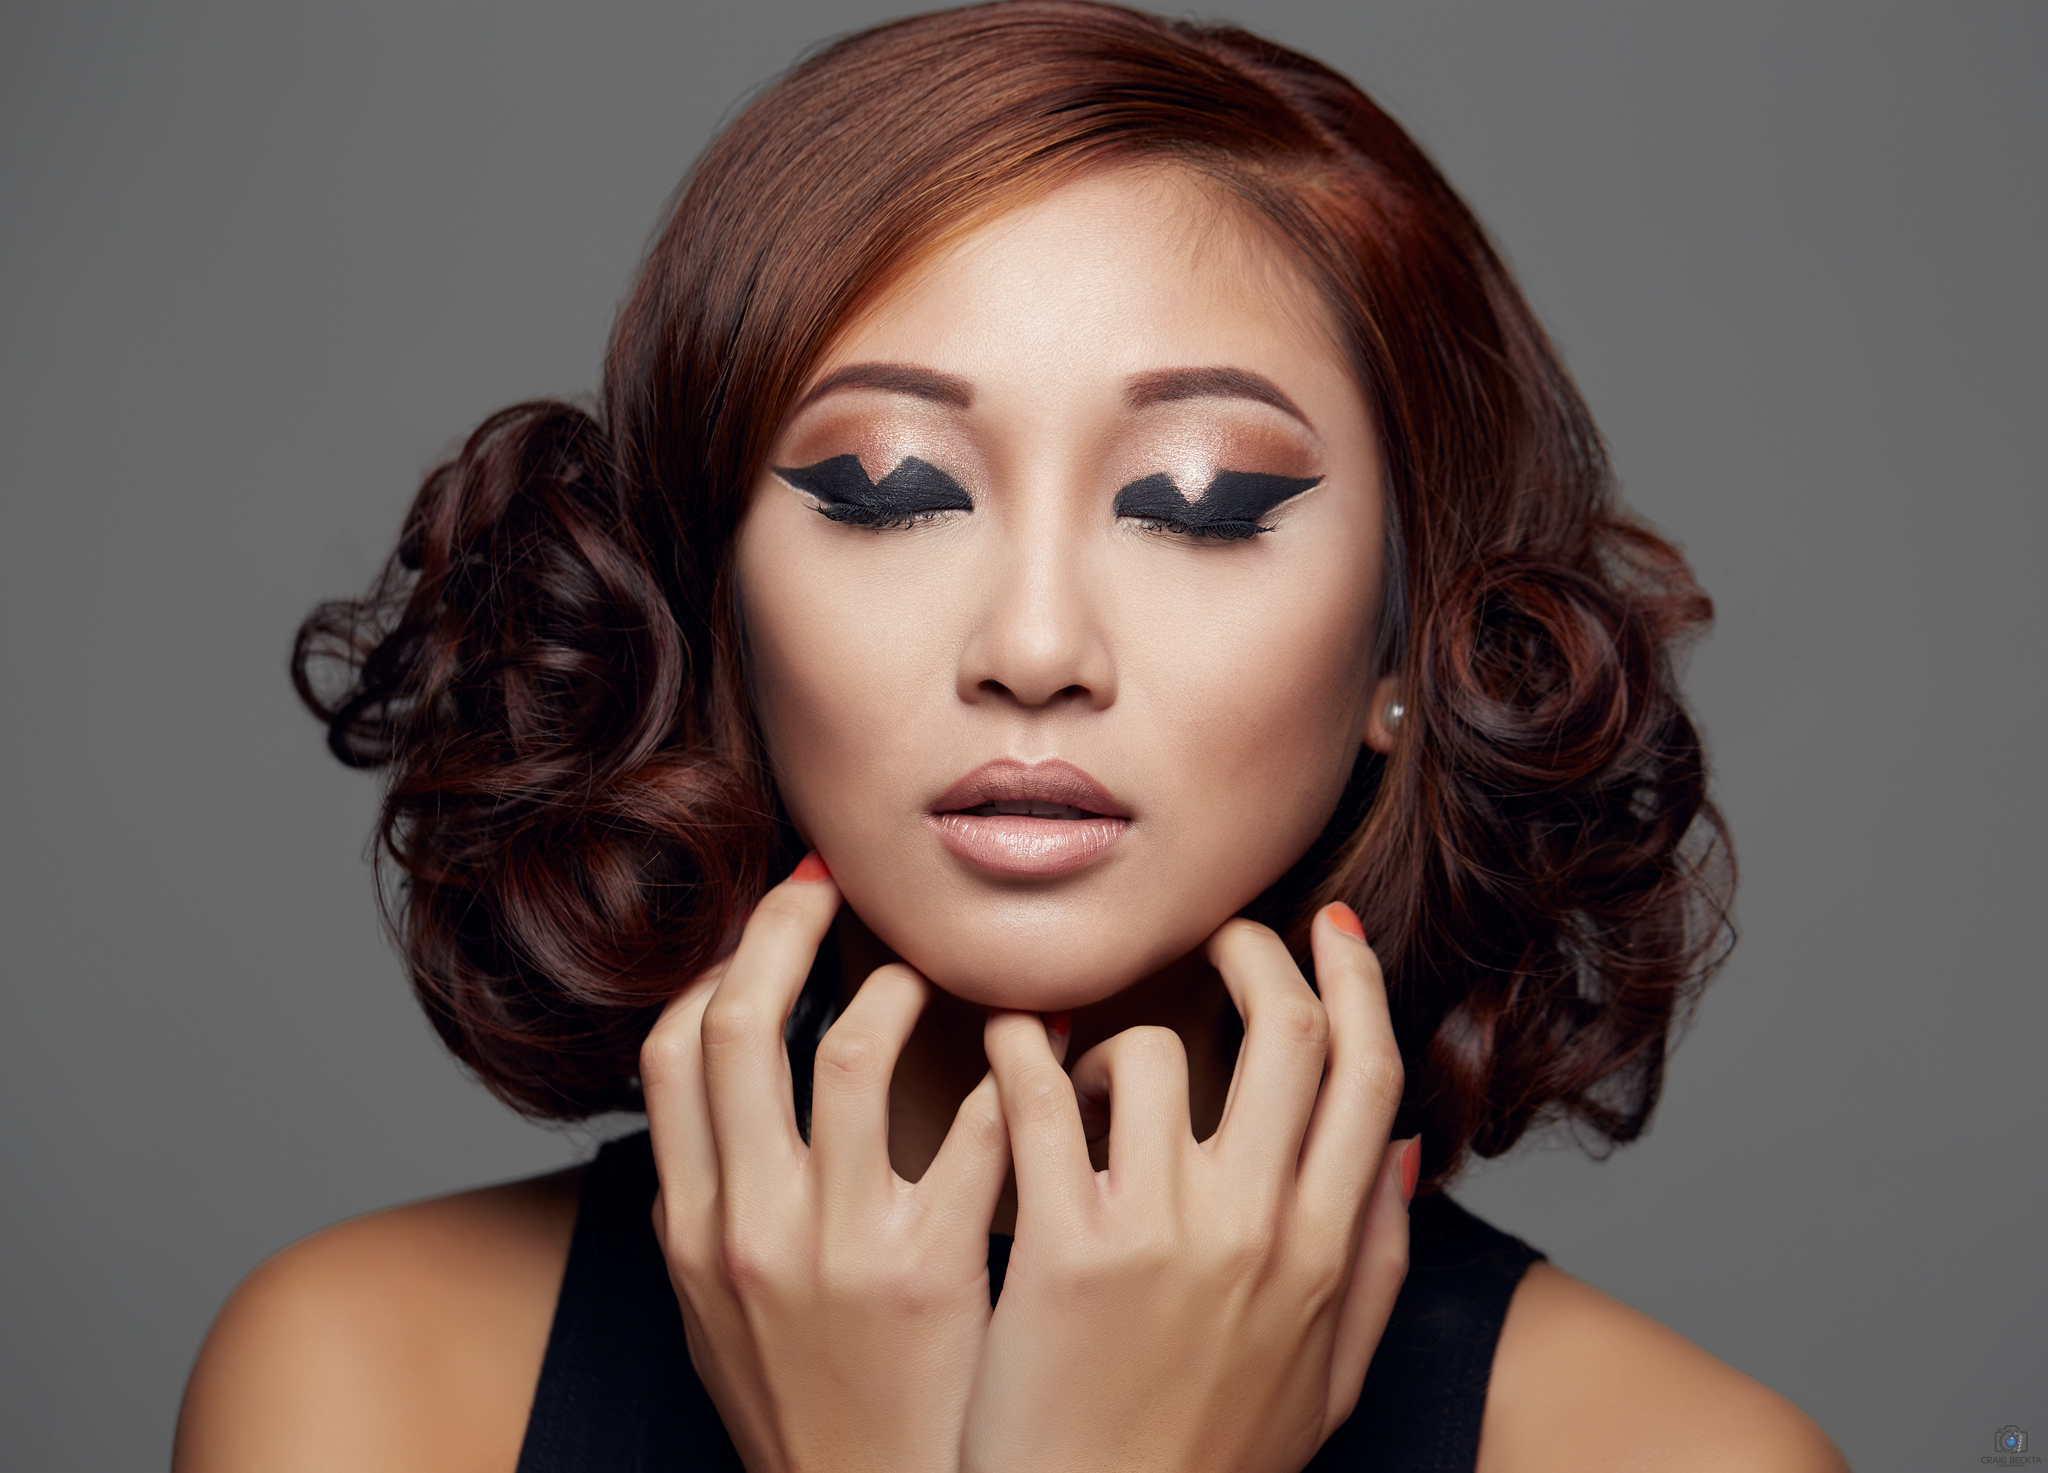
For a flattering beauty look, start with your light in the butterfly lighting position, roughly 3 feet from your subject and then use a white reflector for subtle fill under the chin.
In the image above, I used a Westcott 5-in-1 reflector for fill. If you don’t have an assistant to hold the reflector for you, there is an optional stand to hold the reflector in place. The camera and lens I used for the image above was the Canon 5D Mark III with the Canon 100mm Macro F2.8 lens set at F5.6 ISO 100 with a shutter speed of 160.
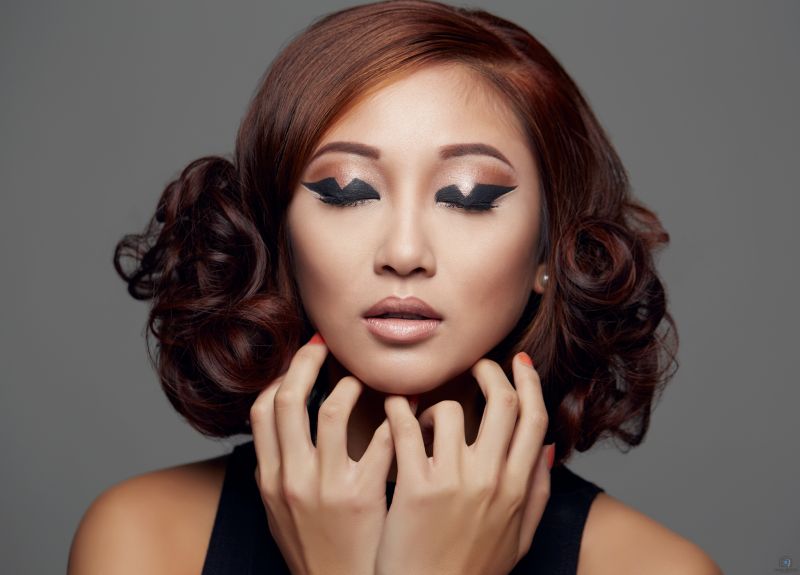
For the image below, I switched to the Canon 135mm F2 lens at F5.6, which is another great lens for portraits. It is tack sharp, and it’s a very flattering focal length for head shots.

Once you have your lighting in place, it is really just a matter of working the shot. Make sure you focus closely on the position of your subject’s eyes with the goal of having them look confident in front of your camera. Confidence comes from the eyes, but you also have to pay attention to the position of the mouth as well.
The expression is a crucial part of shooting portraits, so shift your mindset to making a personal connection with your subject and let your creativity flow.

This last shot above was also taken with the Canon 135mm F2 lens at F5.6, this time without the white reflector for fill. I used a single Cactus RF-60 Speedlight mounted in a Westcott Rapid Box Duo with two layers of diffusion.
Use Clamshell Lighting To Create Beautiful, Flattering Light
One of our biggest tasks as portrait photographers is to make our subjects look flattering. There is a long list of factors we need to consider, from posing to our camera settings. High up on that list should be lighting. The way we light our subjects, or the way we modify existing light, has a drastic impact on the final image.
There are a thousand (or near enough) different ways to create flattering light. When you also factor in the never-ending variations of facial structure, it can quickly become a very difficult task to know what lighting to choose.

Clamshell Lighting: My Favorite Portrait Lighting Setup
When recently tasked to take some corporate headshots, I knew exactly what lighting setup I would use. How I was going to transport all of the necessary equipment on the London tube was another matter; one which I shall be covering in a later article.
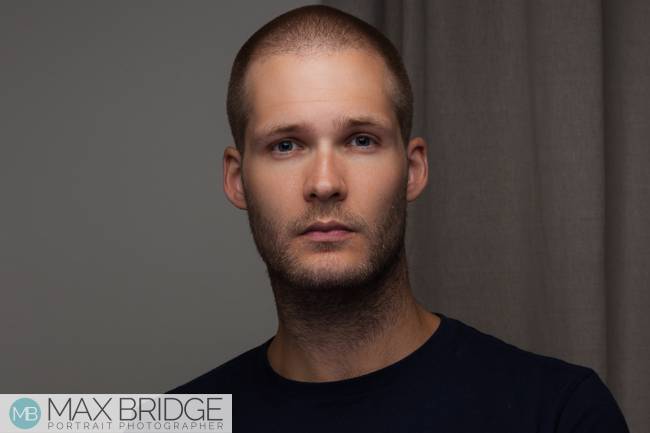
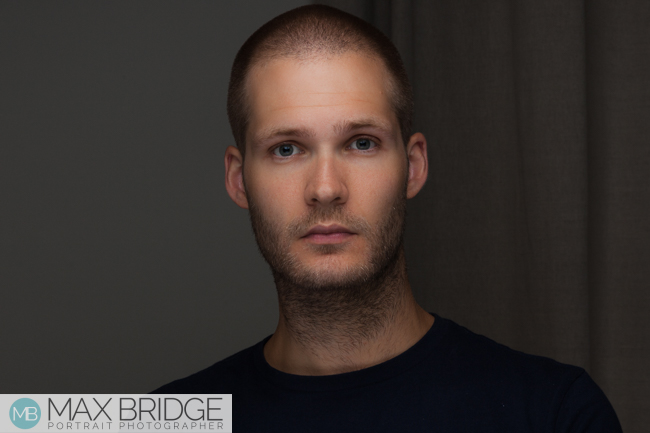
Given that I rarely have an opportunity to use clamshell lighting, I decided to do a few tests before the shoot. It didn’t take long for me to be reminded of why clamshell lighting is one of my favourite configurations. The photo you see above was the final test shot I took using this technique.
The beauty of clamshell lighting is in its simplicity. It is so easy to accomplish. Honestly, anyone can do it. Here’s a short list of the bare minimum you will need in terms of kit.
- Light source: Speed Light or strobe.
- Circular light modifier: Octobox, umbrella or beauty dish
- Silver or white circular reflector: Roughly the same size as your main light source
- A background of your choice
Of course, there are lots of other things you will need; triggers, light stands, etc. But those are a given and the above items are the main things required. In a followup article, I will show you exactly what equipment I used to create a high key, clamshell lighting setup which I was able to take on the tube.
Having acquired the necessary items, we need to get on to light placement, the key to any successful lighting setup. For clamshell, you will need one light source placed above your subject angled at 45 degrees (I like the bottom edge to be just above their eye line). Mirroring this placement, you then put your reflector underneath. The gap that is created in the middle is where you place your camera. Refer to the diagram below to get a better idea.
 I find it works best to have your lights as close to your subject as possible, just outside of whatever your frame may be. This will, of course, depend on what look you are going for, but it’s what I am drawn toward.
Why Is Clamshell Lighting So Good?
Due to the positioning of the lights and the distance to subject, we’re able to create a very flattering light which can enhance facial structure. Soft shadows are created under the cheekbones, and a slightly deeper shadow appears under the chin, extenuating the jaw line. The second light source, be that a reflector underneath or another modified light source, will allow you to control the intensity of those shadows.
The real beauty of this is that it will work and be flattering for pretty much anyone. With minor tweaking of the light positions, it will even work for people wearing glasses, avoiding any nasty reflections.
For those that don’t know, any glossy surface will reflect light. Due to this, glasses can be a little tricky. Position your lights in the wrong place and suddenly you’re seeing them reflected in the glasses. Because the angle of your light sources are so extreme with Clamshell lighting, we’re able to ensure that any reflection is not seen in the camera. I found that by simply adjusting the angle of the bottom source of light, we can eliminate any reflection. Refer to the diagram below.

Clamshell Lighting: Surprisingly Versatile
One of the things I love about clamshell lighting is its versatility. Photographers use this kind of lighting setup for many types of photography. Using the simple method I mentioned above (using just a modifier and reflector), you can produce some very different results.
With the modifier placed at a 45-degree angle and a silver reflector, we are filling more of those shadows in, thus creating a more flat light. Switch that up and use a white reflector and the shadows become more pronounced. Take a look at a couple of photos I took while testing this out.
If you compare these two photos, you should be able to see a big difference in the intensity of the shadows. The top photo is using a white reflector, and as such, the shadows are much deeper. Compare that to the photo below, using a silver reflector, and we can clearly see the difference.

In the next two photos, I adjusted the angle of the lights to roughly 20 degrees. This position made a tunnel of light; very even and very flattering.

This “tunnel of light” has cut down the light spill; notice how dark the background became. It also appears to have focused the light more toward the center; the cheeks fall more into shadow. There are so many possible outcomes with this arrangement. Imagine if you were to change that reflector for a second softbox. You could then have ultimate control over those shadows!
Summary and Sneak Peek At Next Week’s Article
Clamshell lighting is a wonderfully simple, versatile, and beautiful lighting setup. When I first discovered it and tried it out for myself, it was one of those moments where you’re suddenly smiling. Almost like when you took that first photo you were proud of. If you’ve not tried it before, I encourage you to give it a go. You won’t regret it.
As I’ve mentioned, my next article will revolve around how I put together a portable lighting rig that allowed me to produce high-key corporate headshots. If you haven’t already got all the kit you need for clamshell lighting, then maybe hold off on your purchases until next week. I’ll show you exactly how I did it and let you know all the pieces of kit you’ll need to create photos like the one below.

It’s impossible for me to condense all this information into a short, easy-to-digest article. I’m always having to leave things out to avoid these articles becoming too lengthy. If you want to learn more about lighting, then please take a look at the lighting courses SLR Lounge have created, they’re great. You can find Lighting 101 here and Lighting 201 here.


Get Connected!